You don’t have to play Minecraft alone in singleplayer—multiplayer is where the game really shines. Team up with friends to build a world, go on adventures, and enjoy the latest updates together. But how does it actually work? If you want to play with others, you’ll need to understand Minecraft servers. In this article, we’ll explain what they are and how to use them. By the end, you should have no trouble setting up your own Minecraft server and playing with others.
What is a Minecraft server?
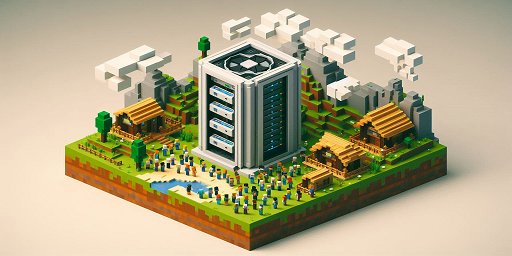
“Server” is a broad term in the IT world. In short, it’s a place where specific data is stored and served—accessed over the internet. That’s exactly how it works with Minecraft. In this case, a server means a world is hosted elsewhere and made available so you and other players can connect to it. This system was implemented even before the game’s initial release in 2010, and multiplayer maps have been a core part of Minecraft ever since.
Broadly speaking, there are two types: self-hosted servers and rented servers. You can set up your own server, but it will only be online while your machine is on and connected. Rented servers—by far the most common—are hosted externally and are generally available 24/7.
What are Realms?
If you’ve researched Minecraft servers, you’ve probably come across “Realms.” These are servers provided directly by Mojang. Introduced in 2016, they’re an easy entry point but come with some limitations (e.g., no mods). For beginners, they’re a quick, low-effort way to start playing together.
Free vs. paid servers
While free servers can be tempting, you’ll usually want to go with a reputable paid service and choose Minecraft server hosting. You’ll get a well-maintained, secure server with solid performance—especially important if you want a smooth multiplayer experience. Your server and your Minecraft world will be in good hands!
How do you install a Minecraft server?
Here’s how it works with us—it’s quick and easy, and you’ll be up and running in just a few minutes. If any part of the setup feels too complicated, we’re happy to help! Setup and updates can be trickier for newcomers, so an extra hand can make all the difference.
Step-by-step: Renting a Minecraft server:
Go to the page for Minecraft Java and Bedrock server hosting to rent the right server and make your initial selections.
There you can set a number of parameters. Some features are always included, such as a 3D view of your server, a MySQL database, and an automatic backup system.
- Number of players/slots
- Term length
- Shared or dedicated IP address
- Server location
- RAM size
- Branding
Pay the listed price and add your payment method for future renewals. You’ll also be prompted to create a customer account. When you later log in to 4Netplayers, you’ll see an overview of all your servers and can adjust their settings.
Once the purchase is complete, your server should go online right away! You can find the login details in your account.
Note: Your rented server isn’t limited to Minecraft. You can switch games at any time if you want.
Enter and join the server in-game
Your server is set up—time to play! Before you start, make sure you’ve copied the correct server name, IP address, and port. You’ll need these in a moment.
Java Edition:
- Launch the game using the version you want to play on. It must match the version your server is running.
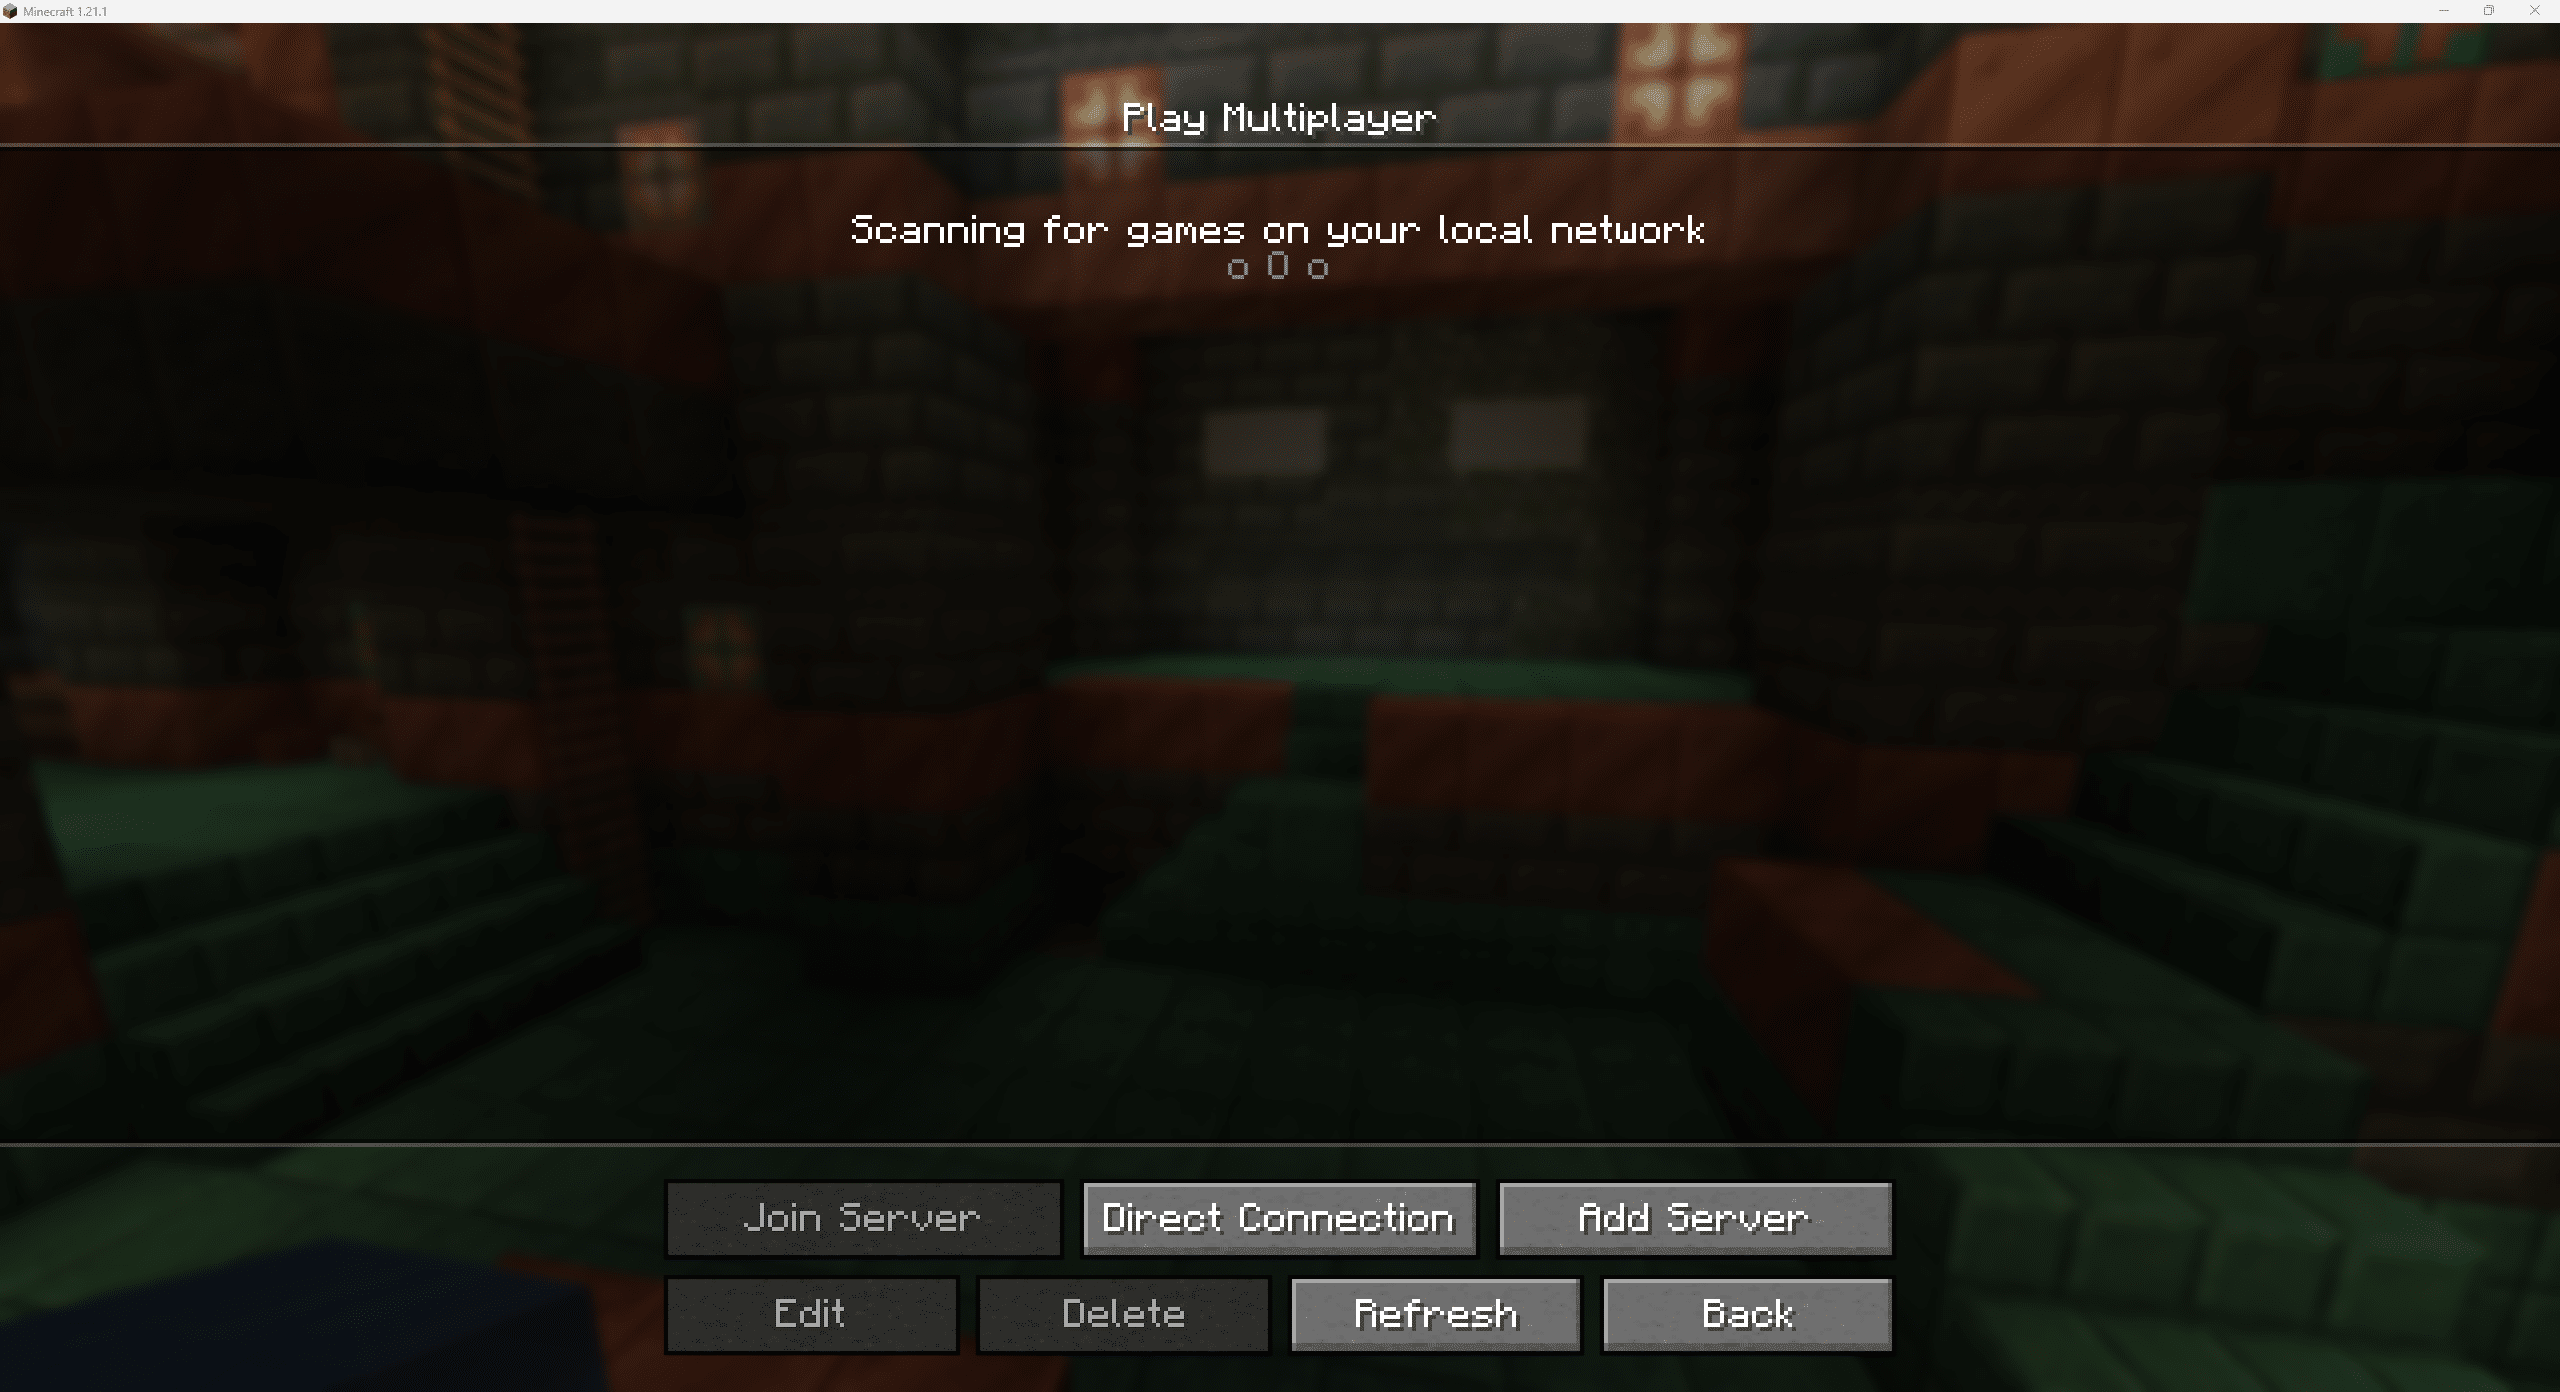
- In the main menu, click “Multiplayer.”
- You can either use “Direct Connection” to jump right in, or “Add Server” to save it for later—especially useful if you have a dedicated IP address.
- Enter the relevant details and you’re good to go.
Bedrock Edition:
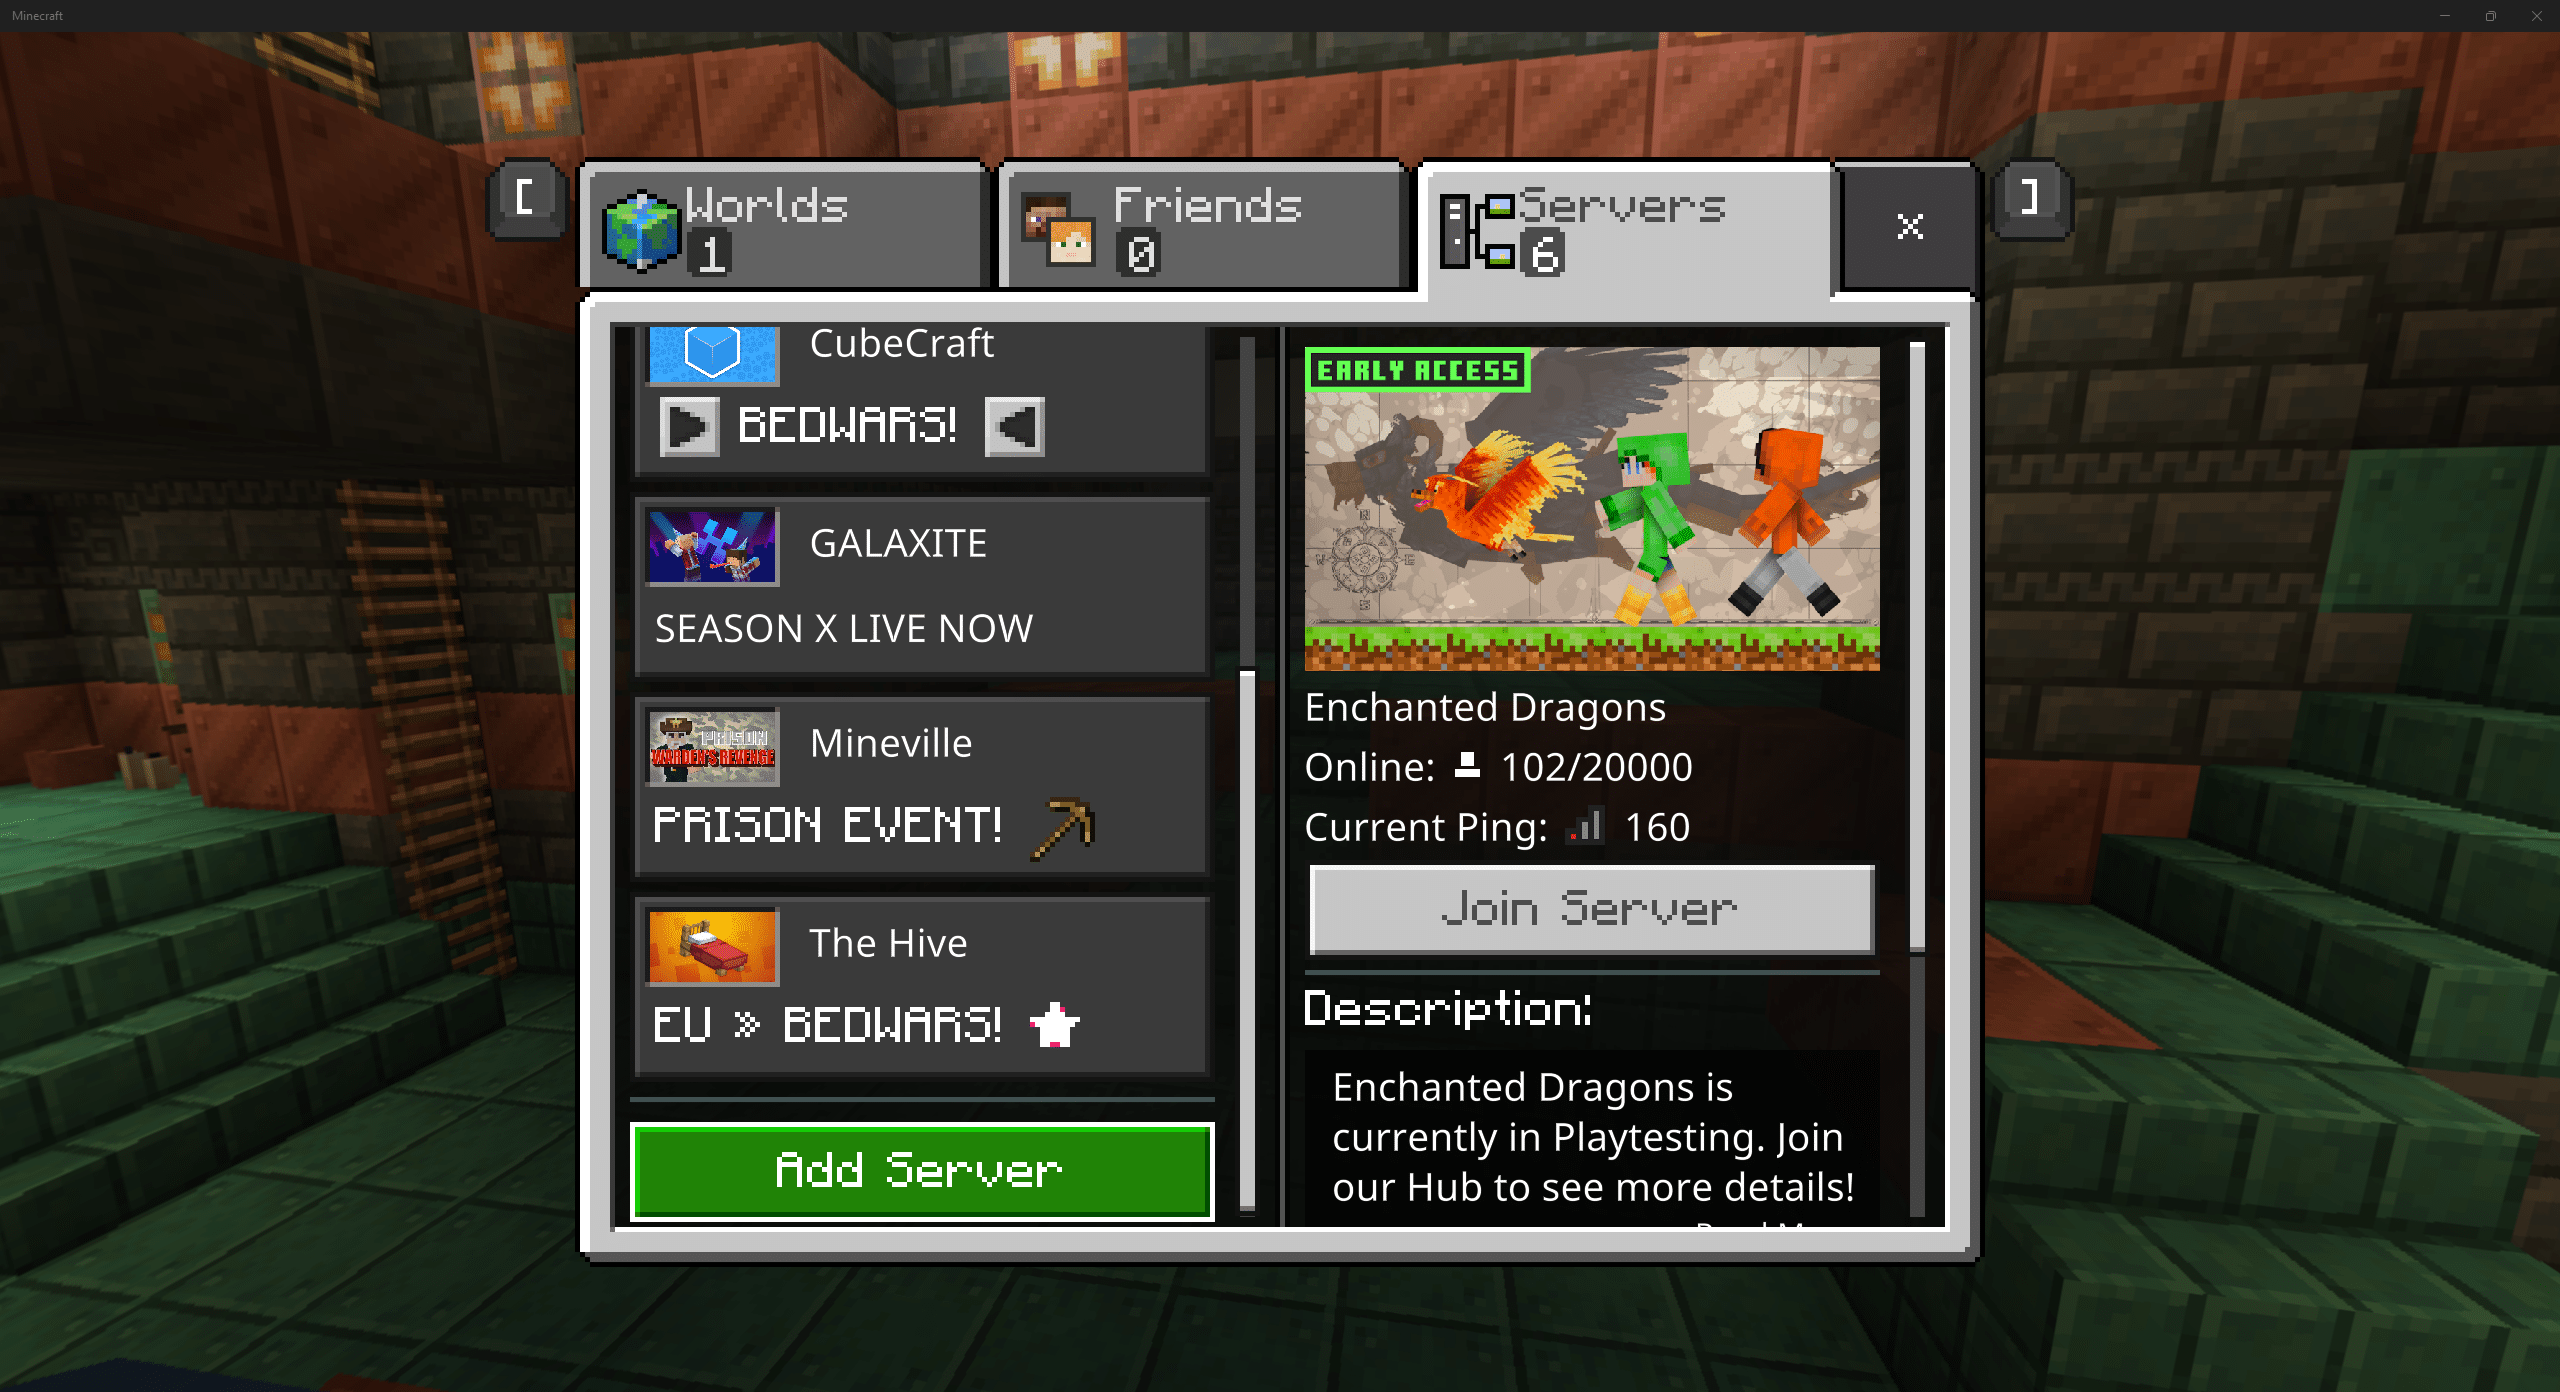
- Start Minecraft Bedrock / Minecraft for Windows.
- Click “Play.”
- At the top, you’ll see three tabs. Click the last one, “Servers.” On the left side, scroll down and click “Add Server.”
- Enter the details you saved earlier. The server will appear in your list and is ready to join!
Modpacks and servers — does that work?
Yes—if you’ve chosen the right Minecraft modpack server hosting, you’ll have full mod support. Mods need to be uploaded and installed directly on the server. You’ll find a wide selection of modpacks available, and you can also search for your own to build a custom Minecraft experience. Both Fabric and Forge mods are possible—just make sure they’re compatible with each other. A good test is to first assemble the mods in a singleplayer world and confirm everything runs smoothly.
Last resort: Enable Minecraft over LAN
If you and your friends are on the same network, you can even play together without a dedicated server. Every Minecraft world—even singleplayer—can function as a local server over LAN. This only works within the same network.
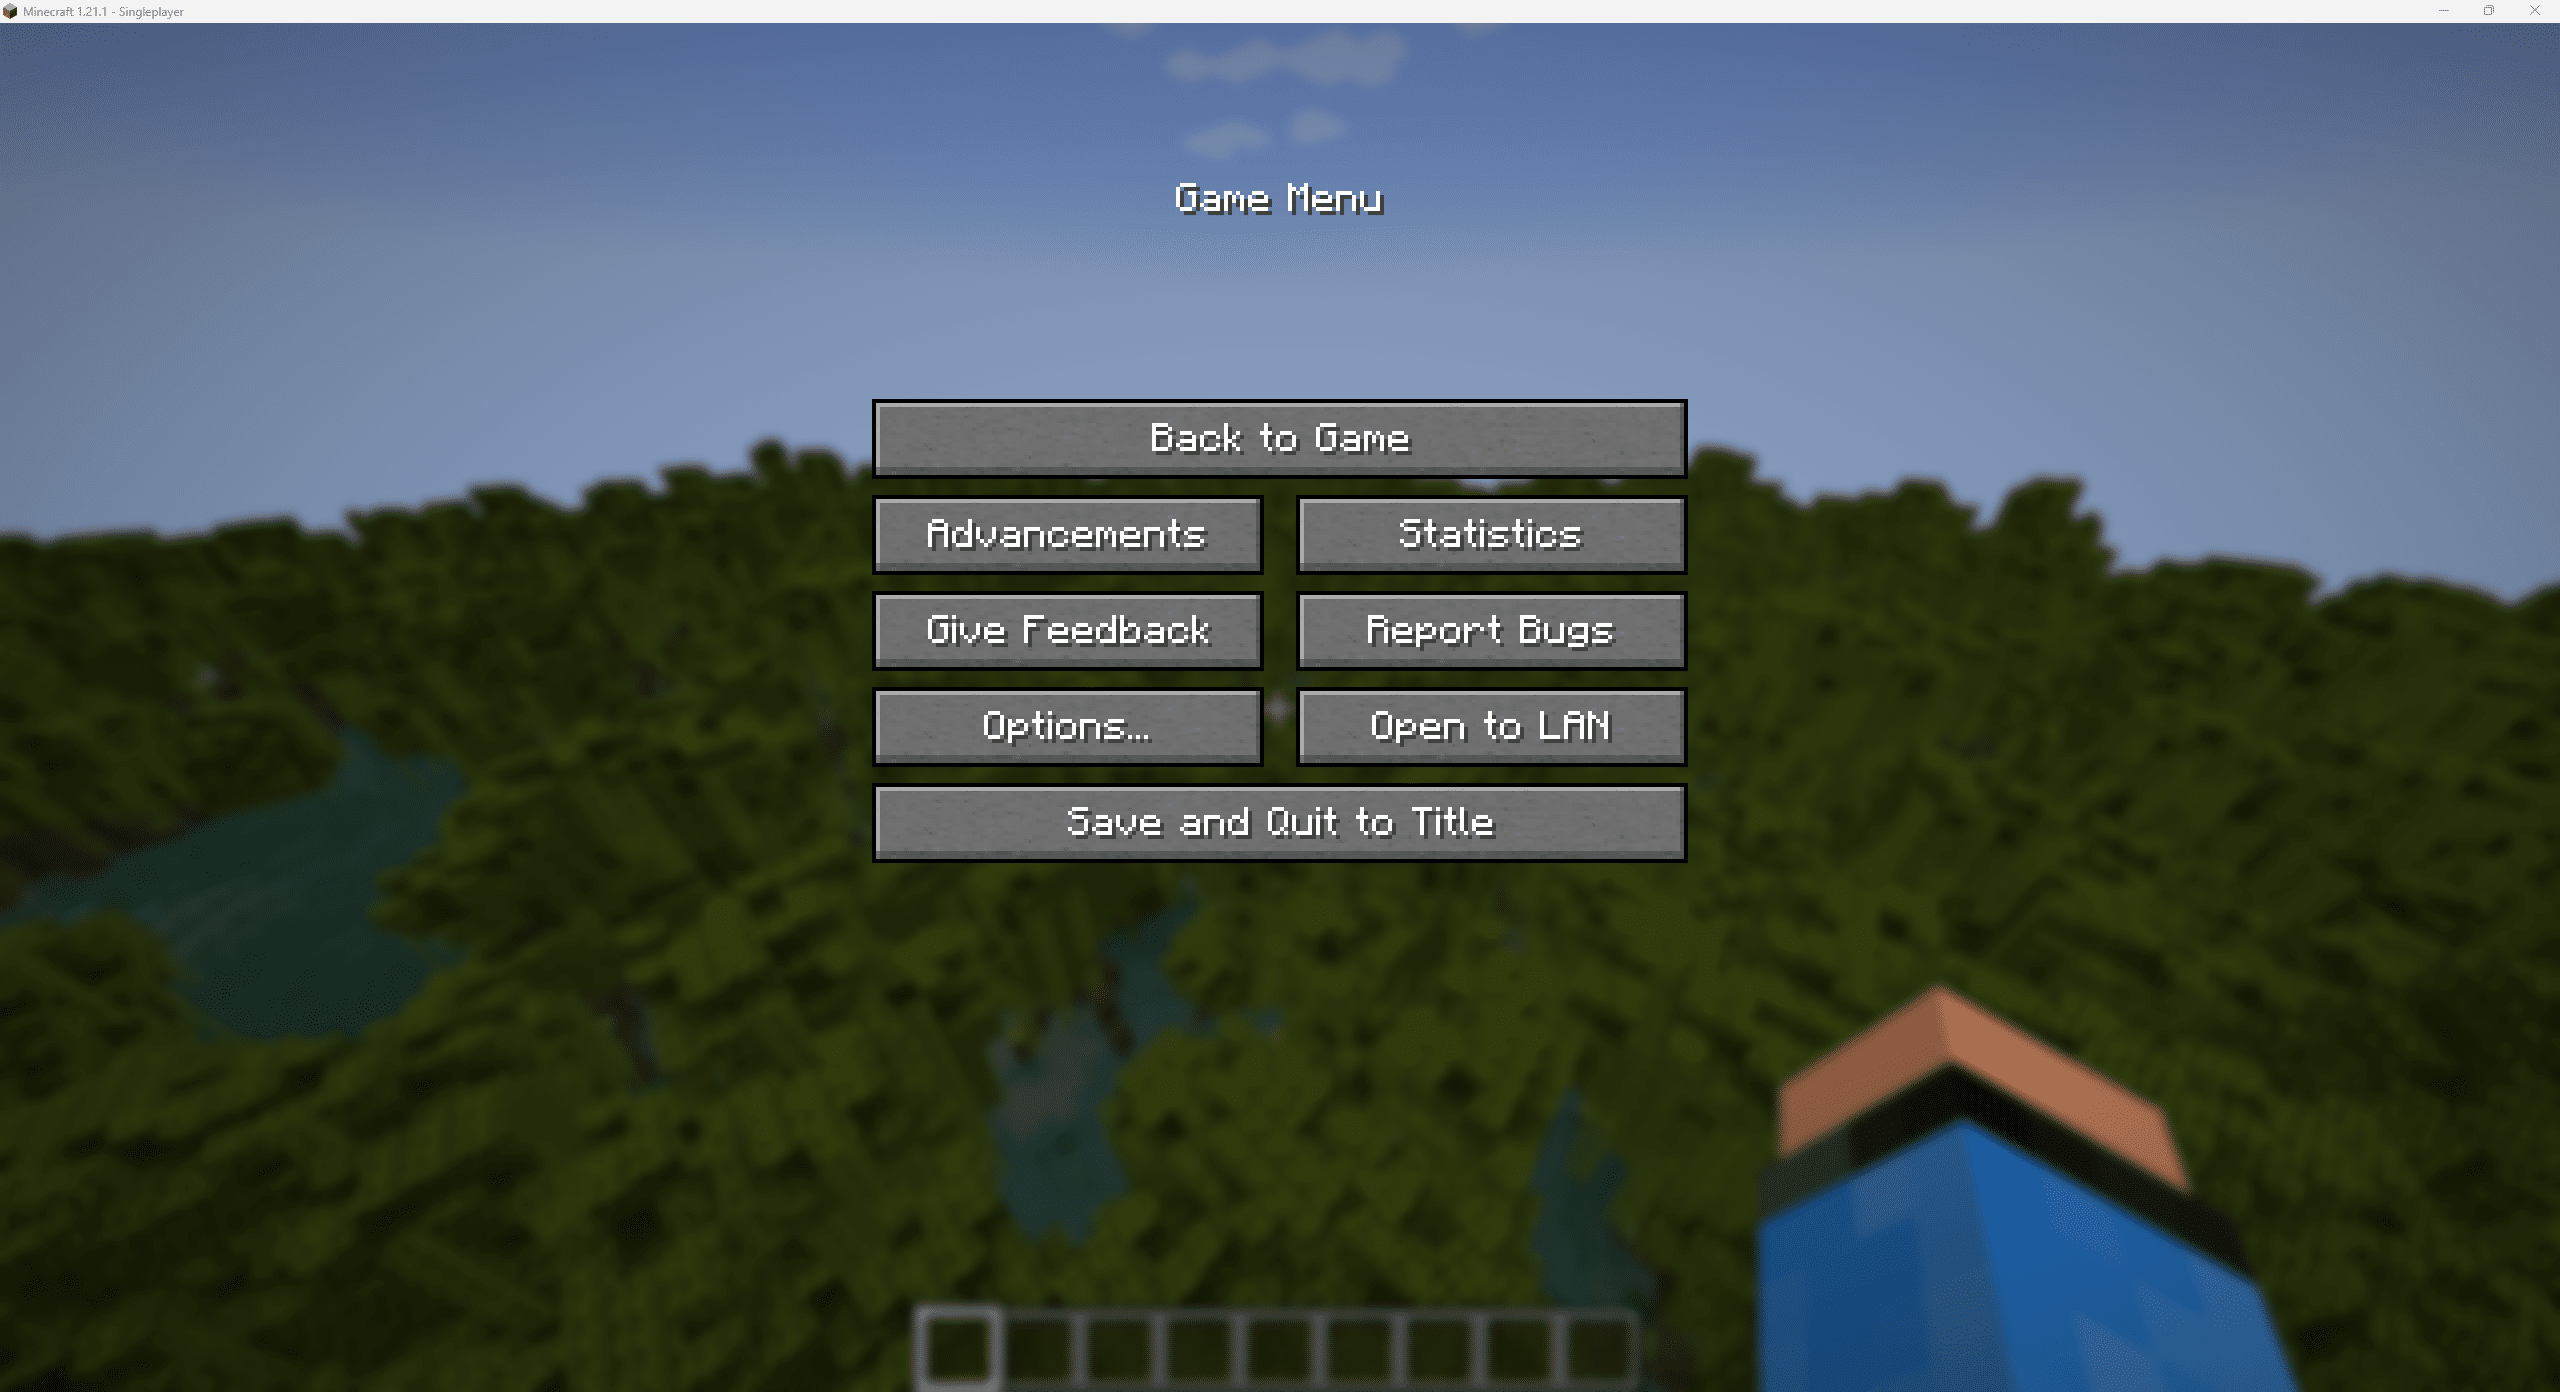
Open the world you want to share. Pause the game and click “Open to LAN.” There you can set the game mode and whether to allow commands, then start the LAN world. Anyone on the same network will be able to join your world.
Conclusion — It’s more fun together!
If you want to play Minecraft with others, it’s worth learning how to create and configure servers. There are several options: some are built right into Minecraft, while others use third-party hosting. Either way, a server is absolutely worth it if you want to explore Minecraft’s colorful world together and build amazing creations with friends.
Related articles
Minecraft Download – A Comprehensive Guide for PC, Mac, and Consoles
Open World Gaming 2024: Your Guide to Virtual Worlds and Server Hosting
Minecraft Mods: 10 Fabric recommendations for performance, graphics & QoL