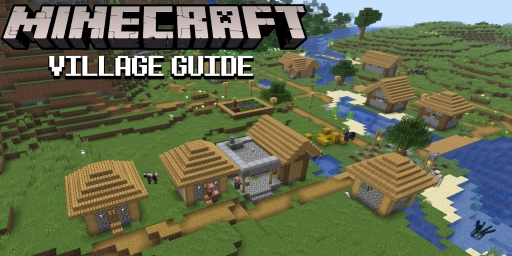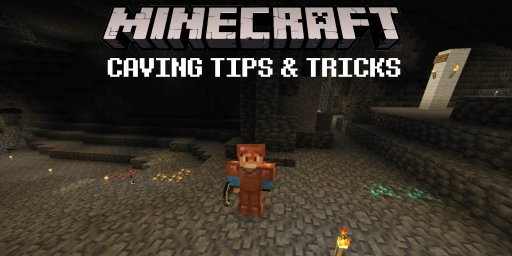
Minecraft’s caves changed dramatically with the Caves & Cliffs Update. Many tips that worked for older cave runs are no longer as relevant. The new caves present a fresh challenge that can surprise both new and returning players. Ores spawn in different places, new biomes exist, and navigation works differently than before. Caves are not only larger now, but also more complex and much deeper. Surprises await you everywhere—along with plenty of enemies. Here are seven essential tips for Minecraft caves to help you always find your way back out.
Preparation for Minecraft caves: Gear, torches, and safety
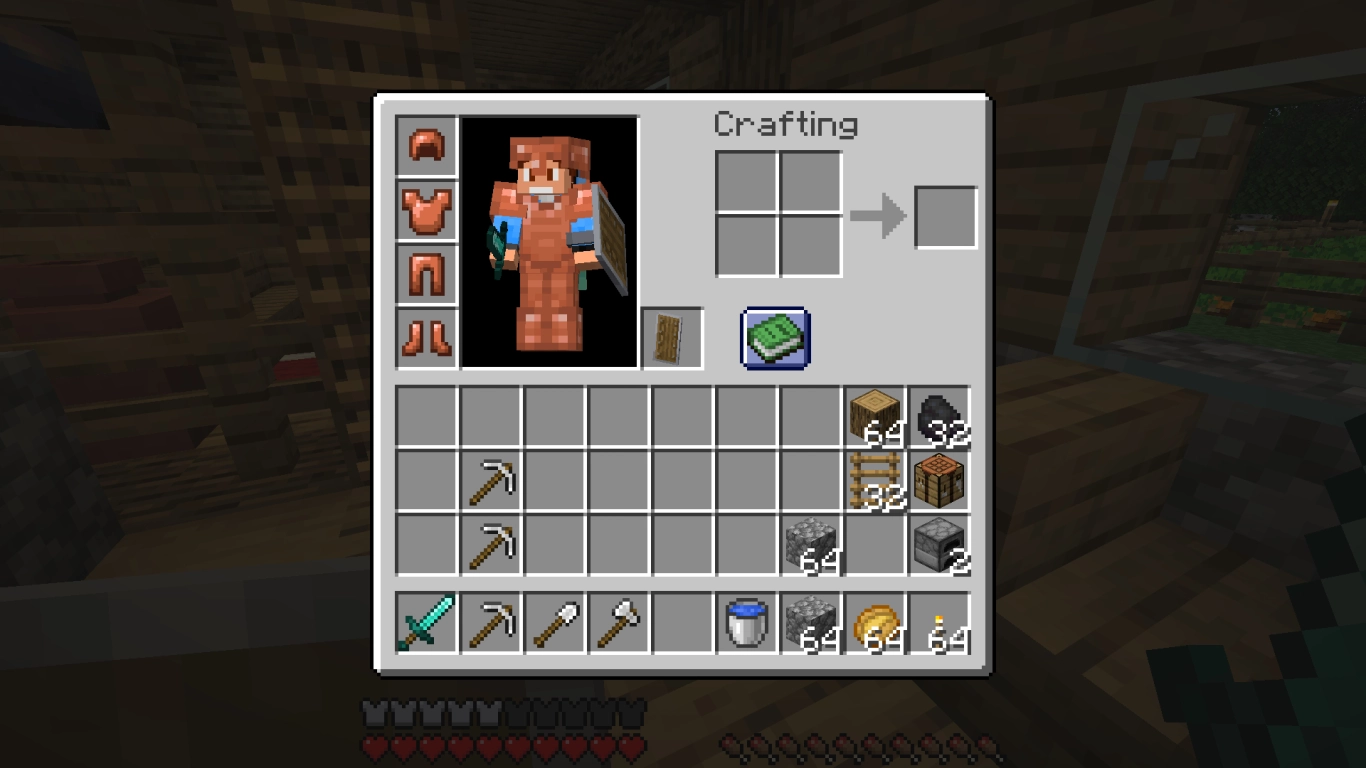
Without proper preparation, you won’t get far. Bring your usual essentials like weapons, tools, plenty of pickaxes and torches, plus food for healing. Always carry some coal and logs so you can craft more torches— you’ll run out faster than you think. Add a crafting table and a furnace to smelt and process ores. Also keep one or two stacks of building blocks with you, such as cobble or dirt.
Three items are especially useful: ladders, a water bucket, and a shield. Ladders help you descend safely in vast caverns. A water bucket counters lava and cushions falls. And a shield is vital for blocking damage from enemies.
Navigation in Minecraft caves: Markers and wayfinding
The old trick of placing torches only on the left or right to find your way back is much less reliable in today’s massive caves, so you’ll need a new strategy. Caves are now far more complex, but you can still navigate them smoothly if you plan ahead.
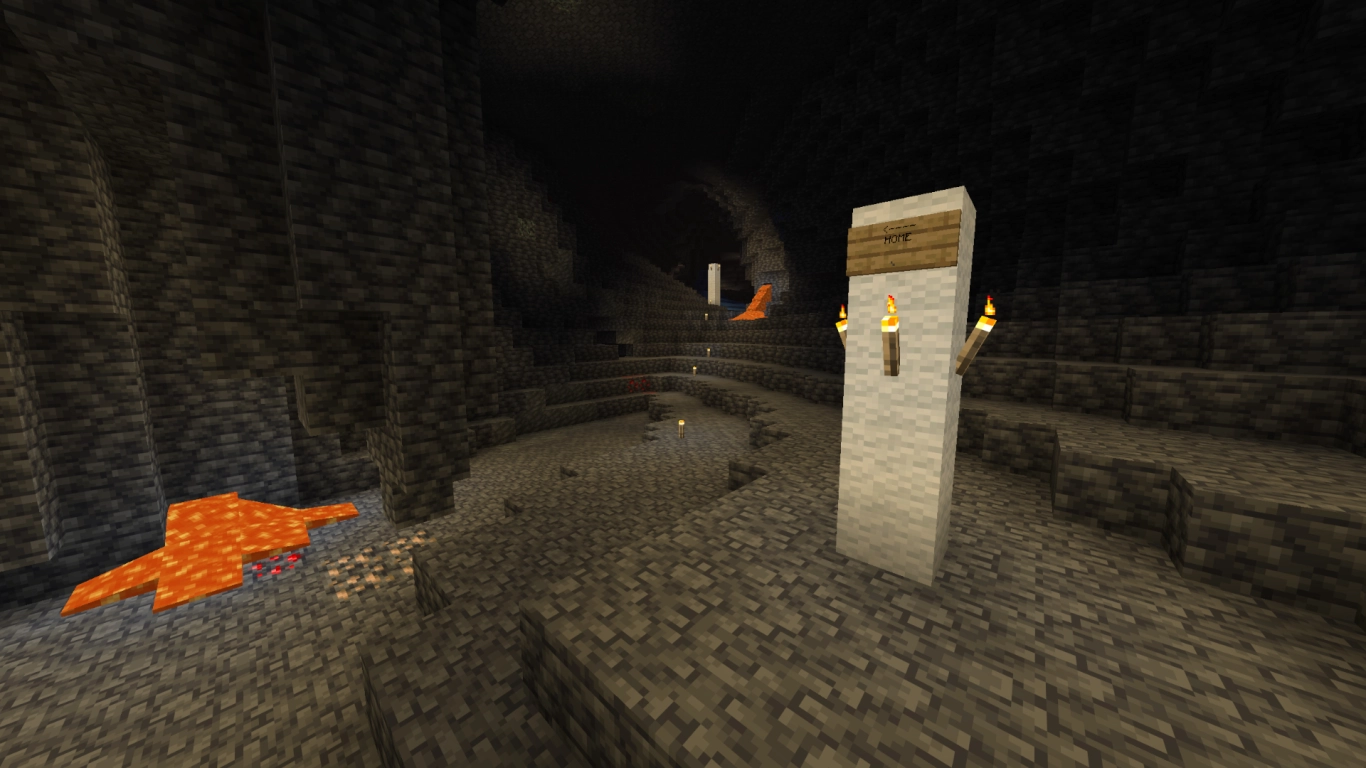
We recommend using a high-visibility block as a marker, and even adding signs. That way, you won’t lose your bearings. Also block off dead ends so you don’t keep wandering into them. If you want to rent an affordable Minecraft server from us, you can explore caves together with friends. Agree on a shared system so everyone returns to the surface in one piece.
Finding ores in Minecraft: Resources and coordinates
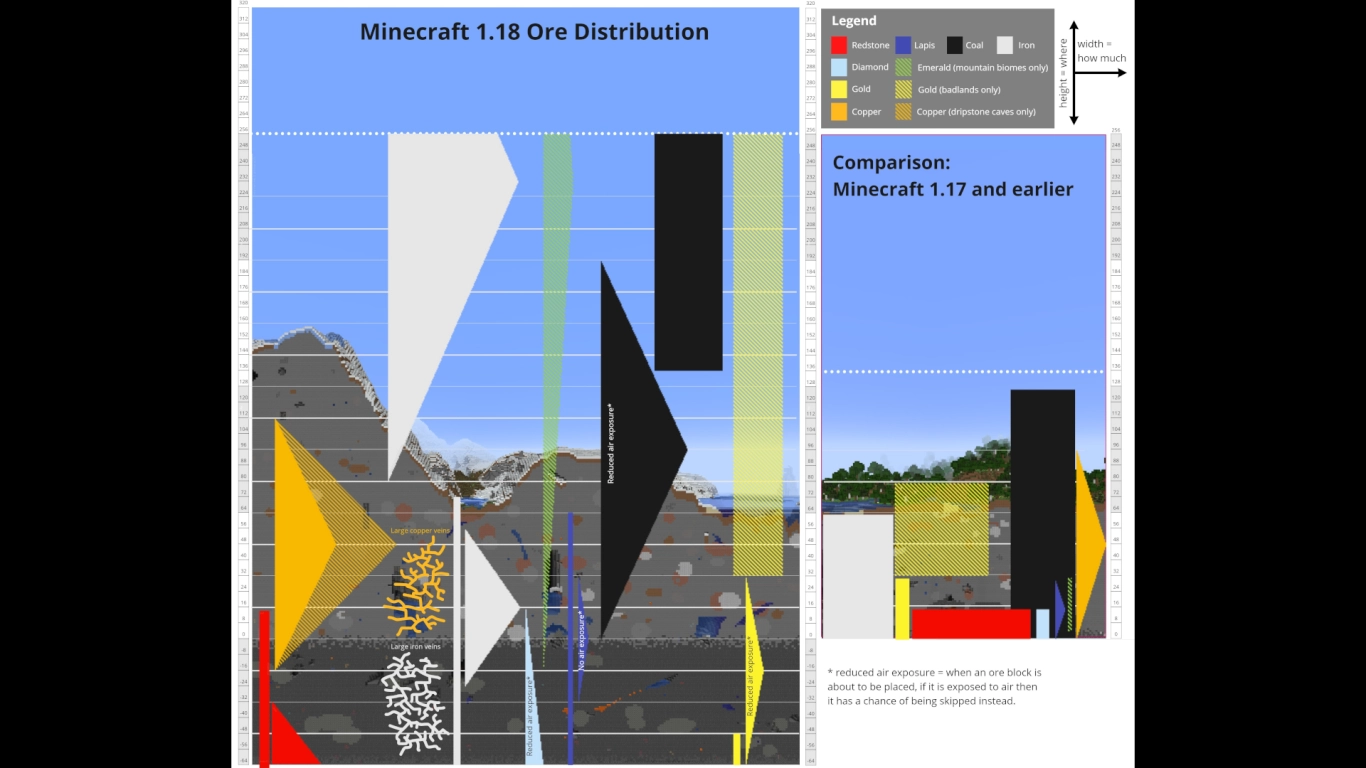
With changes to cave generation and world height, ore distributions shifted. You don’t have to use coordinates, but it helps to know the general ranges. Then you can target your cave runs without diving too deep unnecessarily.
- Coal: Closer to the surface; very large veins in mountain regions.
- Copper: Common near cave entrances; doesn’t go very deep. More frequent in dripstone caves.
- Iron: Found deeper than before 1.18, but also appears in mountains. Can form ore veins in deepslate.
- Gold: More common below the surface; especially plentiful in Badlands biomes.
- Lapis Lazuli: Often around the transition between stone and deepslate.
- Redstone: The deeper you go, the more you’ll find. Search near the bottom, close to bedrock.
- Emeralds: Only in mountain regions, and more frequent there.
- Diamonds: Like redstone, more common the deeper you are.
Minecraft cave biomes: Benefits and dangers
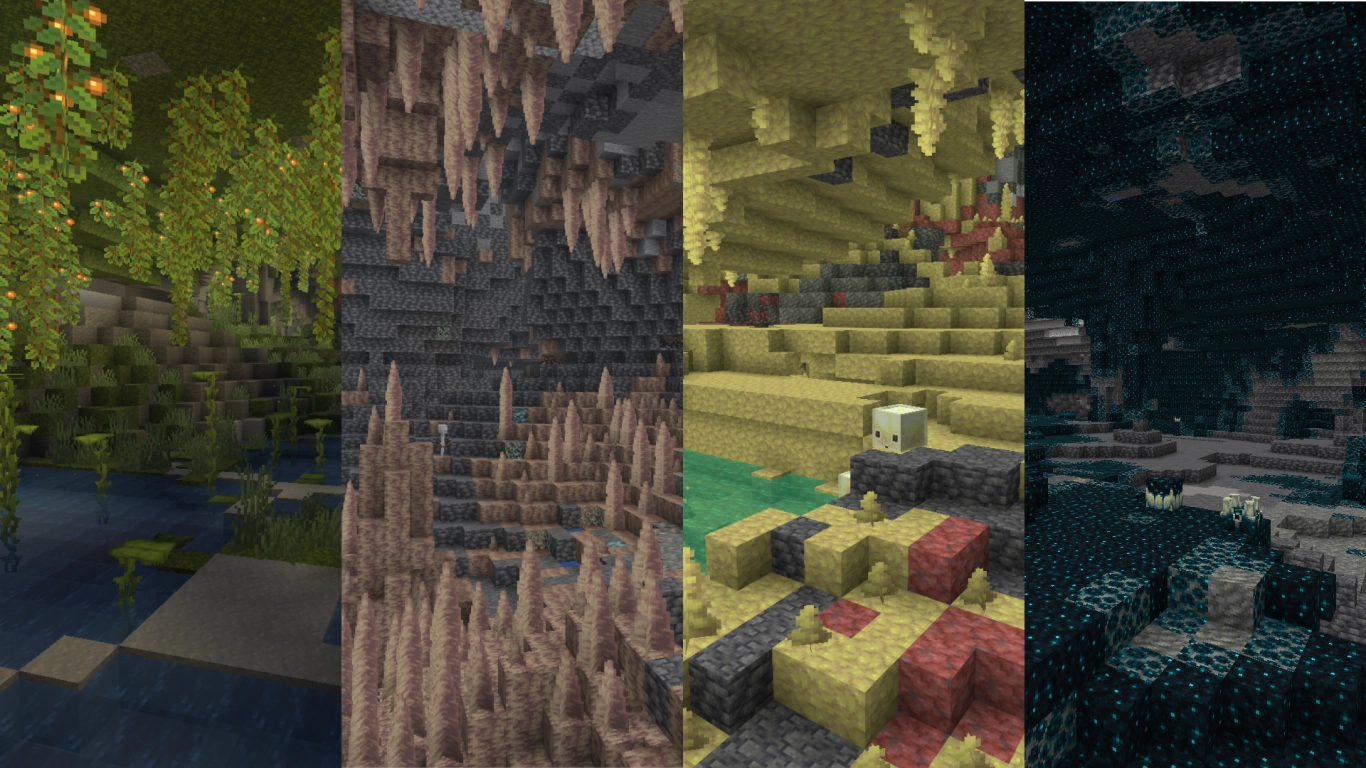
Caves are no longer just monotone tunnels and twisty corridors—there are distinct biomes with special traits. Some are welcome sights, while others demand extra caution.
- Lush Cave: Bright, overgrown sections with lots of water. Fewer mobs spawn here, making for a peaceful change of pace.
- Dripstone Cave: Steep caverns with lots of water and copper. Drowned can appear in water sections, alongside the usual cave mobs.
- Deep Dark: Home of the Warden. Sculk sensors react to sound. Only enter well-prepared—and as quietly as possible.
Plan inventory and routes: Multiple trips for more space
Because Minecraft’s caves are now vast, don’t try to clear everything in one go. Early on, it pays to explore just a few corridors and larger chambers, then return to your base. Gear up with iron before you descend deeper. You can also set up temporary outposts to take breaks along the way. Store valuable finds there so you won’t lose them if you die. Inventory space matters more than ever, and with so many new blocks and ores, it fills up faster than you’d like.
Safety first: Light up before mining ores
A classic tip still holds: light your surroundings before you mine ores. You never know what’s lurking around the next bend. Creepers are notorious for sneaking up and blasting you before you can react. So before you rush those diamonds, make sure it’s safe to mine them. Sometimes it helps to throw up a temporary wall or barrier so you won’t get ambushed.
Potions in Minecraft caves: Night Vision, Fire Resistance, and more
Potions are often underrated in Minecraft, but they can be game-changers in caves. They take up some inventory space, yet for specific tasks they’re well worth brewing. Here are some recommendations and use cases.
- Water Breathing: Explore underwater and check aquifers for resources. Diamonds can hide in underwater lakes.
- Night Vision: Gives you clear sight without a light source. The downside: it’s harder to tell what you’ve lit up and where mobs can spawn.
- Slow Falling: Great for very deep caves to avoid fall damage.
- Fire Resistance: Lets you swim in lava. Like water, lava pools can conceal hidden resources.
Conclusion: Explore Minecraft caves and find your way out safely
Minecraft’s caves have become a very different challenge. Their sheer size can make it hard to keep track. You can’t possibly light everything, so focus on a clear path that will help you find the exit later. Often you’ll need multiple runs to haul everything out. This lets you proceed more strategically and avoids diving straight into danger. And remember: not all ores are found only deep below—some are available outside caves, too.