For many players, Sons of the Forest truly opens up once you’ve acquired all the tools. That means tackling the story first so you can make full use of the game’s features. The upside: you’ll be able to design even bigger and better builds! Thanks to the mix of the two building systems, you can create genuinely impressive structures. Sons of the Forest gives you plenty of freedom to craft your dream base and maintain it across many seasons. Let’s look at some advanced techniques you can use for even more detail work.
Base-Building Prep: Secrets, Blueprints & Power in Sons of the Forest
Before you dive into building, we recommend exploring the game and the map thoroughly. Ideally, complete the story and remain on the island to fully leverage every feature. You’ll find more in our guide if you’re unsure where to go (Sons of the Forest: Story walkthrough with bunkers, keycards & bosses) .
You should also:
- Have found and assembled all 7 artifacts (Sons of the Forest Artifact: All 7 Parts, Locations & Functions)
- Get to grips with power and electricity to upgrade your base (Sons of the Forest power guide: solar panels, batteries, lights)
- Find all 16 blueprints to unlock rare structures that become crucial in the late game (Sons of the Forest: All 16 Blueprints – Locations & Uses)
Crossbeam trick for stability and freedom of movement while building
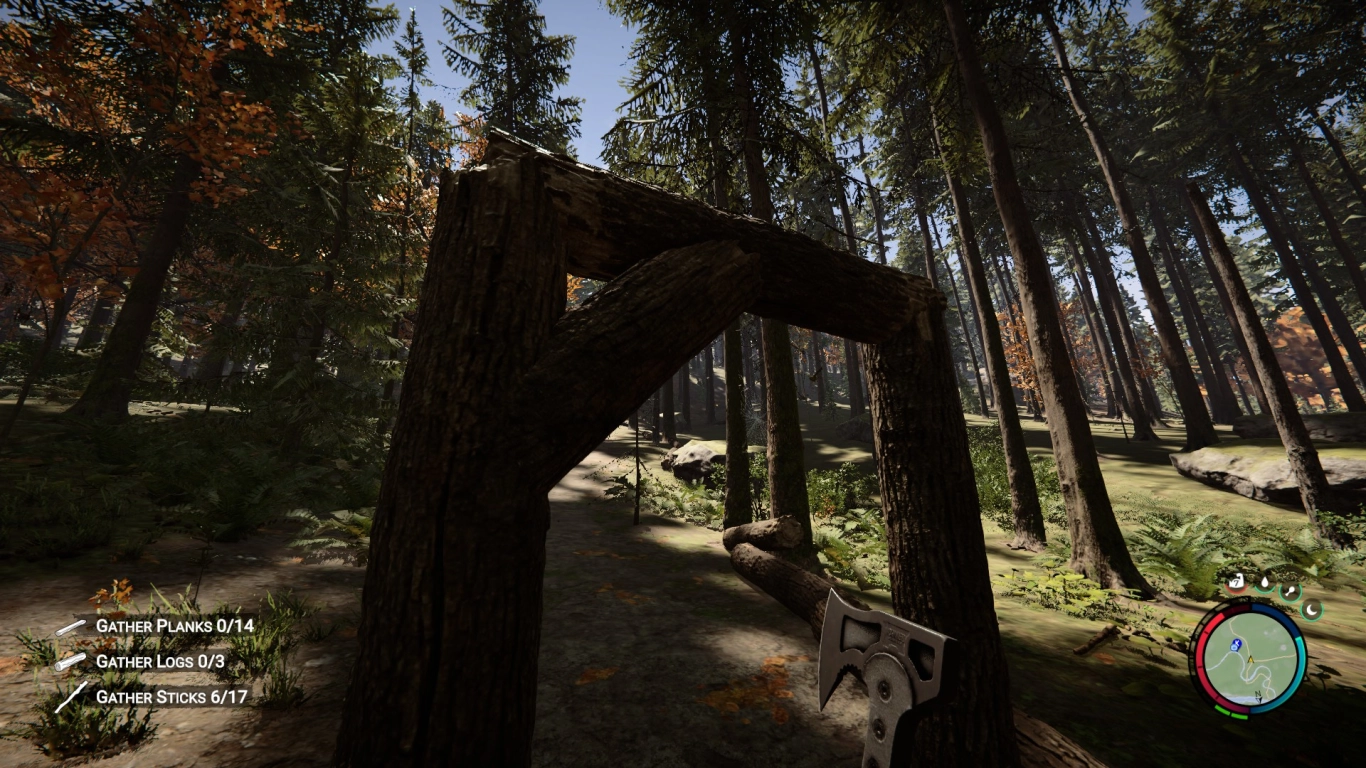
This tip isn’t exactly a secret, yet many players don’t realize it’s possible. Normally, to keep your build stable, you need to plant vertical posts in the ground that tie the upper structure together. There’s a trick that lets you remove those annoying mid posts again.
Use quarter logs as a brace between the vertical post and the upper beam. After that, you can pull the vertical posts in the middle and reuse them elsewhere. This structure can span up to five tiles, letting you remove up to three vertical logs. Be sure to add extra supports for heavy builds (e.g., tall roofs) so nothing collapses.
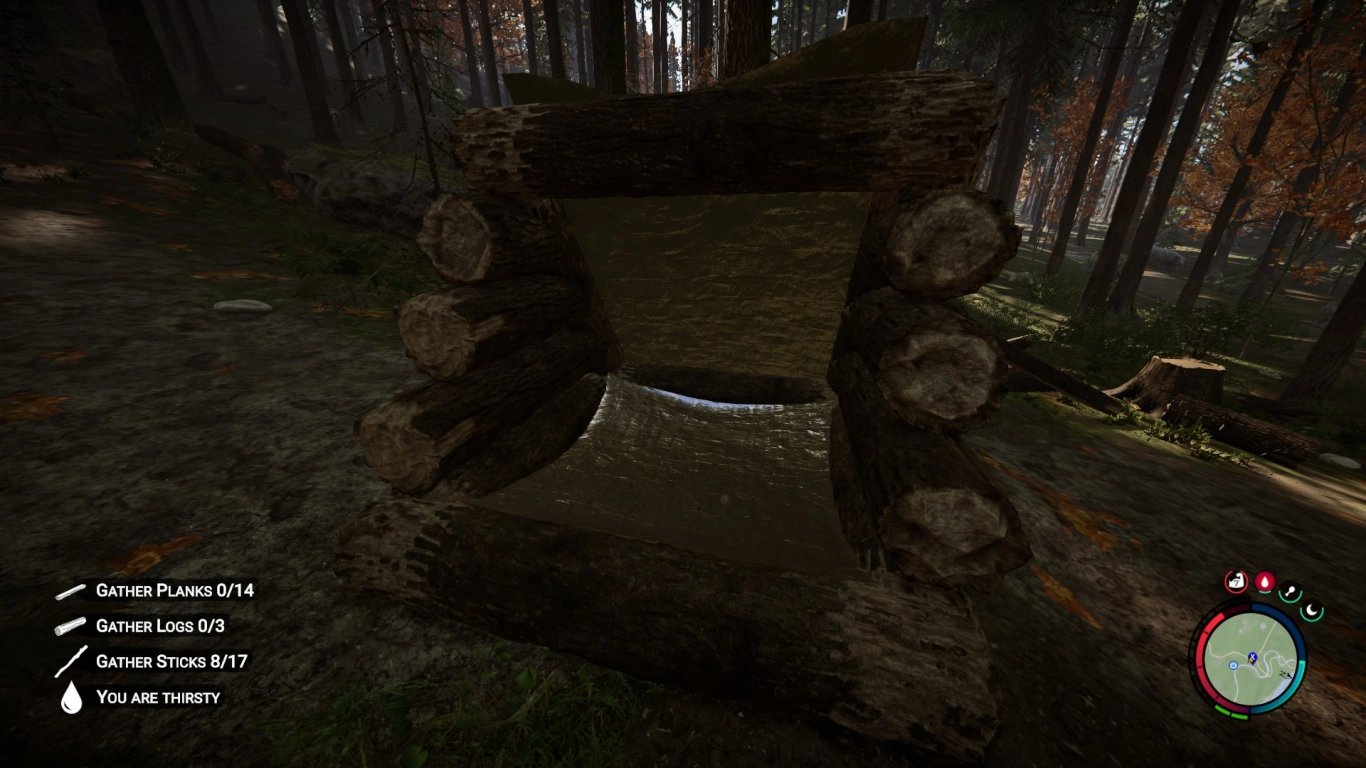
Building slim roofs and setting roof pitch correctly
Sometimes you can’t perfectly close off a roof from both sides, or the slopes feel too shallow. This is where the nuanced building system shines: use the smaller logs you likely have lying around your base.
Lay down a full log, then place a half log on top of it, followed by a quarter log. This creates a pitched roof that narrows more sharply on both sides than a standard roof. From above, finish with a crossbeam and then fill in the planks. Pro tip: Use a ridge beam and mirror the slope from there so rain and snow run off cleanly.
Rope Gun creativity: railings, windows, and transport for your builds
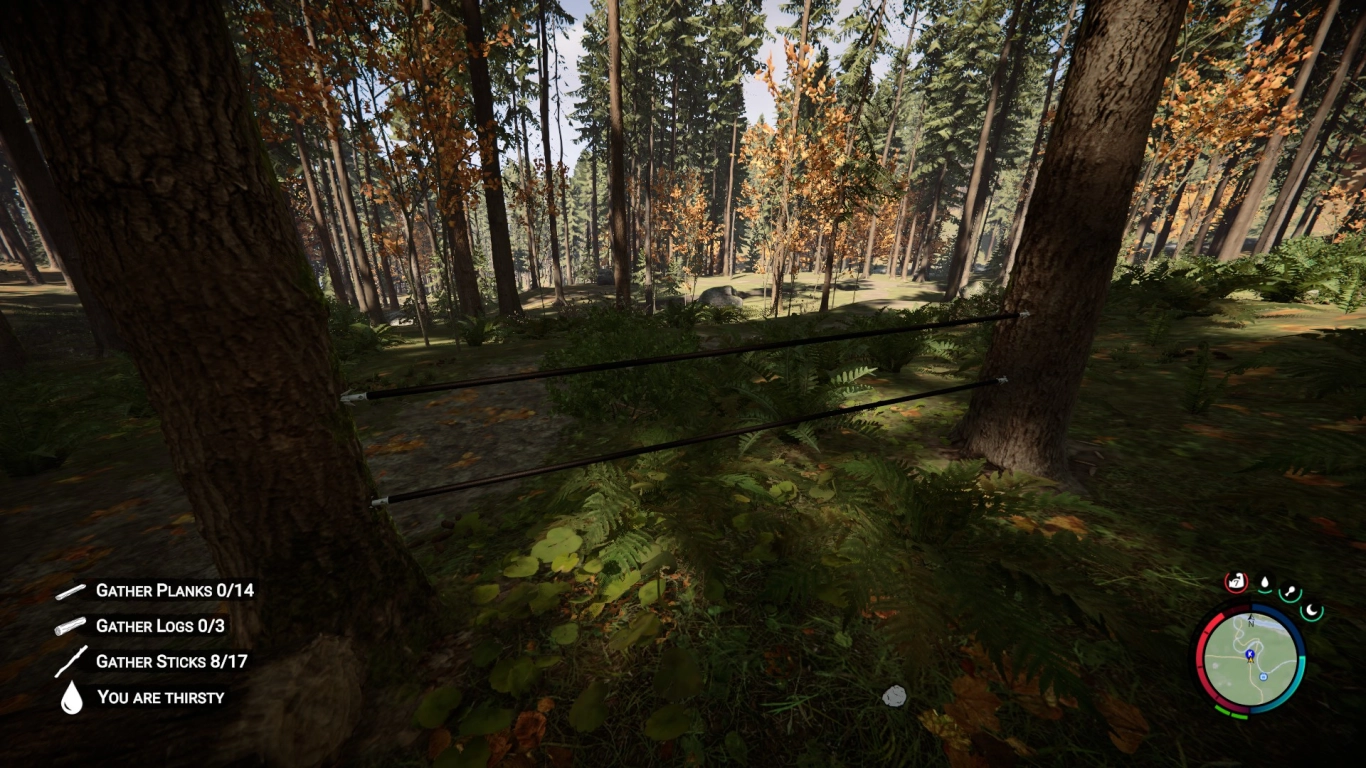
The Rope Gun is one of your most versatile tools. Beyond using it to zip over long distances or move logs, you can also use it creatively for building. Ropes make great thin dividers, railings, or even windows.
It will cost some ropes and grappling hooks for the zipline ropes, but the results look great. Set solid anchor points (logs or posts), span the rope, and adjust the height so doorways remain usable. You can remove and reposition ropes later if you remodel.
Use tarps as roofs, walls, and trampolines
Most players only use silver tarps for small tents to sleep in. But there are other uses not listed in the little book.
You can stretch tarps between four logs—horizontal, vertical, or diagonal. They work as roofs or walls. Another function is a trampoline: stretched tarps will bounce you upward. This helps you clear small height differences and mitigate fall damage. Place several tarps offset to create safe landing zones.
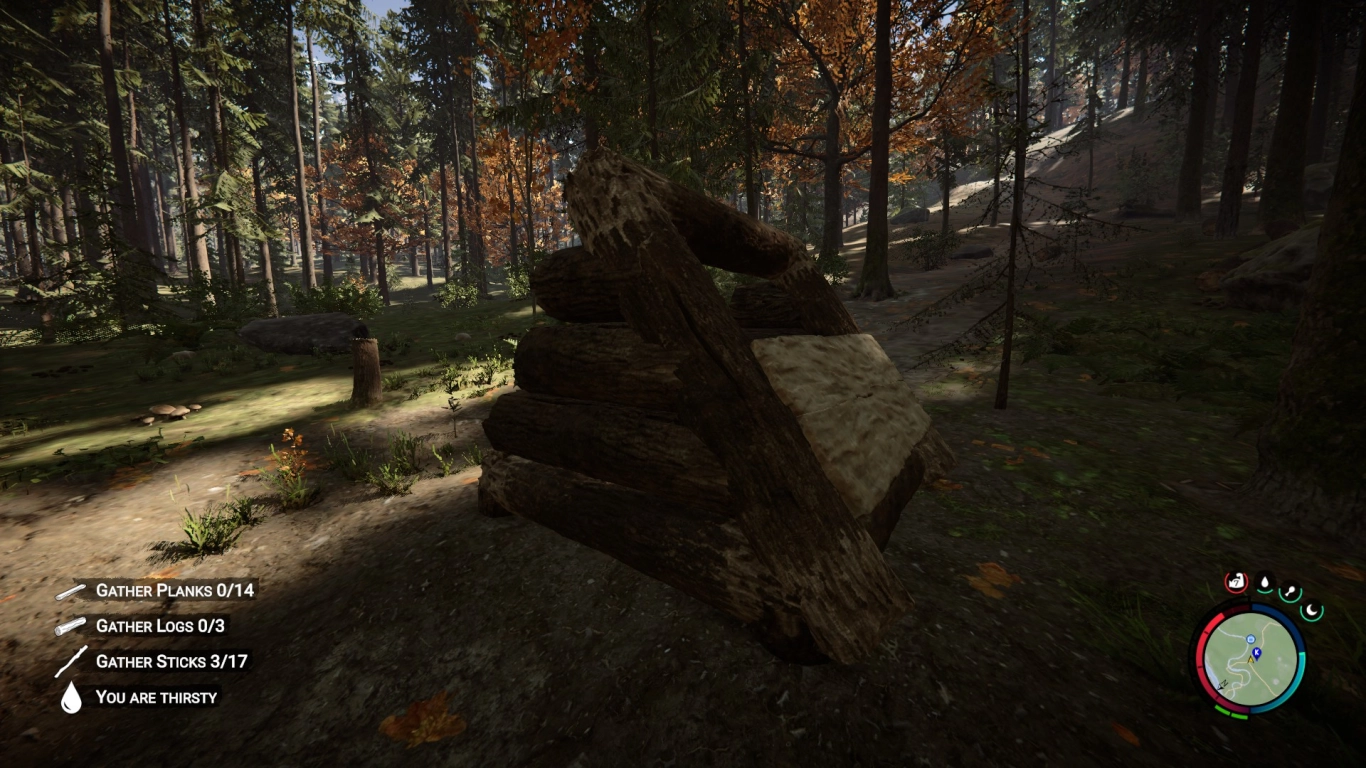
Stone walls as decorative and defensive fences
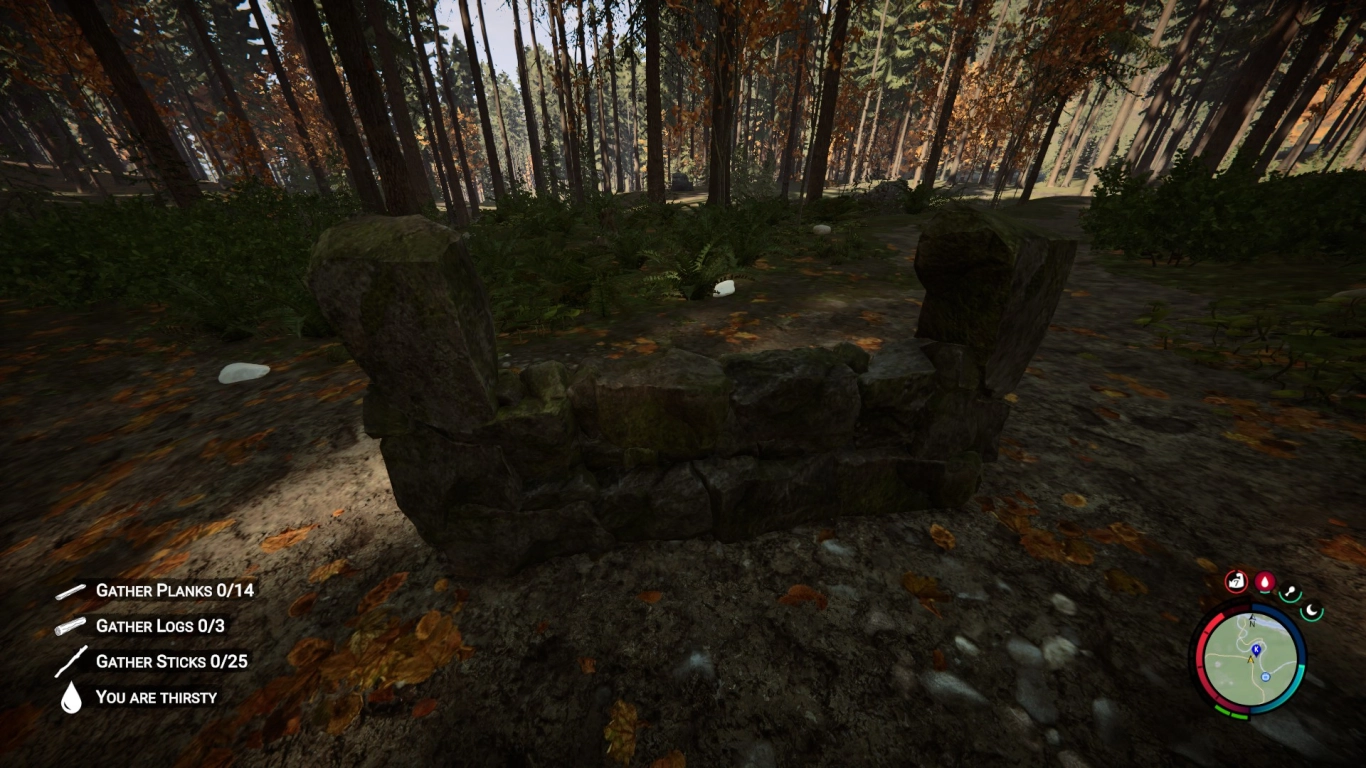
Large stones are especially useful for bigger bases and provide a strong contrast to wood. They’re versatile, whether for a large fireplace or a rock garden. Another great option: build half-height stone walls to ring your base.
They don’t just look good—they also act as a modest defensive barrier against mutants and cannibals. For sturdy pillars, stack up to four large stones and link them in a line. The same works for horizontal stone foundations. Fill the gaps to your preferred height. Combine them with traps and tight choke points behind the wall to control intruders.
Lanterns and lighting: sticks, torches, lamps & power
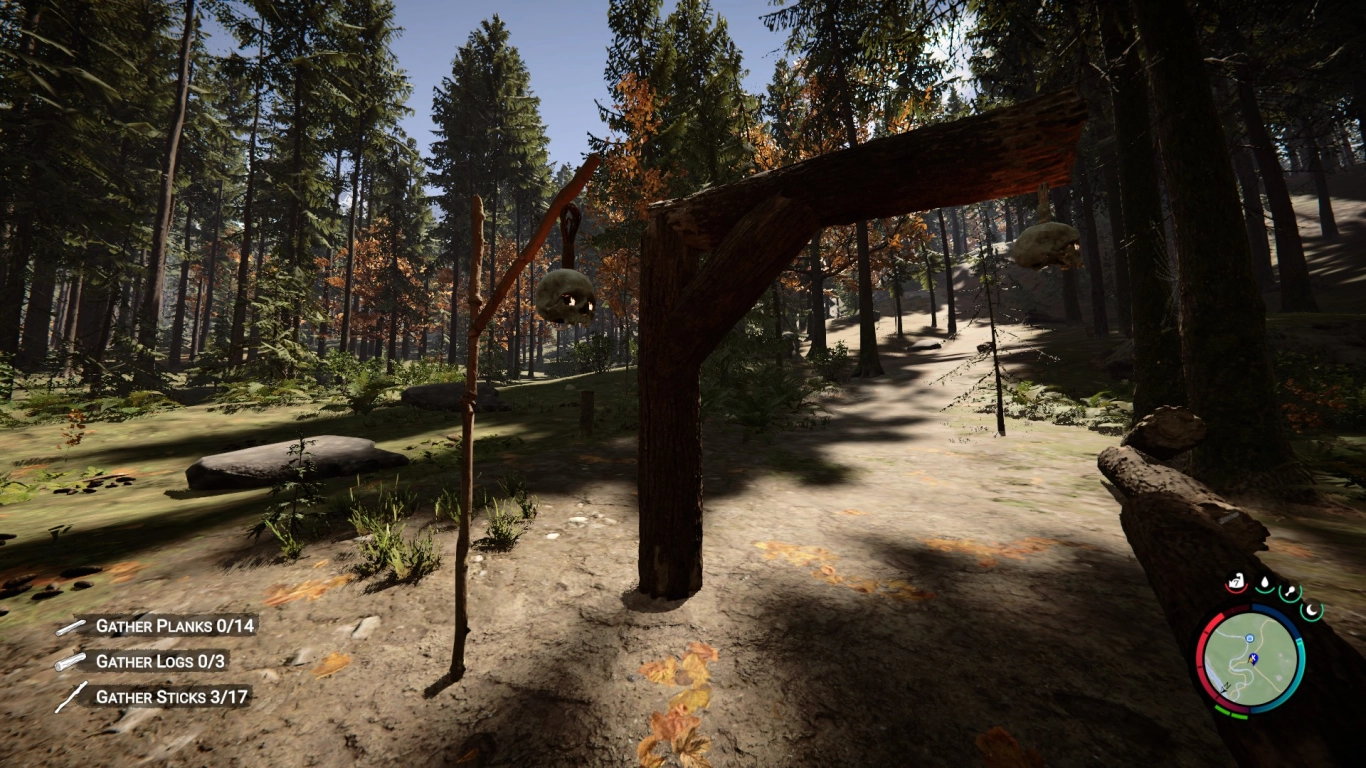
The decor along your paths completes a base. Lights are perfect for seeing at night and finding your way back.
For a lamp post, stack sticks vertically and add another stick horizontally toward the path. The same principle works with logs. Attach torches, skull lamps, or light bulbs, powering them with solar panels and batteries. Through blueprints you also get floodlights and the grotesque leg lamp. Keep your cable management tidy so you don’t snag on wires.
Planters and self-sufficiency: grow, heal, decorate
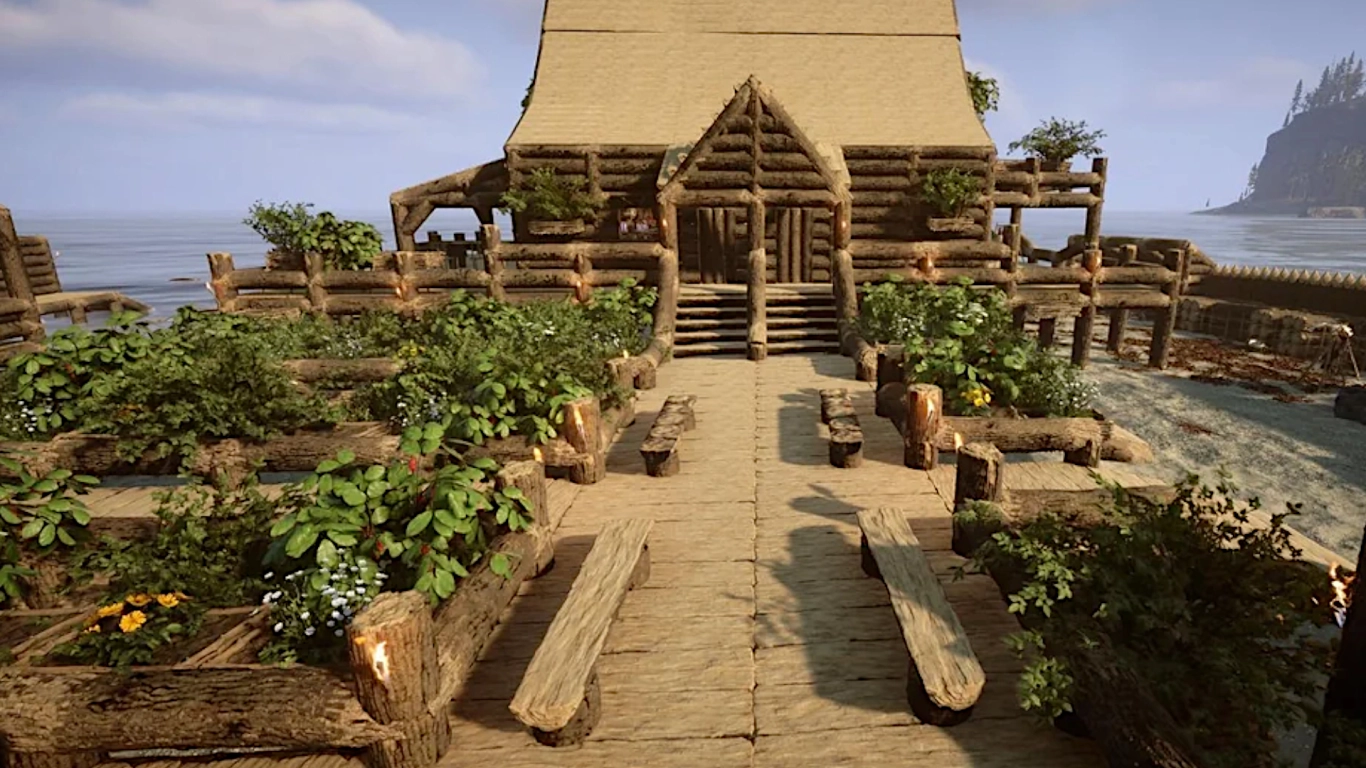
Finally, make effective use of planters in your base. They’re great for food and healing items, and they simply look stylish. Use both standing and hanging planters to decorate your base.
You can grow these plants yourself:
- Aloe Vera
- Arrowleaf
- Blackberry
- Blueberry
- Chicory
- Devil’s Club
- Guarana Berry
- Fireweed
- Horsetail
- Salmonberry
- Yarrow
Keep your garden beds organized and group planters by healing, energy, and food so you can grab what you need quickly during fights or in winter.
Conclusion: Advanced base-building tips for long-lasting bases
With the flexible building system, Sons of the Forest hides plenty of little tricks that not everyone knows. If you’re in it for the long haul, it’s worth incorporating these right into your structures. Some aspects only unlock after finishing the game; once you can focus entirely on building, you’ll have access to all the resources!
It’s even more fun in co-op: Rent one of our servers for Sons of the Forest and gather the resources you need together with your friends.
More interesting articles
Sons of the Forest: Building System Guide – Blueprints, Free Build, Base Building
Sons of the Forest: Defend Your Base – Locations & Traps
Sons of the Forest: Surviving Winter – Duration, Tips, Food & Warmth Guide