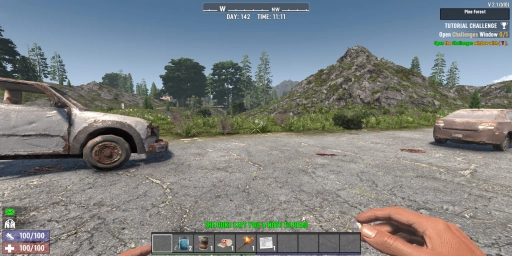
You’ve just woken up in a hostile, post‑apocalyptic world, wearing rags, pockets empty – and the first thing you see is a zombie giving you the side-eye. Welcome to 7 Days to Die – and especially: welcome to Update 2.0! If you’re new or haven’t played in a while, this is the perfect place to start. We’ll show you what matters in the first few hours and how to survive the brutal opener in this new version.
7 Days to Die 2.0: What’s new and why it matters for beginners
Before we dive in, a quick overview: Version 2.0 changes a lot. The visuals got a polish, the loot system was reworked, NPCs got smarter, the interface is more modern – and honestly, the game now feels much more cohesive. For beginners, that means the entry is more accessible, but still unforgiving. Mistakes rarely get a pass, especially in the first few days. So: take a deep breath, open your inventory, and let’s get started together.
First steps in 7 Days to Die: What to do without gear
You spawn somewhere in the wilderness. No tutorial, no friendly quest giver, no cookie. You do get a brief HUD hint and a few starter quests. And you should take them seriously. They teach you the basics – from crafting to building – and help you get going.
Your first tasks look like this:
- Pick plant fibers (just punch grass),
- Gather wood (small bushes or branches),
- Craft a primitive axe,
- Place a bedroll to set your respawn point.
These quests ease you into the game, reward you with XP and a skill point – and guide you to a nearby trader. That visit is absolutely worth it!
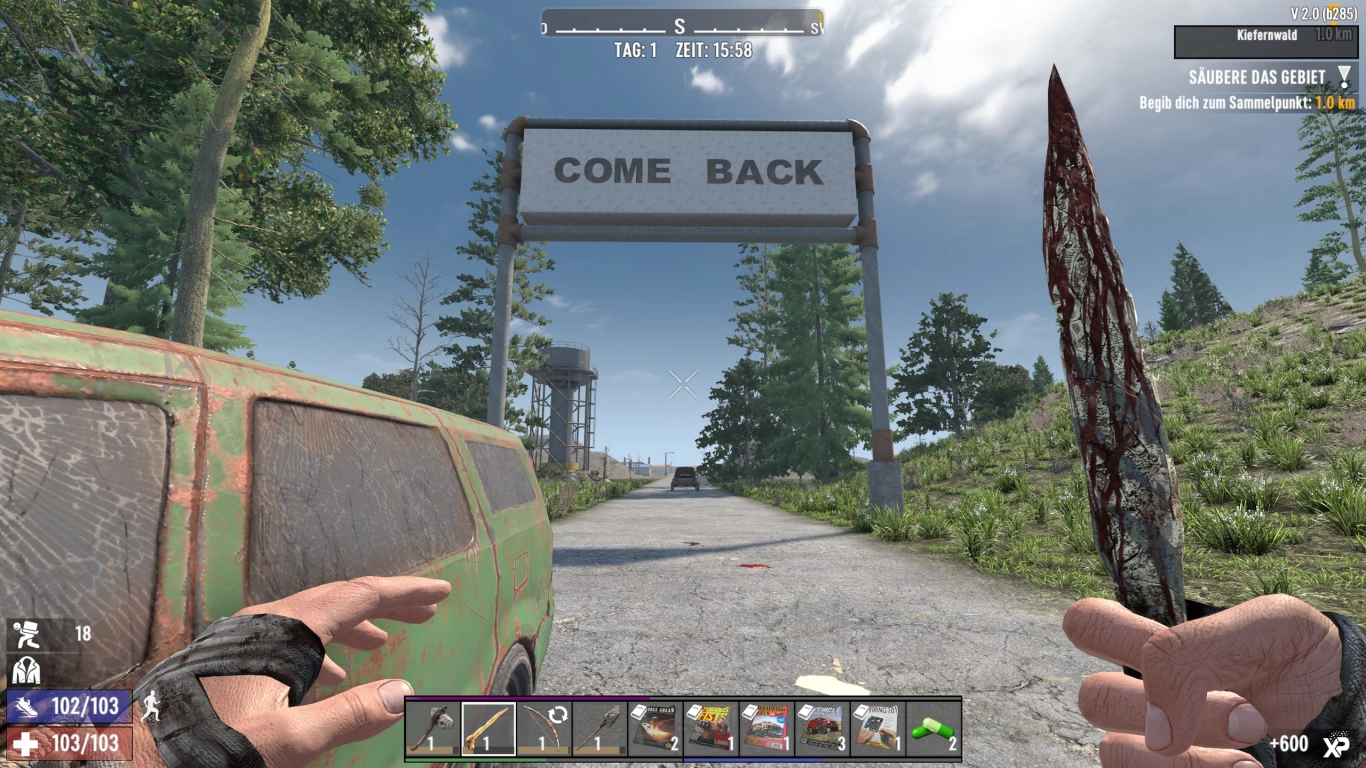
Dangers in 7 Days to Die 2.0: Day-night cycle, weather, wildlife
While you’re casually gathering wood or setting up your first camp, never forget: the clock is ticking. 7 Days to Die has a day-night cycle – and nights get nasty. Zombies are faster, more aggressive, and spot you from farther away. Plan your first moves with the goal of finding a safe shelter before nightfall.
Hazards during the day include:
- Wildlife like wolves or mountain lions (cougars) can shred you if you get too close.
- Abandoned buildings may look safe, but often hide unwelcome surprises.
- The revamped weather affects your stamina: cold, heat, or wetness will wear you down without proper clothing.
Stressful? It is. But that’s the appeal. Also use sneak (C) and mind your noise level to avoid encounters.
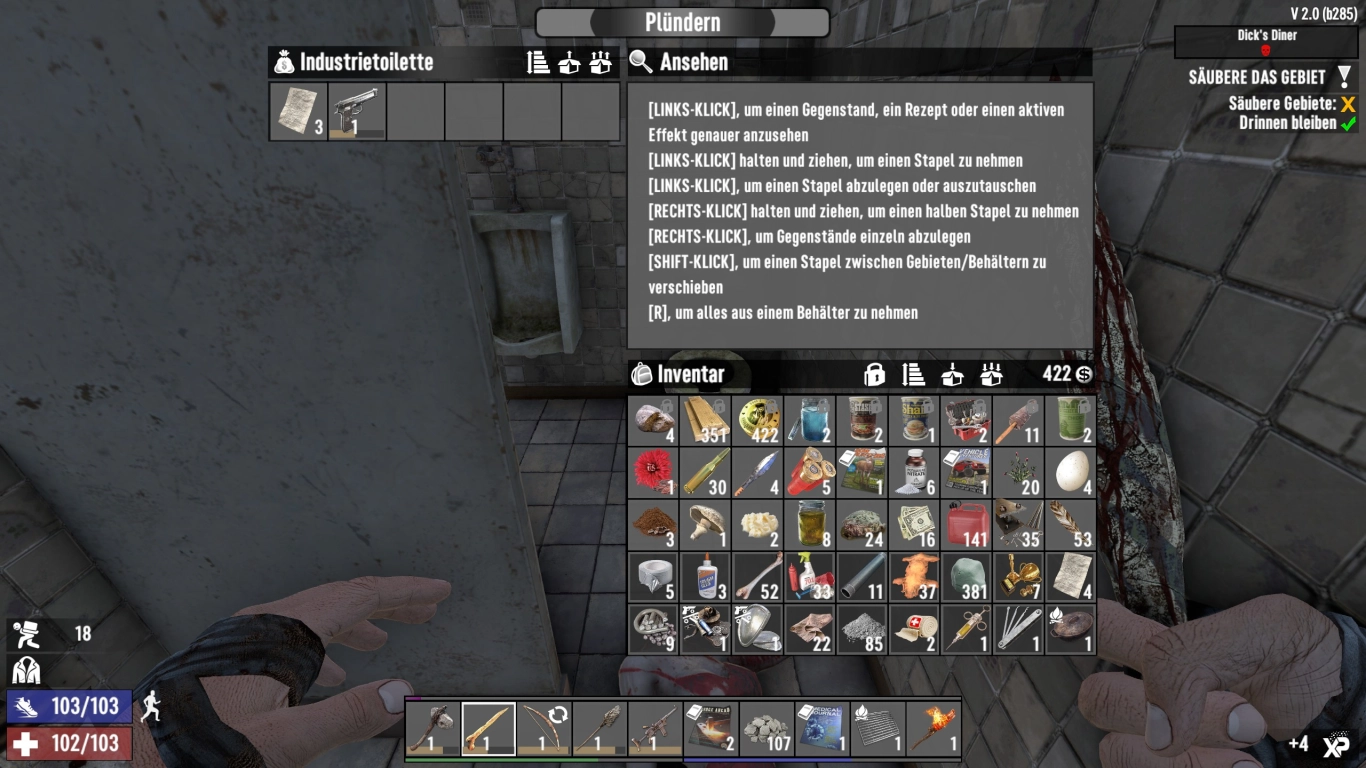
Understanding the 2.0 loot system: How to get better gear
One of the biggest complaints in older versions was the reward system. With 2.0, 7 Days to Die now uses a tiered loot system. Simply put: the better your skills and progress, the better your loot.
That means:
- In your first hours you’ll mostly find basic weapons, cloth clothing, and basic tools.
- High-end items like firearms, armor, or vehicles come from traders or tougher, better-guarded POIs.
- Many loot containers are color-coded – gray for trash, green for decent, blue and up for rarer finds.
Bottom line: Don’t expect a shotgun after 10 minutes. Targeted looting and smart skill investment move you forward systematically.
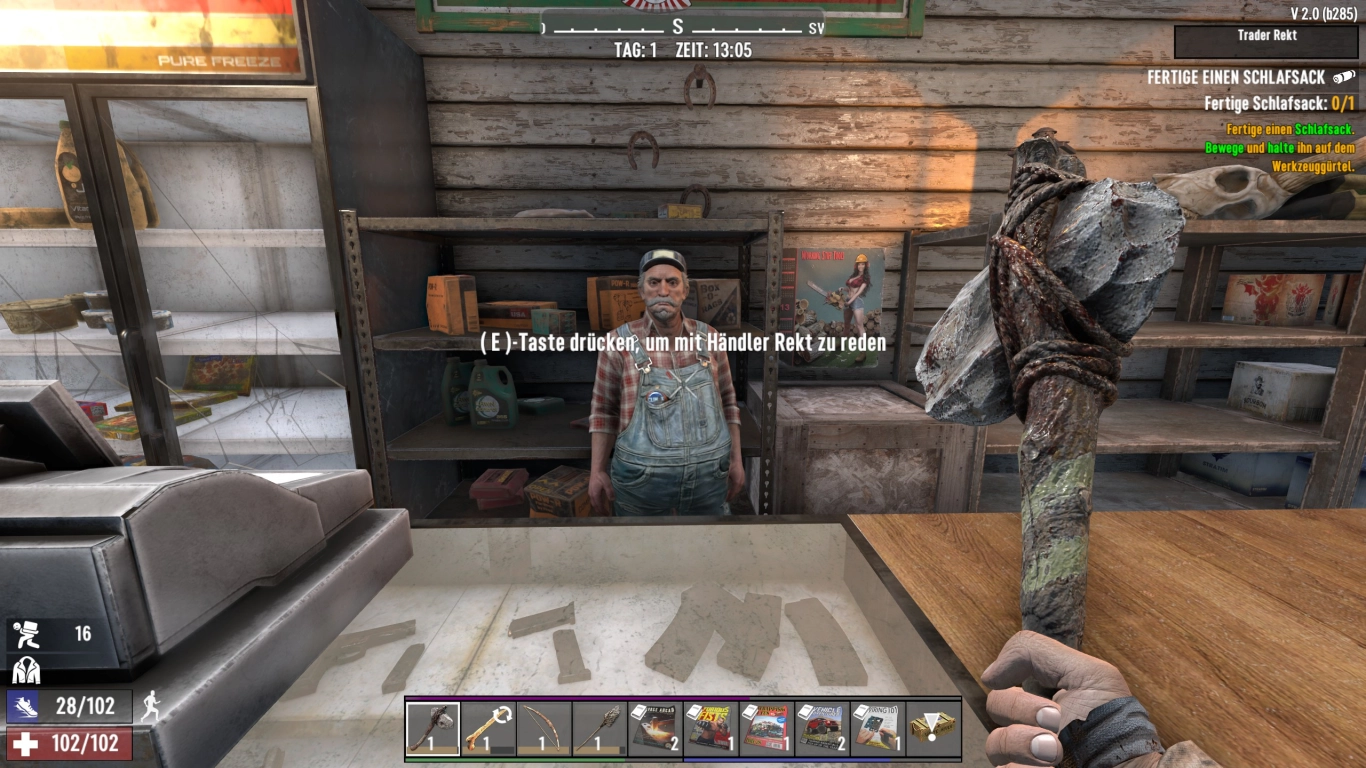
Traders and quests: Your best start in 7 Days to Die
The trader the tutorial sends you to is your best friend. Really. You can sell items, buy tools and food, and most importantly: pick up quests.
These missions lead you:
- to new locations,
- to solid loot,
- and earn you cash and reputation with traders.
As a beginner, a fetch quest (grab something and bring it back) is worth its weight in gold. You’ll learn the area, gain XP, Dukes (currency), and usually a useful item. Clear quests (eliminate enemies) are doable too – but beware: sometimes they’re real zombie nests. Watch the quest tiers; the higher the tier, the tougher the enemies, but the better the rewards.
Building a base in 7 Days to Die: Quick shelters and defense
Survived the first night? Congrats! Time to get a roof over your head. You have two options:
- Take over an existing shelter (e.g., a hut or ruin).
- Build your own – e.g., with wood frames and simple tools.
For beginners, option 1 is usually better because it saves time and resources, is faster to set up, and lets you focus on looting and combat.
But beware: every base needs defenses! Spikes, sturdy doors, elevated positions, clear chokepoints, and escape ladders if needed help a lot. The more you plan, the better you’ll weather the Blood Moon on day 7. The horde is coming – and it’s coming hard.
Extra tips:
- Keep repair materials (wood, stone, iron) on hand.
- Place torches/lighting so you spot enemies early.
- Build simple traps and force enemies through tight chokepoints.
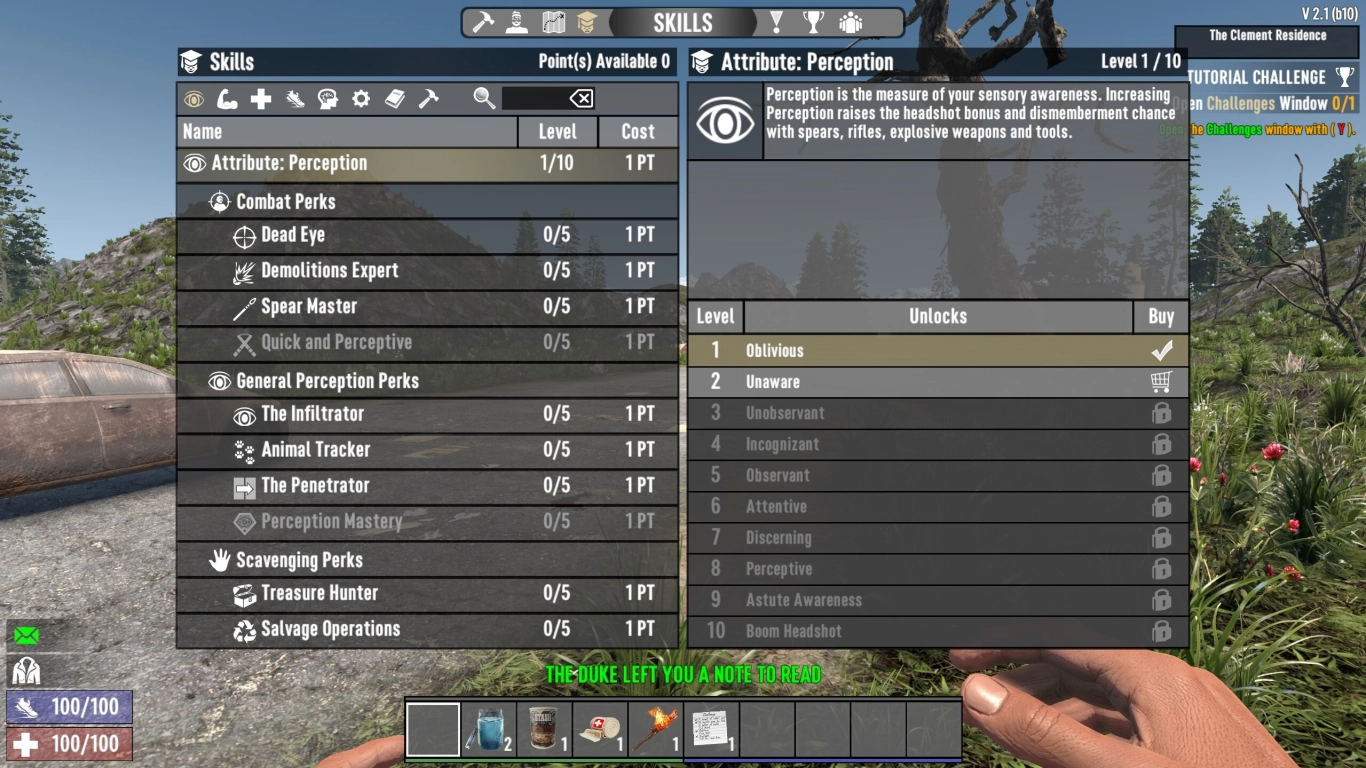
Skill points in 7 Days to Die 2.0: The best early perks
In 7 Days to Die 2.0, skills aren’t just nice-to-have – they’re game changers. Which ones should a newcomer pick?
Safe early picks:
- Pack Mule: More inventory slots = more loot.
- Miner 69’er: More block damage – great for gathering resources.
- Healing Factor: Slow health regeneration – hugely helpful.
- Lucky Looter: Better chances for higher-quality finds.
- Master Chef: Learn to cook – raw food makes you sick, better meals grant buffs.
Later, you can specialize (tech, combat, building). Early on, carry capacity, survivability, and loot quality matter most.
Surviving week one: Timeline to the Blood Moon
So you know what to expect, here’s a rough plan:
- Day 1–2: Gather resources, craft basic tools, find a base.
- Day 3–4: Loot, take your first quests, secure the base.
- Day 5–6: Upgrade weapons, stock ammo, build traps.
- Day 7: Reinforce defenses, prep for the Blood Moon.
After that? Breathe, collect the loot – and rebuild. The next horde will come. Use the downtime to repair walls, craft more ammo, and refine your chokepoints.
Conclusion: 7 Days to Die 2.0 – tougher, yet better for beginners
7 Days to Die has never been a game for the faint-hearted, but the 2.0 update makes it noticeably more accessible, thoughtful, and atmospheric. If you’re willing to dig in, you’ll get a deep, rewarding survival experience with real “aha” moments.
You’ll swear, laugh, sprint into the night in panic – and eventually look proudly at your first functioning base. That’s when you know: you did it. At least until the next Blood Moon.
Final tip: Play with friends on a dedicated server. Rent your own 7 Days to Die server. We deliver stability and performance, and you can tailor rules, day cycles, and difficulty to your liking.
More interesting articles
7 Days to Die: Days 1–7 Guide – Preparing for the Blood Moon
7 Days to Die 2.0: Base Building Guide for Secure Bases
7 Days to Die 2.0: Traders, Quests, Reputation & Strategies
7 Days to Die Vehicles Guide 2.0: From Bicycle to Gyrocopter