There’s a moment in 7 Days to Die when you realize: running around and crashing wherever you can no longer cuts it. You need a home. A place to dump your loot, treat your wounds, and prep for the next Blood Moon. But “home” in the zombie apocalypse doesn’t mean “cozy cabin with flower boxes.” It means a functional fortress, cleverly built, hard to crack — and planned so you can survive the onslaught without your heart leaping out of your chest.
Why base building in 7 Days to Die 2.0 is crucial
With update 2.0, 7 Days to Die has meaningfully improved both building and zombie pathing.
- The stability system is more unforgiving: parts without proper supports collapse faster. Think about horizontal spans and load-bearing pillars.
- Zombies identify weak points better and choose the cheapest path — preferably through doors, thin blocks, or poorly supported sections.
- They attack with intent instead of aimlessly scratching at walls.
What that means for you: you used to get by with wooden walls — now you need well-thought-out structures, or the Blood Moon will mercilessly expose your mistakes.
Choosing a location for your 7 Days to Die base
 Before you build, pick a spot with clear sightlines, nearby resources, and escape options.
- Take over an existing structure (POI)
Ideal early on: fewer resources, faster protection. Downside: often suboptimal layout; walls/ceilings need reinforcement. - Use elevated terrain
Hills, cliffs, or water towers buy you time because zombies have to climb first. - Build from scratch
Maximum control, but costly and time-consuming.
Pro tip: Being close to traders and resource deposits (e.g., iron) is worth its weight in gold. Don’t build directly on narrow streets so you keep clear lines of fire.
Materials and stability: from wood to steel
 In 7 Days to Die, your choice of materials determines your odds of survival.
- Wood: fast, cheap, but weak. Use it only as an early stopgap.
- Stone/Cobblestone: your first big safety jump. Robust and easy to repair.
- Concrete: strong, but requires curing time. While curing it’s weaker — plan for that.
- Steel: top tier for late hordes. Expensive, but extremely durable.
Pro tip: Build in layers: hard on the outside (concrete/steel), cheaper inside (stone/wood). Place support pillars on a grid and avoid long spans — stability is calculated block by block.
Base design and architecture: kill tunnels, elevation, escape routes
A good base is a tool to control zombies.
- Kill tunnel
Tight, guided paths with spikes, hatches, and choke points. Zombies stay pathing‑friendly if you offer a seemingly viable but deadly route.
Tip: 2 blocks wide, 2–3 blocks high, with a hatch setup as a barrier so melee fighters can hit easily. - Elevation
Raised platforms give you visibility and protect you from melee zombies. Ensure stable supports and ladders/ramps you can remove in an emergency. - Escape routes
Always plan at least one second exit (e.g., a tunnel exit). - Clear lines of fire
Avoid unnecessary corners. Build firing slits and keep the area in front of the entrance clear.
Traps and defenses: spikes, electric fences, blade traps
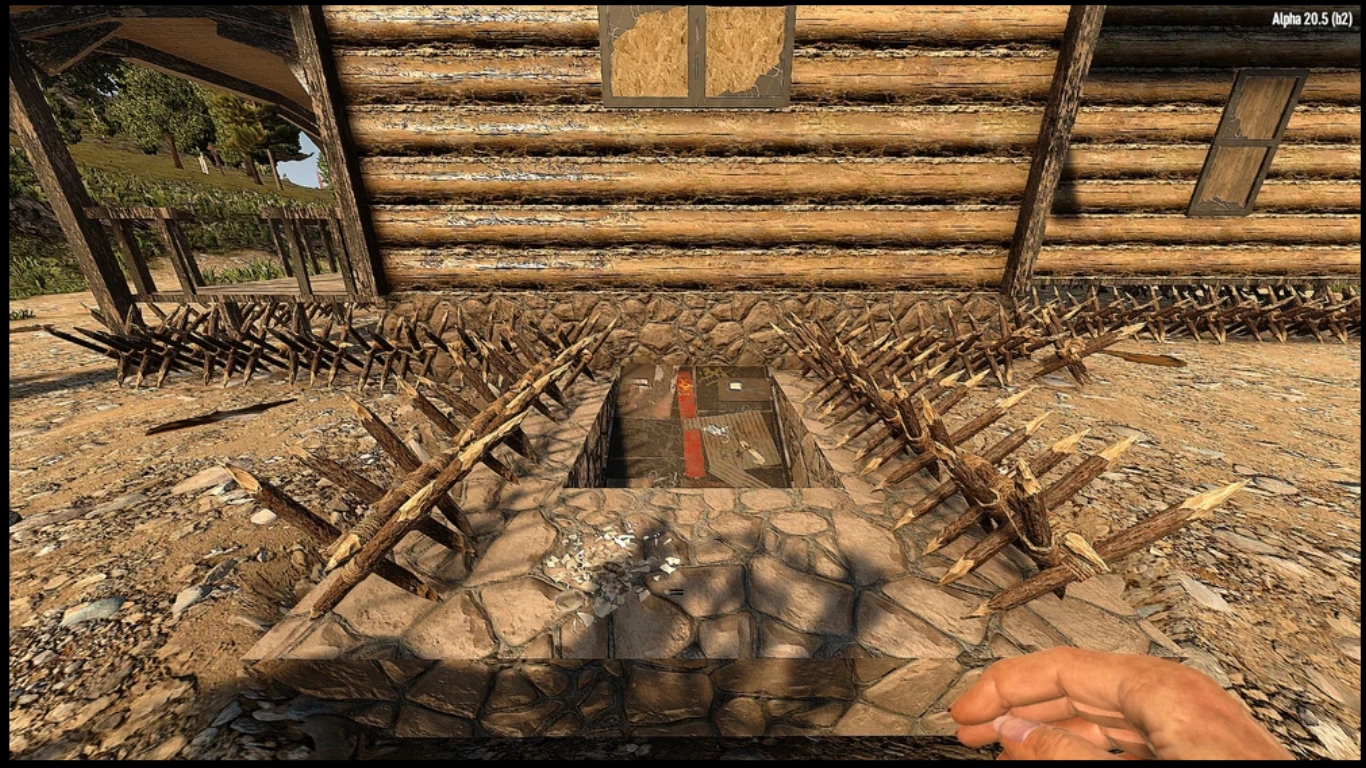 Combine traps so they waste enemy time, stack damage, and keep control.
- Wood/Iron spikes: cheap, ideal for slowing. Place them along the intended zombie path.
- Electric fences (fence posts): slow and interrupt attacks — perfect to hold enemies in a kill corridor. Use a generator, relays, and switches for control.
- Blade traps: high damage at head/chest height. Mind maintenance and protect them with bars/shapes.
- Molotov zones: ignite tight groups efficiently. Mark throw points and secure escape routes.
Pro tip: Wire in loops with an emergency switch. Keep repair kits and materials ready, and repair between waves when it’s safe.
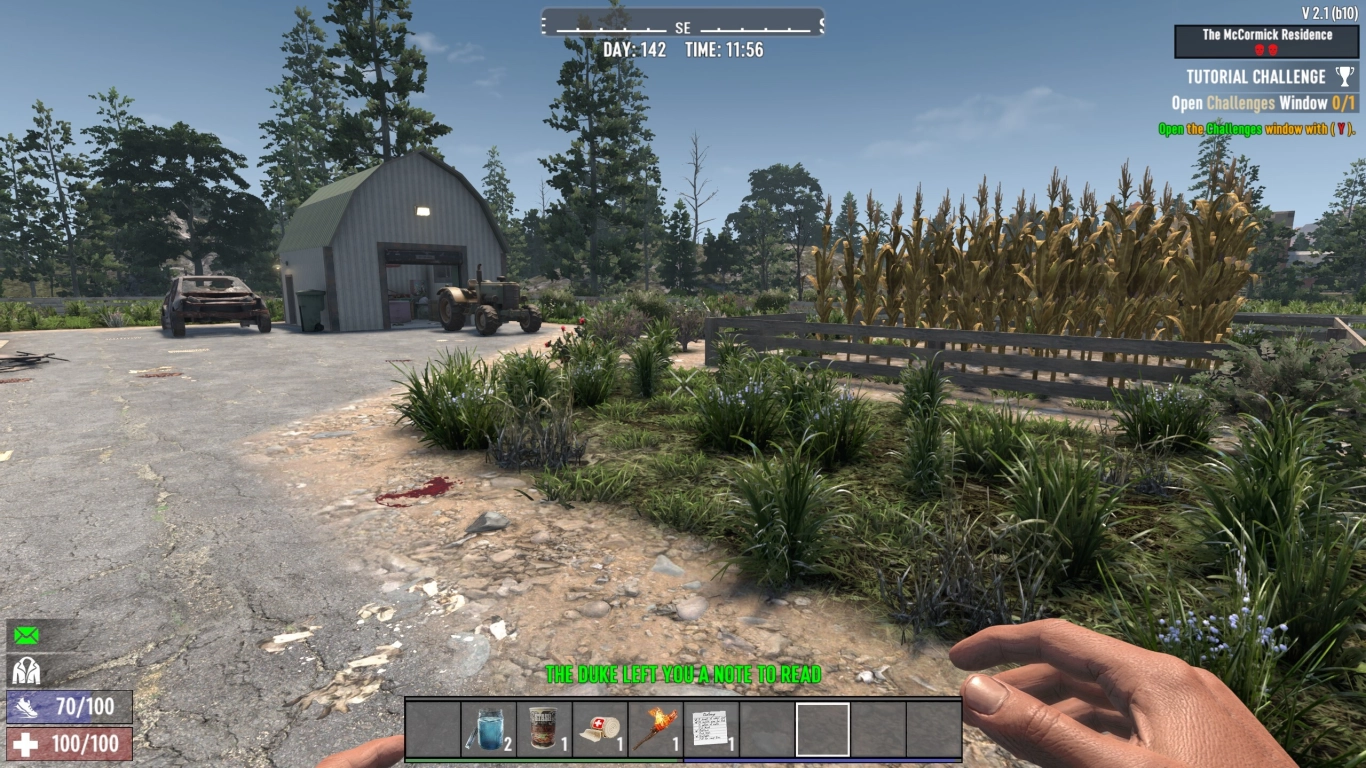
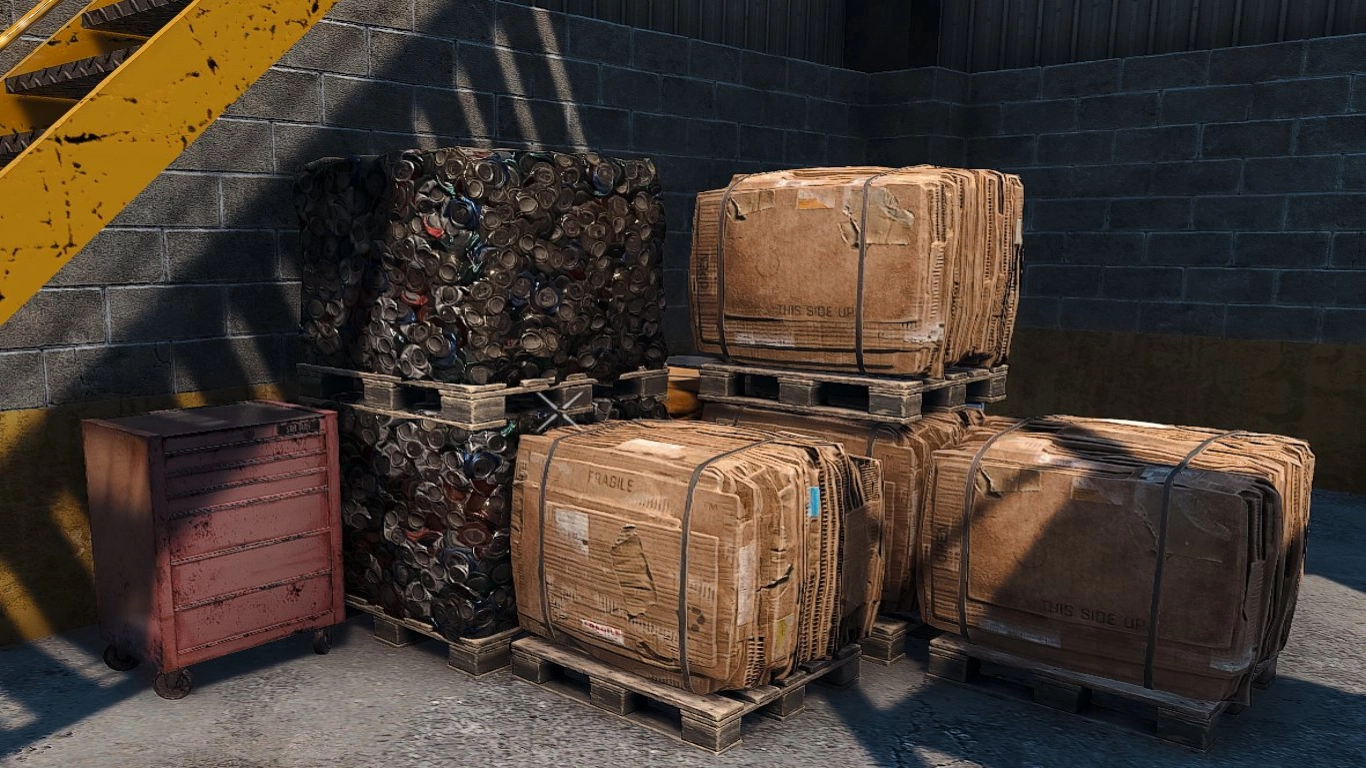
Interior organization: storage, workshop, kitchen, medical
 A functional interior saves time and nerves — build with purpose.
- Storage area: label chests clearly (food; ammo/weapons; building; medical; mods). Set up a drop chest near the entrance.
- Workshop: forge, workbench, and chemistry station close together. Place resource chests right beside them.
- Kitchen: cooking grill, cooking pot, and a water source/cans. Eat well = fight better.
- Medical: bandages, painkillers, antibiotics within easy reach near the door.
Multiplayer base building and dedicated servers
With friends you split roles: one gathers, one builds, one loots. Complex structures grow faster that way. On a dedicated server — for example with 4Netplayers — the world keeps running 24/7 (farming, crafting, smelting). That’s ideal for large projects and steady progression.
From start to endgame fortress: upgrade phases
Here’s a possible path:
- Makeshift: wood frames, door, roof — get safe fast.
- Stone upgrade: reinforce outer walls; place first spikes.
- Checkpoint: raised platform with kill tunnel.
- Power & automation: generator, spotlights, electric fences, blade traps.
- Endgame fortress: concrete/steel, redundant lines, multiple levels, clear fields of fire.
Remember Game Stage scaling: the further you progress, the tougher the hordes. Plan upgrades in time.
Conclusion on base building in 7 Days to Die 2.0
There’s no perfect base — every horde tests your creativity and planning. With version 2.0, it’s more worthwhile than ever to invest time in your base: for safety, efficiency, and your style. Build as a team if you like, but make sure the base can also be defended solo — and that works best on your own server. Rent your 7 Days to Die server and jump right in.
More interesting articles
7 Days to Die Endgame Guide: Gear, Weapons & Builds
7 Days to Die 2.0: Traders, Quests, Reputation & Strategies
7 Days to Die Vehicles Guide 2.0: From Bicycle to Gyrocopter