After getting comfortable with many of the Tier 2 unlocks—like the Assembler, AWESOME Sink, and Chainsaw—you’re ready for your next project. For Tiers 3 and 4, you first need to start the Space Elevator and complete at least Phase 1. That’s all that’s possible for now. Build the basic structure and finish the first phase—then it’s on to Tier 3! Here, everything revolves around coal, better materials, your first proper excursions, and faster transport across the map.
Coal Power in Satisfactory: Efficient power with water and Miners
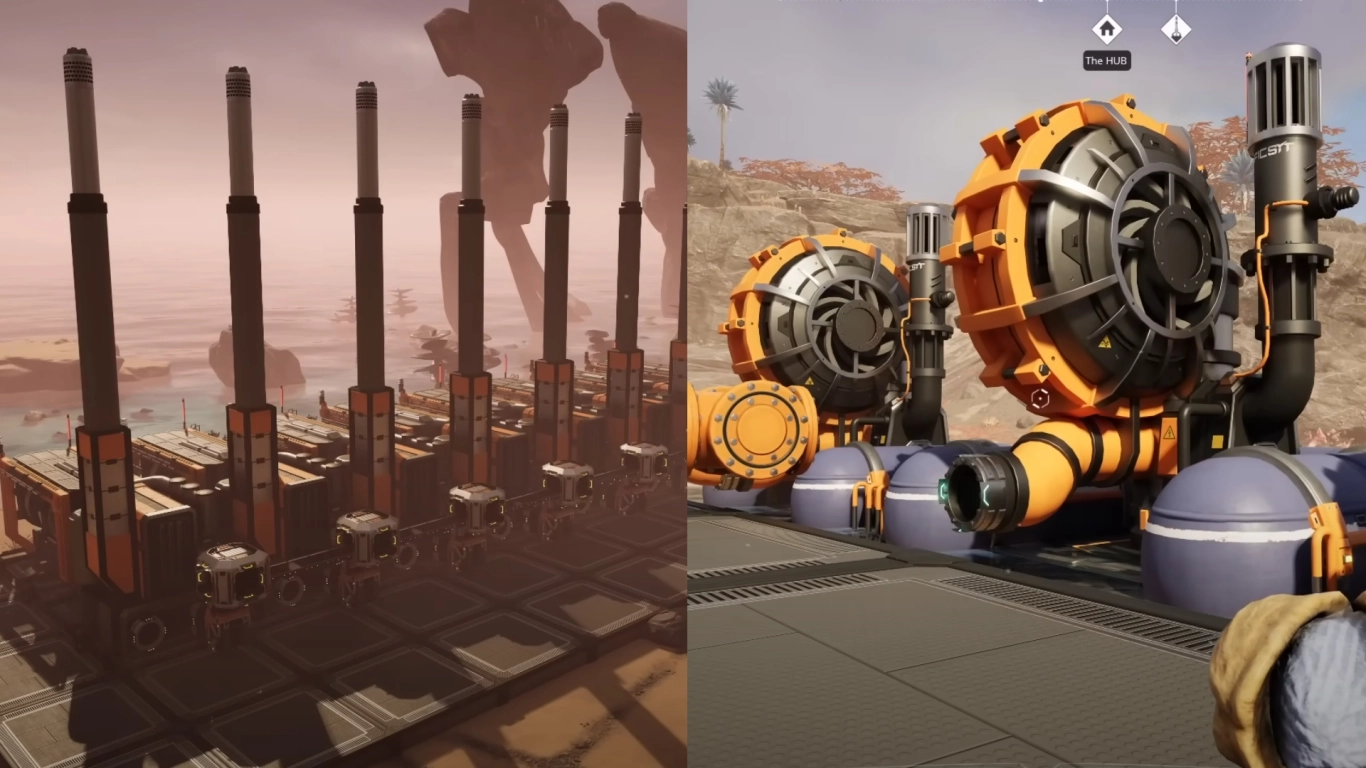
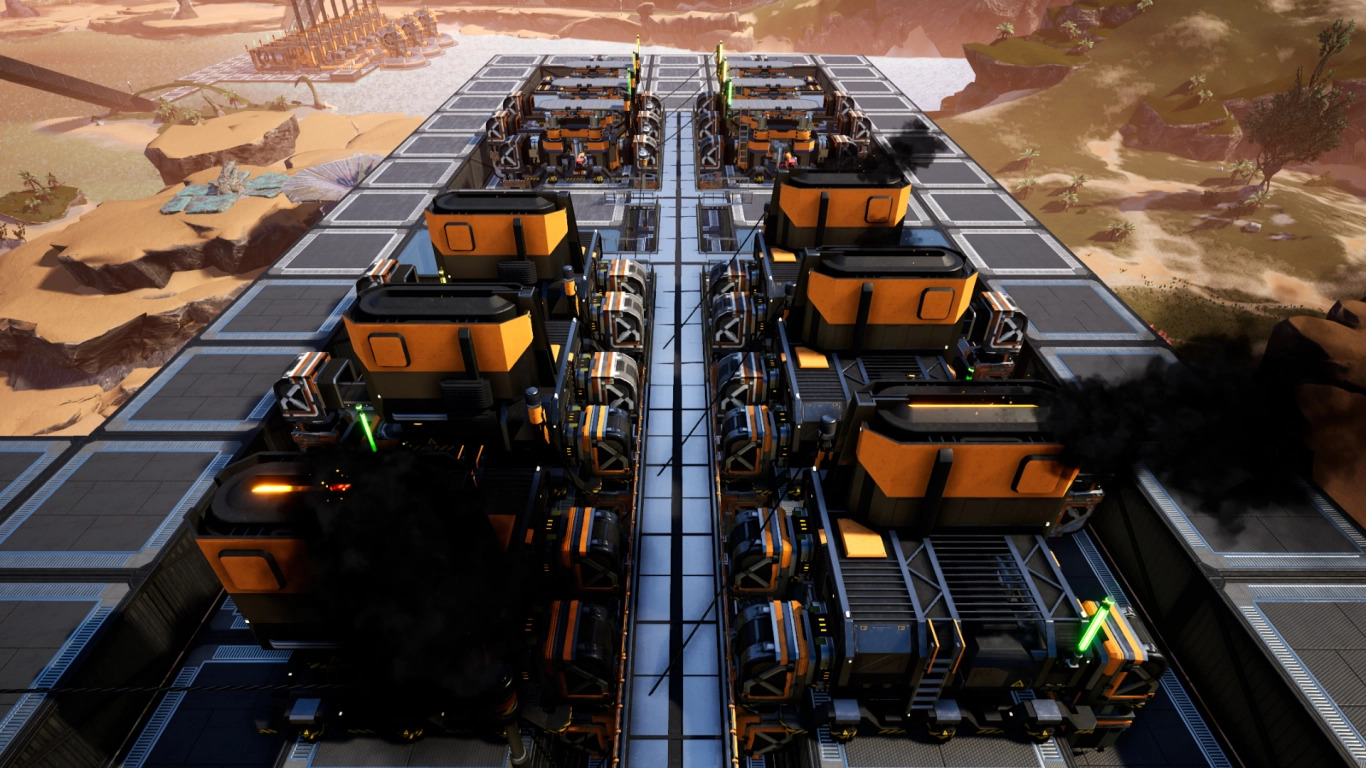
Coal will become one of your most important resources, because it lets you generate far more power to expand your factory. Once your Coal Generators are on the grid, you can dramatically scale production—they outclass your old Biomass Burners by a wide margin.
Complete with:
- 150x Reinforced Iron Plates
- 50x Rotors
- 500x Cable
For your first coal setup, pick the right location. We recommend building on the coast or near a deep water source, since burning coal requires both the resource from below and water. Ideally, find a spot with access to at least two coal nodes and a nearby body of water. That puts you in a great position to expand your power network.
Extract coal with a Miner Mk.2 to ensure ample throughput—you should already be familiar with this system. Water is a bit trickier: you’ll need Water Extractors, which can only be placed in deep water. They float on large pontoons and feed water through the new Pipes over long distances.
To start, build around five generators, depending on your needs. Each produces 75 MW, more than twice a Biomass Burner’s 30 MW. You can then dismantle or repurpose your old burners.
Pro tips for stable coal power:
- Plan for water demand: A Coal Generator needs a steady water supply. Use multiple Water Extractors and distribute flow across generators.
- Mind elevation changes: Install Pipeline Pumps on inclines to maintain consistent flow.
- Use split pipeline runs and separate power circuits with their own fuses to avoid outages if coal or water briefly dips.
- A Miner Mk.2 on a normal coal node feeds several generators—scale your logistics cleanly with Conveyor Belts and Smart Splitters.
Automating truck transport: routes, stations, and fuel management
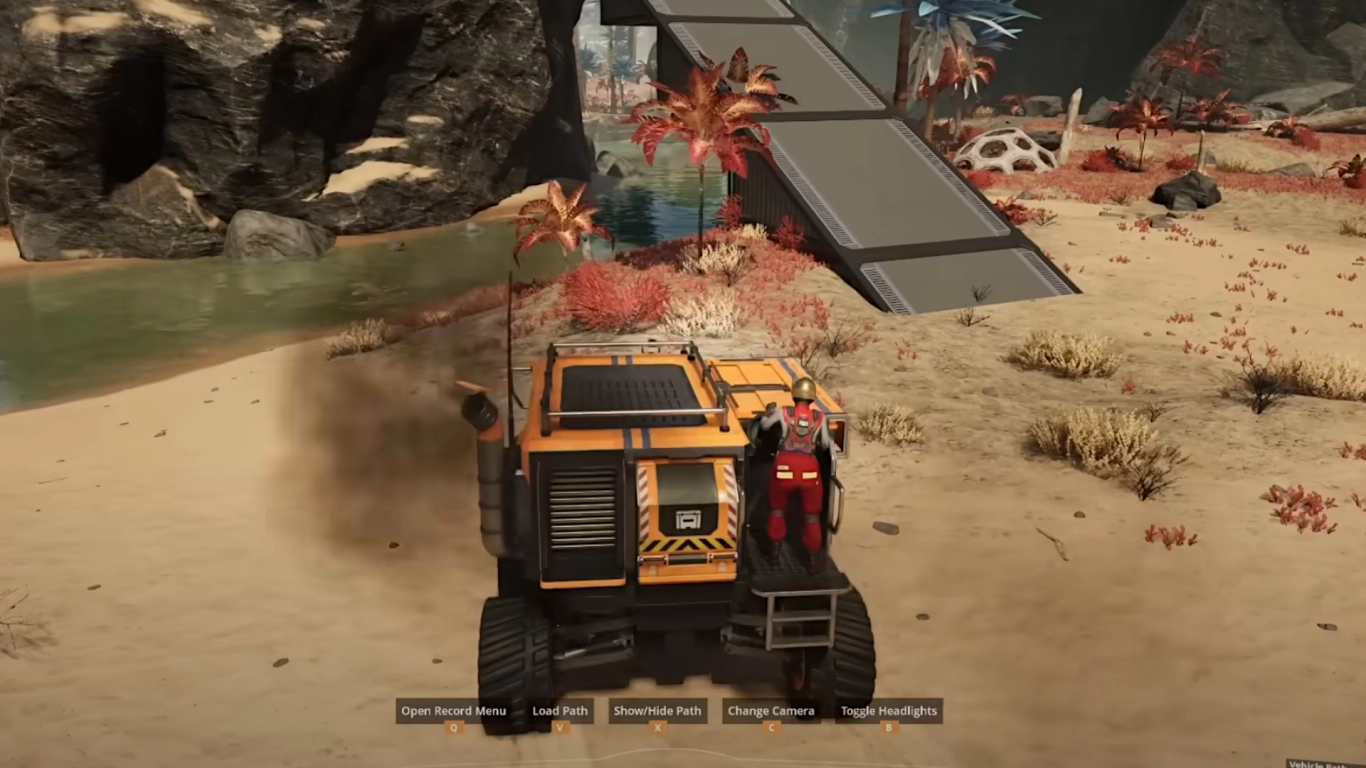
This milestone unlocks a Truck to help move resources over long distances. You also get a few extra inventory slots on top!
Complete with:
- 25x Modular Frames
- 100x Rotors
- 200x Cable
- 400x Iron Plates
You can drive trucks yourself or run them automatically—both are handy for distant outposts or resource scouting.
With the Truck Station you can link stations and set up routes. Stations can load and unload your trucks for specific materials. Record a route once by driving it yourself and stopping at each station, then switch the truck to autopilot.
Remember, trucks consume fuel, so they aren’t free to run. Decide whether a long chain of Conveyor Belts or a truck is the better investment for the job—both are valid, and trucks are often underestimated! Stations can refuel your truck automatically; just ensure there’s enough fuel available.
Start steel production: Foundry, Steel Beams, and Steel Pipes
Steel is one of the most important mid- to late-game resources and unlocks with Tier 3. It becomes a core material for many items.
Complete with:
- 50x Modular Frames
- 150x Rotors
- 500x Concrete
- 1000x Wire
Here you unlock the Foundry, a new building and an upgraded smelting option. It enables alloys—combining two ores to create a new material. For Steel, that’s a mix of Coal and Iron Ore.
With the resulting Steel Ingots you can craft many items, but the two essentials are Steel Beams and Steel Pipes. We recommend a setup with two Foundries and two Constructors producing these components directly. You’ll need both Beams and Pipes for a ton of upcoming recipes. Use a Smart Splitter to divide your ingots—Beams require a bit more than Pipes. From Steel Beams, you can then craft Versatile Frameworks, for which you’ll also need Modular Frames.
Practical tips for clean steel setups:
- Keep raw input (Iron + Coal) balanced so your Foundries don’t idle.
- Plan enough conveyor capacity and use buffers (Storage Containers) to smooth out fluctuations.
- Later, check alternate recipes (e.g., using Petroleum Coke) to resolve bottlenecks and boost efficiency.
Safety and exploration: Xeno-Basher and inventory upgrade
The final Tier 3 step focuses on defense and is perfect before your first real exploration of the Satisfactory map. You’ll unlock the Xeno-Basher, your first “real” weapon, plus a few more inventory slots—always useful.
Complete with:
- 100x Reinforced Iron Plates
- 600x Iron Rods
- 1500x Wire
The Xeno-Basher helps defend against hostile creatures. The planet’s fauna isn’t exactly friendly to new arrivals. You can set creatures to passive in the options, but that’s not the intended experience.
Crafting:
- Xeno-Basher: 5x Modular Frames, 25x Iron Rods, 500x Wire, 2x Xeno-Zapper
- Xeno-Zapper (each): 10x Iron Rods, 2x Reinforced Iron Plates, 15x Cable, 50x Wire
Craft the Xeno-Basher at a Craft Bench in the HUB—it’s a reliable weapon to keep you safe. For longer trips, bring Medkits and later protective gear (e.g., a Gas Mask) once available.
Conclusion: Master Tier 3 milestones
With Space Elevator Phase 1 complete, you can dive into Tier 3, where automation and new resources take center stage. Generate more power than ever with Coal Generators and kick off steel production! Use trucks to bridge long distances and take on threats with the Xeno-Basher.
All in all, Tier 3 is a major milestone—especially fun in co-op. Rent one of our Satisfactory servers and dive into the game’s coal age together!
More interesting articles
Satisfactory Tier 2 Guide: Assembler, Chainsaw & Logistics
Satisfactory Tier 1 Guide: Expanding Your Factory, Power & Logistics
Satisfactory Tier 4 Guide: Blueprints & Logistics Mk. 3