By Tier 3 you’ll start extracting water and oil and have your first contact with Satisfactory’s fluid system. And that can get pretty complex, because several mechanics come together that you probably haven’t considered before. Managing fluids—and later gases—is essential for crafting many late‑game items and getting the most out of the game. Use the real world as your guide, because aspects like gravity affect how your pipes behave. Even then, not everything will be obvious, so let’s take a closer look at transporting fluids and gases.
Satisfactory fluids and gases: overview and uses
While your first hours focus on solid items and conveyor belts, Tier 3 adds pipes and the first fluids. This opens many new possibilities, especially regarding fuel production.
Subsequent milestones expand this aspect further, which also means juggling more different fluids at once. First, here’s which fluids to expect and how to extract or produce them. You’ll also see what each resource is used for.
Tier 3:
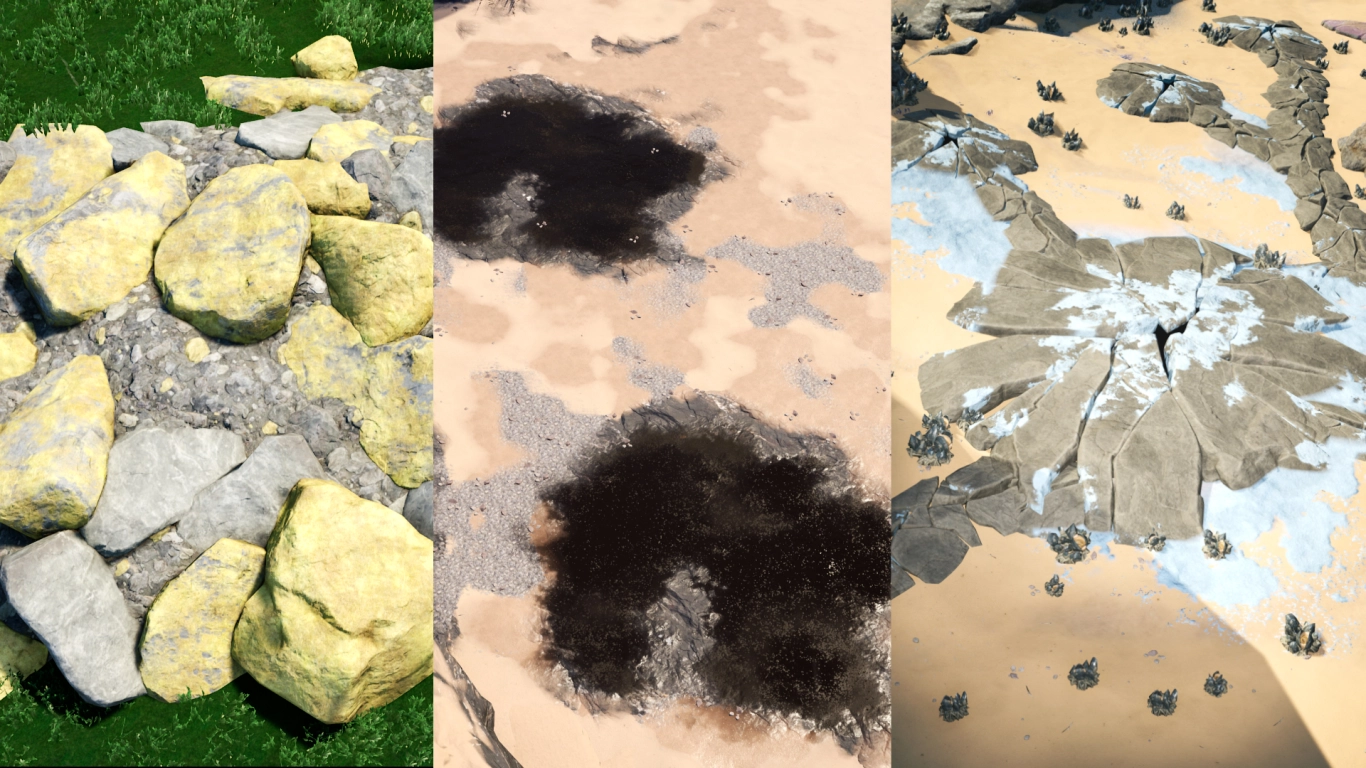
- Water (extracted with the Water Extractor) is essential for producing many resources.
Tier 5:
- Crude Oil (extracted with the Oil Extractor) is used for Fuel, Rubber, and Plastic.
- Heavy Oil Residue (produced in the Refinery) is a by‑product and can be converted into Fuel.
- Fuel (produced in the Refinery) is a fuel.
- Turbo Fuel (produced in the Refinery) is a fuel.
- Liquid Biofuel (produced in the Refinery) is a fuel.
Tier 7:
- Alumina Solution (produced in the Refinery) is used to make Aluminum and Batteries.
- Sulfuric Acid (produced in the Refinery) is important for nuclear power.
Tier 8:
- Dissolved Silica (produced in the Refinery) is required exclusively for alternate recipes.
- Nitric Acid (produced in the Blender) is used for Fuel and Uranium.
Gases arrive later in the game and are especially important in the late game. These include highly effective fuels or resources for Tier 9 recipes.
Tier 8:
- Nitrogen Gas (extracted with the Resource Well Extractor) is needed for some later aluminum parts.
- Rocket Fuel (produced in the Blender) is a fuel.
Tier 9:
- Ionized Fuel (produced in the Refinery) is a fuel.
- Excited Photonic Matter (produced in the Converter) is used by the Quantum Encoder.
- Dark Matter Residue (produced in the Converter or Quantum Encoder) is important for Ficsonium.
Satisfactory pipes and pumps: transporting fluids and gases
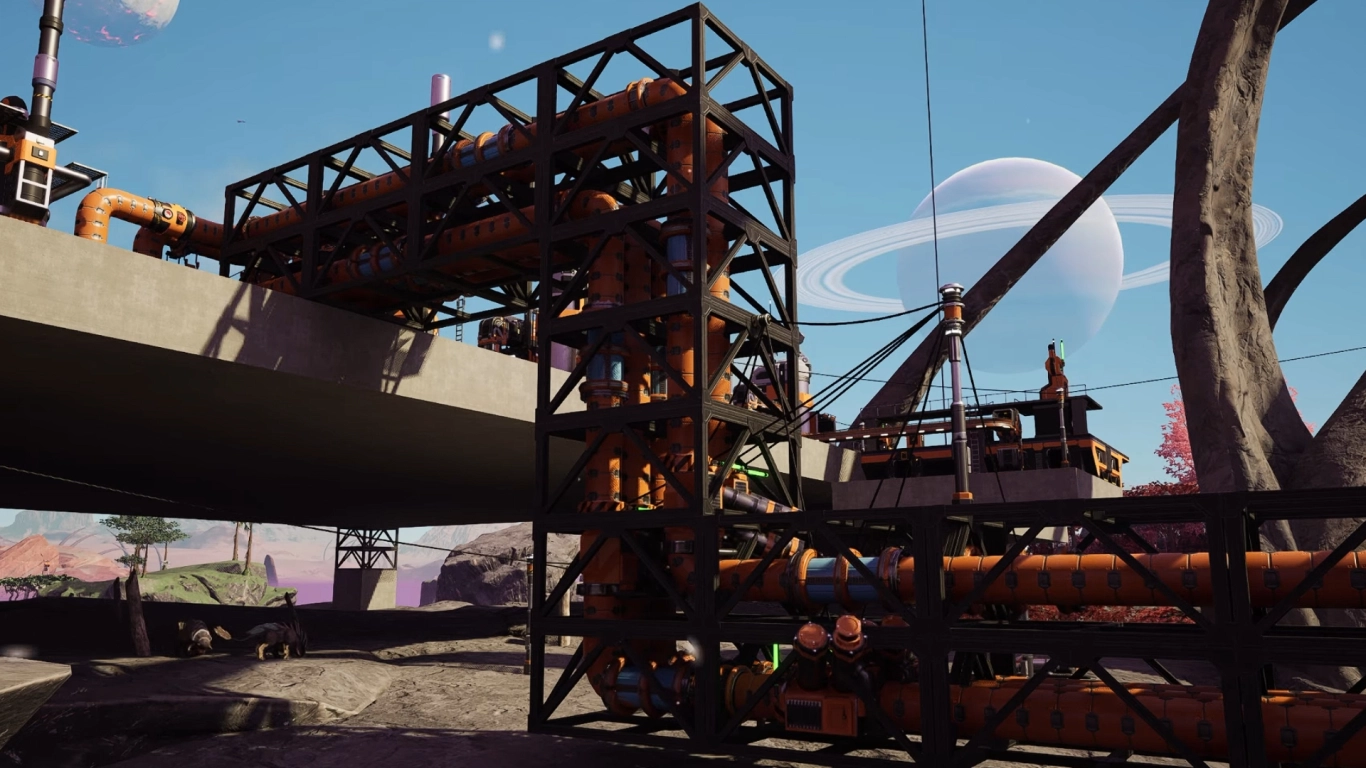
Now you know which fluids and gases exist. But how do you move them from one place to another and process them? Unlike normal resources, you must use pipes, which carry both product types.
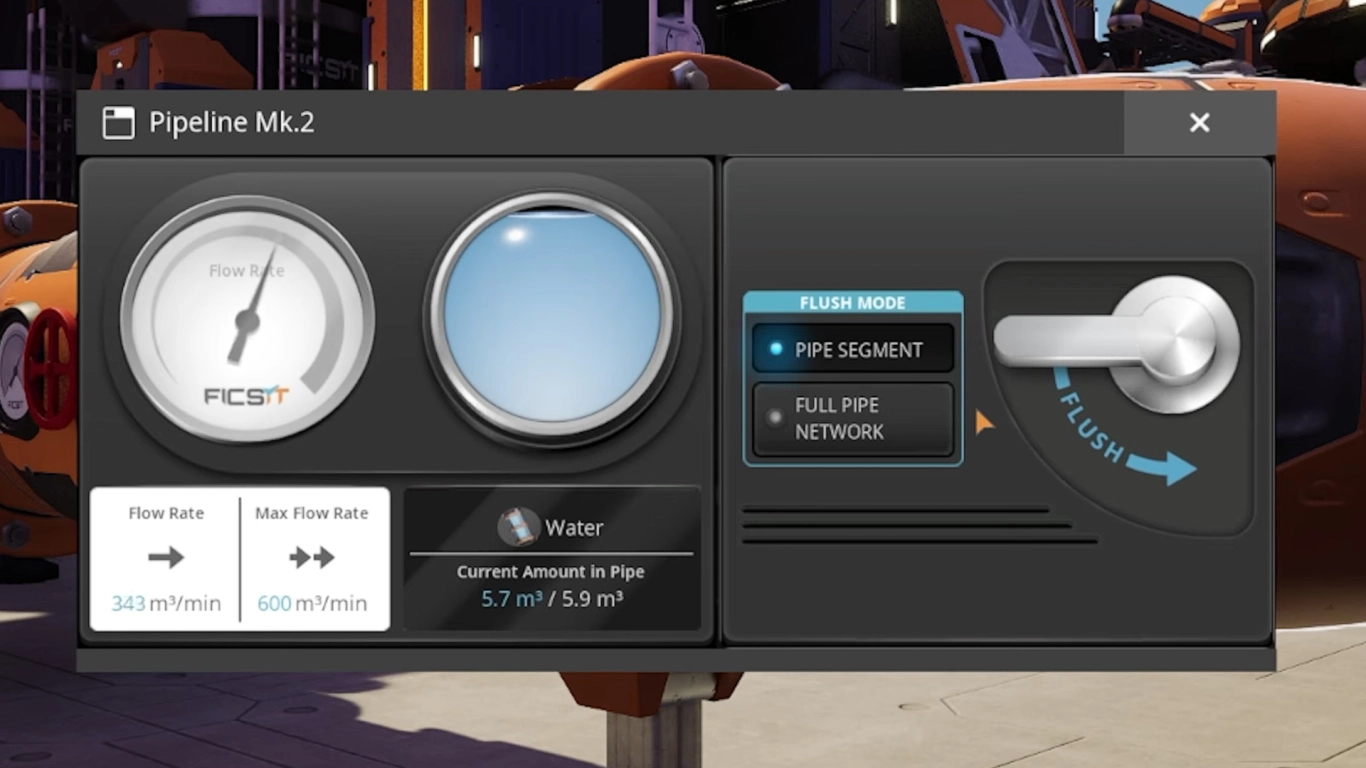
You unlock Pipeline Mk.1 with Tier 3 and Water Extraction. From then on, you can lay them and start transporting. They allow 300 m³ per minute and stay relevant until Tier 6, where you unlock Pipeline Mk.2. Those offer double the flow. In the AWESOME Shop you can also unlock cosmetic pipes that are entirely single‑color. We recommend color‑coding pipes to match the fluid so you can tell them apart. Clicking a pipe shows its flow rate and utilization.

In general, note that fluids in Satisfactory are affected by gravity, while gases are not. Fluids cannot move upward without assistance and will prefer to flow downward. In addition, fluids flow under pressure and prefer empty pipe sections.
Regular pipes and building outputs can lift fluids by roughly 10 meters before the pressure no longer applies. To move fluids higher, you need to install a pump. Pipeline Pump Mk.1 provides 20 meters of head lift, Pipeline Pump Mk.2 provides 50 meters. Pumps do not make fluids flow faster; they are only for pressure (head) compensation.
You can make gravity work for you. When fluids flow straight downhill, they gain momentum and can then be lifted higher later. How this plays out depends heavily on your fluid layout. Often the best solution is to experiment and test how far the fluid really travels. When in doubt, add one more pump to ensure full flow.
Packaging fluids and gases: transport via conveyor belts
With a few exceptions, you can package all fluids and gases and move them with conveyor belts. This can be a good alternative if you produce enough canisters or tanks to process the resources in the Packager. You unlock it in Tier 5 and can put it to work immediately for oil production. The advantage is that you don’t have to deal with pipes. You can also transport fluids by trains or drones. In addition, you can feed them into the AWESOME Sink.
Buffers and valves: using tanks optimally
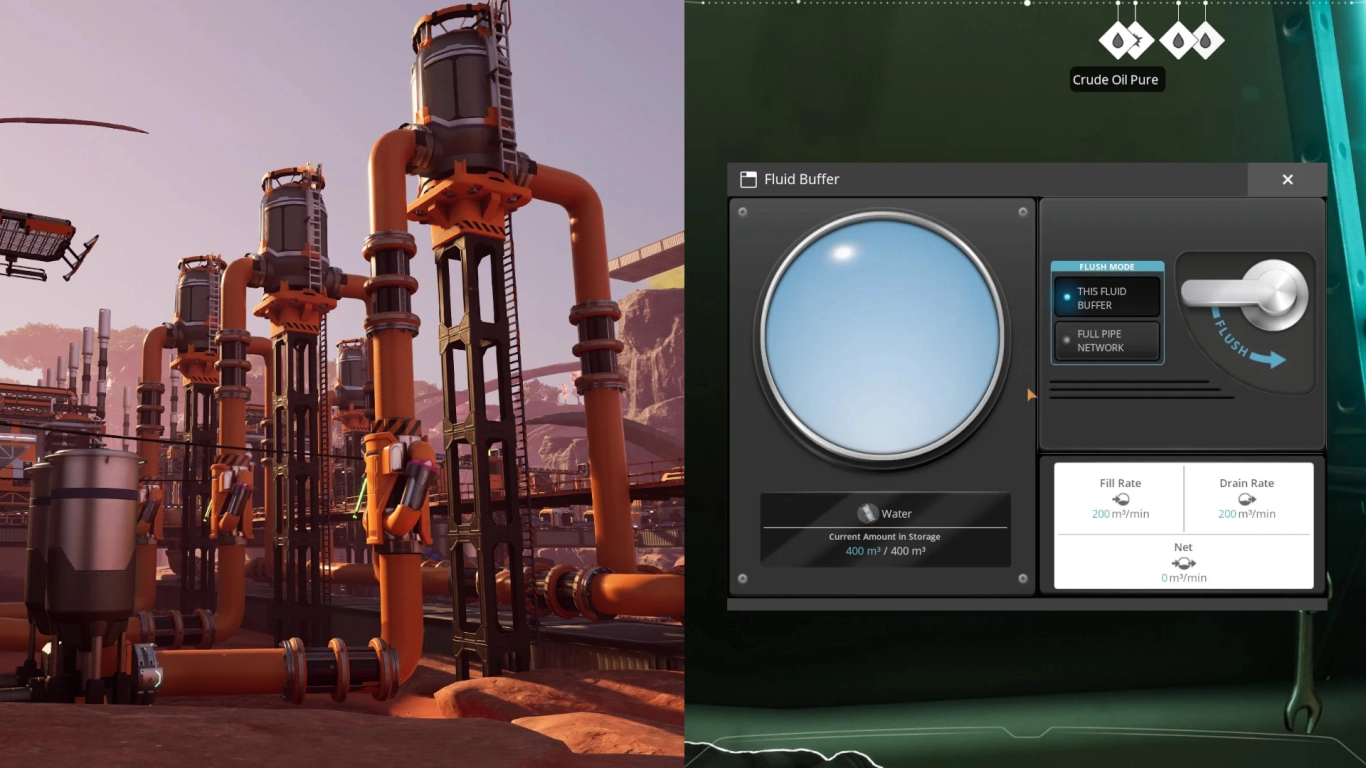
Just like solid items, you can buffer fluids to ensure you never run out. There are small and large tanks, holding 400 m³ and 2400 m³ respectively. Buffers are perfect for avoiding or reducing pipe sloshing. This phenomenon occurs because machines do not consume fluids continuously, which can cause backflow. After all, fluids flow wherever there is still space. Tanks can mitigate this.
Another solution is valves, which you install on pipes. They limit flow and can help ensure that nothing sloshes back and forth. However, this doesn’t always work as you might hope. Again, the rule is: try different approaches to move your fluids effectively.
Conclusion: manage fluids and gases effectively
Transporting fluids and gases is a discipline of its own in Satisfactory. The basics are easy to grasp, but gravity, pressure, and sloshing can introduce complications. We recommend testing different setups. You won’t lose any resources by doing so. If you’d rather not deal with pipes, pumps, or gravity, you can package fluids and gases and move them on conveyor belts.
If you want to dive deeper into fluids in Satisfactory, rent one of our servers for the game and experiment to your heart’s content. Once you understand the system, you can share these tips directly with your friends.
More interesting articles
Satisfactory Tier 8 Guide: Nuclear Power, Drones, and Mk.3 Miners
Satisfactory Tier 5 Guide: Oil, Plastic, Rubber, and Fuel
Satisfactory Tier 6 Guide: Trains, Computers, Monorail, and Pipeline Mk. 2