Once you’ve grasped the basics of Satisfactory and completed a few early milestones, the game opens up and throws new recipes and resources at you. That can get overwhelming! But this is exactly where Satisfactory shines: breaking down individual production lines and combining them logically is what many players love most. For newcomers, though, it can be tough—especially if you’ve never played a game like this. So let’s look at how to keep your overview while getting the most out of your factories.
1. Satisfactory production chains: From goal to raw resource

First decide exactly what you want to produce. That’s your starting point for every factory, because you need to know what you’re working toward—new milestones, MAM research, or materials for the Space Elevator.
Then trace the production back to the starting point. Which intermediate steps and machines are required? Most products need basic ores like iron, copper, or limestone that you later combine. It helps to calculate production rates:
- Pay attention to the purity of resource nodes (Pure, Normal, Impure)—this determines Miner extraction rate.
- Check machine throughputs (e.g., Smelters, Constructors, Assemblers, Refineries) and match inputs to outputs.
- Use overclocking (Power Shards) to close bottlenecks—mind the increased power draw.
- Plan buffers (Storage Containers) and Smart Splitters to handle excess.
- Consider Alternate Recipes (via Hard Drives) to shorten chains or make better use of by-products.
A clear workflow is: define the target product → break down recipes and intermediates backward → size rates and logistics (conveyor belts, lifts) accordingly.
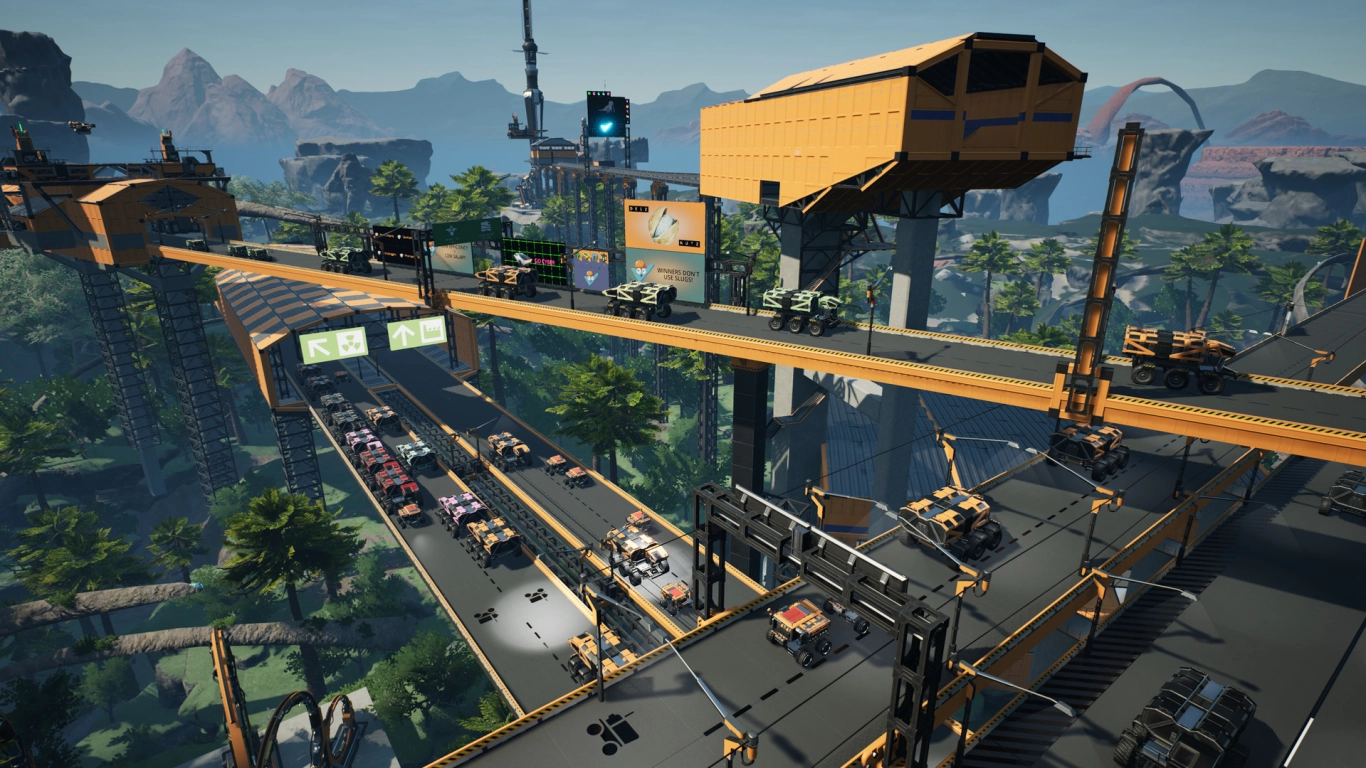
2. Factory layout with foundations: Make the most of space and grid

Pick a location with access to the required base resources and choose between a mega-factory concept or multiple specialized plants feeding into a central storage. In both cases, foundations are key:
- Foundations level the ground and give you a grid for precise alignment.
- Align machines, belts, and power neatly to the grid; this makes future expansions easier.
- Use walls, wall power outlets, and ceiling-mounted logistics to keep paths and cabling tidy.
- With Blueprints you can standardize recurring modules (e.g., smelting blocks, constructor lines) and replicate them quickly.
Lay out the floor plan first and plan material-flow routes (e.g., main bus vs. manifold) before placing machines. This avoids later rework.
3. Calculating power: From biomass to fuel
Your power supply has to scale with your factory. Early on, biomass burners suffice; later you’ll roughly follow this path: coal → fuel/turbo fuel → nuclear (optional). Tips for stable grids:
- In the power UI, regularly monitor production, consumption, and max consumption. The graph reveals bottlenecks.
- Build enough poles and place Power Switches to separate sub-grids or switch sections off for testing.
- Use Power Storage to absorb demand spikes.
- Precisely calculate water and fuel inputs (pumps, refineries) for coal and fuel generators.
- Keep in mind: overclocking increases power usage disproportionately—apply it selectively.
- You can sink surplus production in the AWESOME Sink to earn coupons and relieve storage.
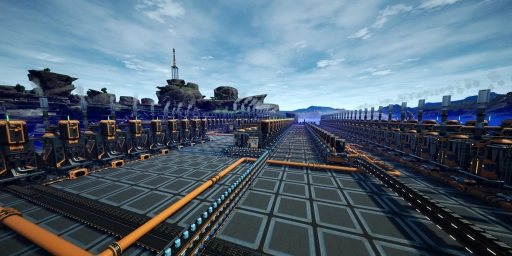
4. Build vertically: Multi-floor factories and clean logistics
When space is tight, build vertically. Stacking multiple production lines creates clear separation and easier maintenance:
- Use conveyor lifts, Hypertubes, and walkways for vertical transport and quick routes.
- Separate floors logically (e.g., raw materials below, processing in the middle, finished goods on top).
- With the Jetpack (Tier 5), managing tall builds gets much more comfortable.
Vertical factories not only look great, they also keep material flow and power routing tidy.
5. Maintenance access and reachability: Safety and oversight
A common beginner mistake: missing maintenance access. Plan space for gaps and corridors from the start so you can reach everything:
- Leave corridors around machines; use walkways, ladders, and railings for safe inspections.
- Route power cables and pipelines neatly—ideally along walls or under ceilings.
- Use signage and color-coding to identify lines and resources at a glance.
This lets you react quickly to issues and maintain process quality.
6. Use external planning tools and blueprints
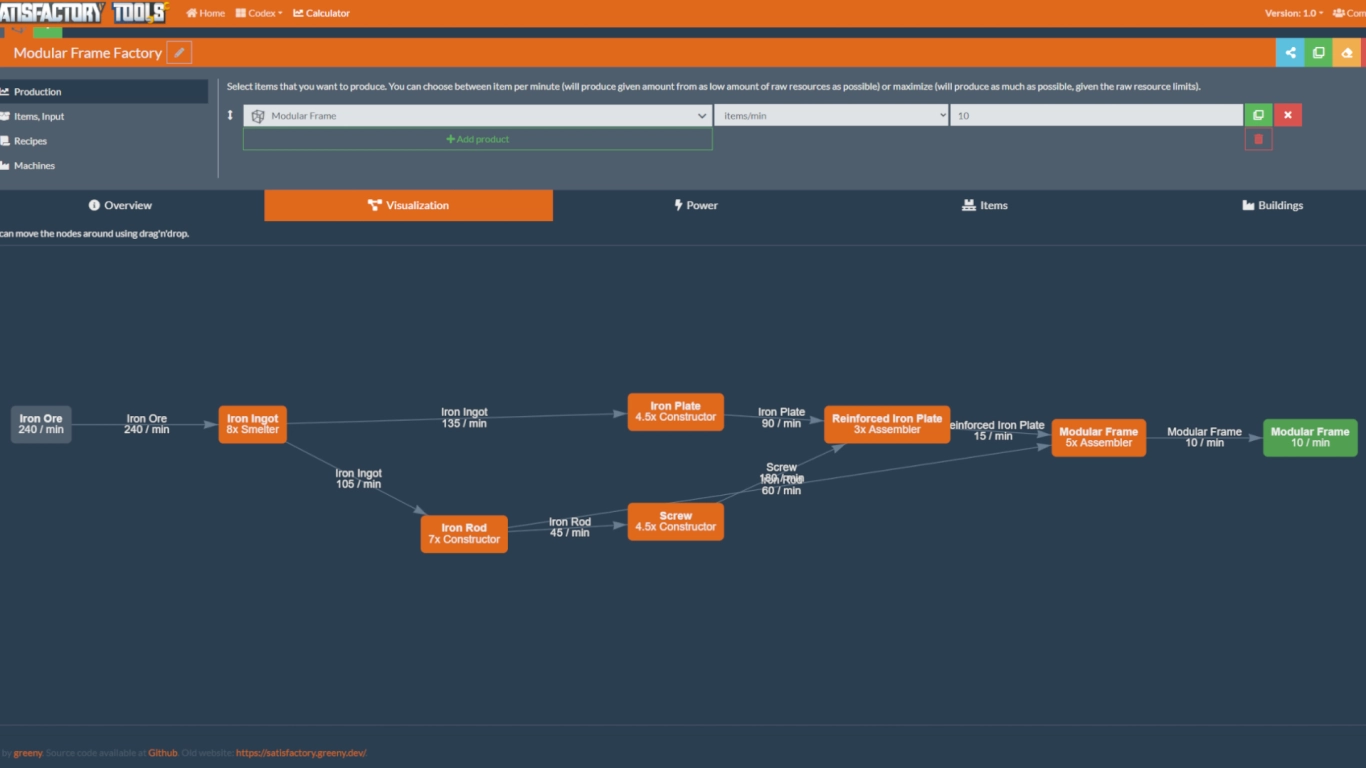
There are excellent community tools that take a lot of math off your plate and simplify route planning:
- Satisfactory Calculator: Detailed production-chain planning and an interactive map with resource nodes—ideal for site selection and rate planning.
- Satisfactory Tools: Alternative calculators and visualizations—perfect for fine-tuning.
- Official Satisfactory Wiki: Up-to-date game info, recipes, alternate recipes, and mechanics.
- Excel/spreadsheets: Your own tables for rate calculations and material balances.
- Pen and paper: Sketch layouts and material flows quickly and easily.
Combine tools with Blueprints to replicate optimized modules in no time.
7. Design vs. efficiency: Find your factory philosophy

In the end, fun is what counts—there’s no right or wrong. Some players want to maximize every resource and optimize for efficiency. Others prefer compact, aesthetic lines with lots of detail.
What matters is reaching your goal and steadily unlocking milestones. Good planning helps you combine both: beautiful and high-performance factories.
Conclusion: Plan your way to a dream factory
The perfect factory is in Satisfactory’s name—but getting there takes clear goals, well-thought-out production chains, careful space and power planning, and smart logistics. Plan ahead, standardize with Blueprints, and use tools to avoid frustration. This way you’ll build your dream factory step by step.
And if you rent one of our servers for Satisfactory, you can also play together with others. You can plan and link different production lines as a team to get the best results.
More interesting articles
Satisfactory Tier 3 Guide: Coal Power, Truck Transport, and Steel Production
Satisfactory AWESOME Sink & Shop: How to farm coupons fast
Satisfactory: Decor, Lighting, and Building Methods for a Beautiful Factory
Satisfactory storage organization: containers, depot & pro tips
Satisfactory Guide: Best Starting Area for Beginners and Pros