Satisfactory can feel overwhelming for new players, but the beginning is simple and well-structured. Even with the tutorial, it’s normal to wonder what to do next. To get going, you need to complete your first Milestone and unlock the key components for your future factory. The game gradually introduces new concepts that let you expand and improve your production. In this beginner tutorial, we’ll walk you through Tier 0 and share important tips for your first automations.
Choose your Satisfactory spawn: best starting biomes and resources

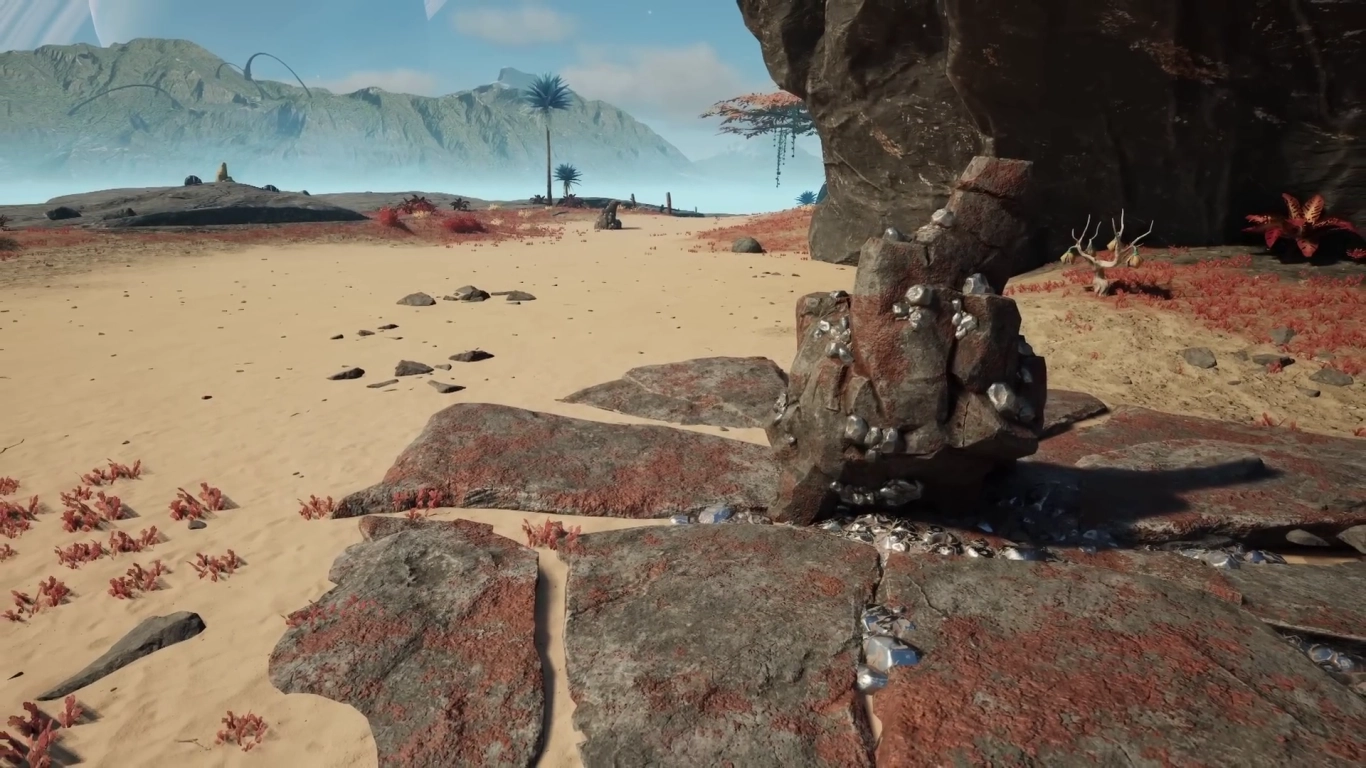
Before you begin, pick your spawn point on the map. Remember, it’s a large world—you won’t miss out on anything! For first-time players, we recommend either the Grass Fields or the Rocky Desert. Both are great for your first steps, offering plenty of space to experiment and build your first factories. Simply choose the area you like the look of. Make sure there are iron and copper nodes nearby—ideally normal or pure nodes for strong early production.
First steps after landing: explore and gather materials
Once the intro ends, get familiar with your surroundings. Look around and walk a bit so you know where you are and where you might set up your first small base. Along the way, start picking up leaves and wood by pressing and holding E. You’ll need these to power your first machines. Tip: Later, convert leaves/wood at the Craft Bench into biomass—it burns more efficiently and lasts longer.
HUB Upgrade 0–1: Find iron ore, mine it, and start your first production
Satisfactory is about harnessing the planet’s resources to keep your employer, FICSIT, happy. To begin, find and manually mine your first ores. Use your scanner with V to locate iron ore nearby. You’ll see pings in the world and markers on your compass.
Resource nodes are often covered by a deposit rock. Remove it with E, then gather ore. Collect around 20 iron ore from nearby nodes to progress. Prefer pure nodes when possible—they provide the highest extraction rates later.
Build and upgrade the HUB: Craft Bench, recipes, and inventory tips
With 20 iron ore, you can build your most important early structure: the HUB. Open the build menu with Q and place it where you like. You’ll get access to the HUB Terminal, which shows the requirements for upcoming milestones. You also gain a Craft Bench for your first recipes and upgrades.
For HUB Upgrade 1, gather more iron ore and craft it at the bench into iron ingots, then into iron rods. Once you have 10 rods, you can complete the first upgrade.
Note: If you run out of inventory space, use the Storage Box in the HUB to free up room. You’ll unlock more storage options later.
HUB Upgrade 1–3: Automated mining with Portable Miners and copper
The first upgrade unlocks several key components you can use right away. The game always shows what you need next.
- Equipment Workshop: Build this first to unlock more equipment recipes. It’s primarily for tools, while the Craft Bench in the HUB handles basic resources.
- Portable Miner: Craft these in the Equipment Workshop to take your first steps toward automation. Place 2–3 Portable Miners on your iron nodes to speed up gathering.
For HUB Upgrade 2, you’ll need more iron. Let your Portable Miners collect it automatically, then craft 20× iron rods and 10× iron plates. This upgrade also introduces copper—scan with V to find nodes and craft wire and cable.
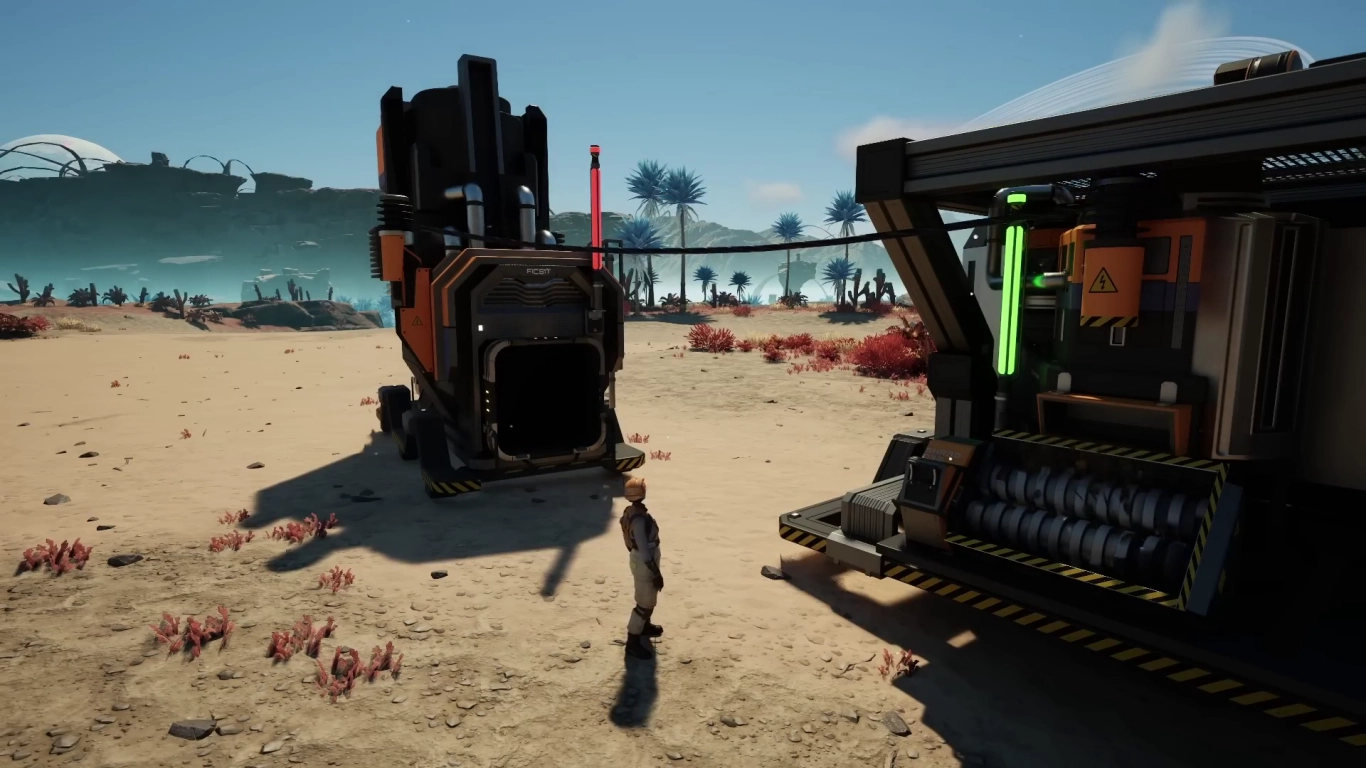
First automation: Power, Smelter, and wiring
With HUB 2 you also unlock power—the most important element for automation. You’ll need it to progress further.
- Biomass Burner: Build your first burner and fuel it with leaves or wood (even better: biomass) to generate power.
- Power lines: Use cable to connect the burner to machines and power them.
- Smelter: The Smelter is your next key machine. Connect it to your power grid and automate the production of iron ingots and copper ingots.
HUB Upgrade 3 is designed to get you comfortable with automation and is relatively easy to complete. You’ll need 20× iron plates, 20× iron rods, and 20× cable. Completing it unlocks the next phase.
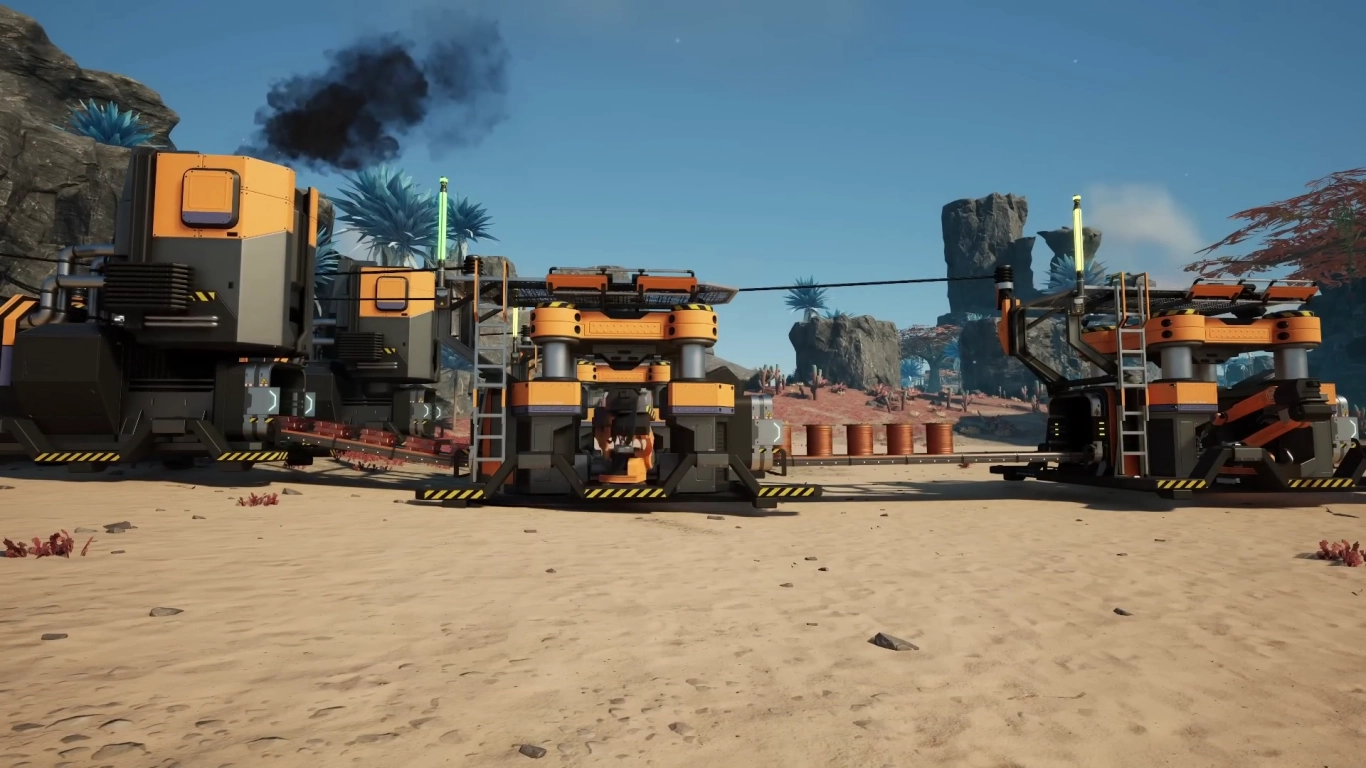
HUB Upgrade 4–6: Find limestone, make concrete, and conveyor belts
With Upgrade 4, you can find another resource: limestone. Scan with V and hook its mining and processing into your existing setup. Limestone becomes concrete, which you’ll need to finish HUB Upgrade 4. You’ll first need some new machines.
- Constructor: Unlocks additional resource conversions, letting you turn limestone into concrete and ingots into plates/rods/wire. Place it in a line after a Smelter.
- Power Pole (Mk.1): Use poles to connect multiple machines to your burner. A Power Pole Mk.1 supports up to 4 connections.
After HUB Upgrade 4, more automation tools become available. While the upgrade requirements are similar, you can now simplify and speed up the process.
- Conveyor Belts: When you think of Satisfactory, you think of long lines of belts. You finally unlock them to link your machines. Use them between Smelter and Constructor to automatically produce the materials you need.
HUB Upgrade 5 should now be straightforward—the penultimate step before you wrap up the basic tutorial and the game truly opens up. You also get another Biomass Burner for more power.
- Miner Mk.1: Improves and automates ore extraction. You can now feed ore to other machines via conveyor belts. Building it requires a Portable Miner as an ingredient.
- Storage Container: Serves as temporary storage for finished products.
For HUB Upgrade 6, we recommend pre-producing these materials in Storage Containers: iron rods, iron plates, cable, and concrete. You’ll need 100 of each, and only 50 concrete.
Conclusion: Finish Tier 0 and kick off your Satisfactory journey
Congratulations! You’ve cleared your first hurdles in Satisfactory and are ready for the real game. Tier 0 gives you all the tools you need to work with the fundamentals. There’s no time pressure—optimize your lines, expand your power grid, and set up clean production chains at your own pace.
For even more fun: play co-op! You can rent a Satisfactory server to play with friends: Rent a Satisfactory game server.
More interesting articles
Satisfactory: Best beginner tips – hotbar, power & automation
Satisfactory 2025: 1.0 Release, Update 1.1, and Tips
Satisfactory Tier 1 Guide: Expanding Your Factory, Power & Logistics
Satisfactory Guide: Best Starting Area for Beginners and Pros