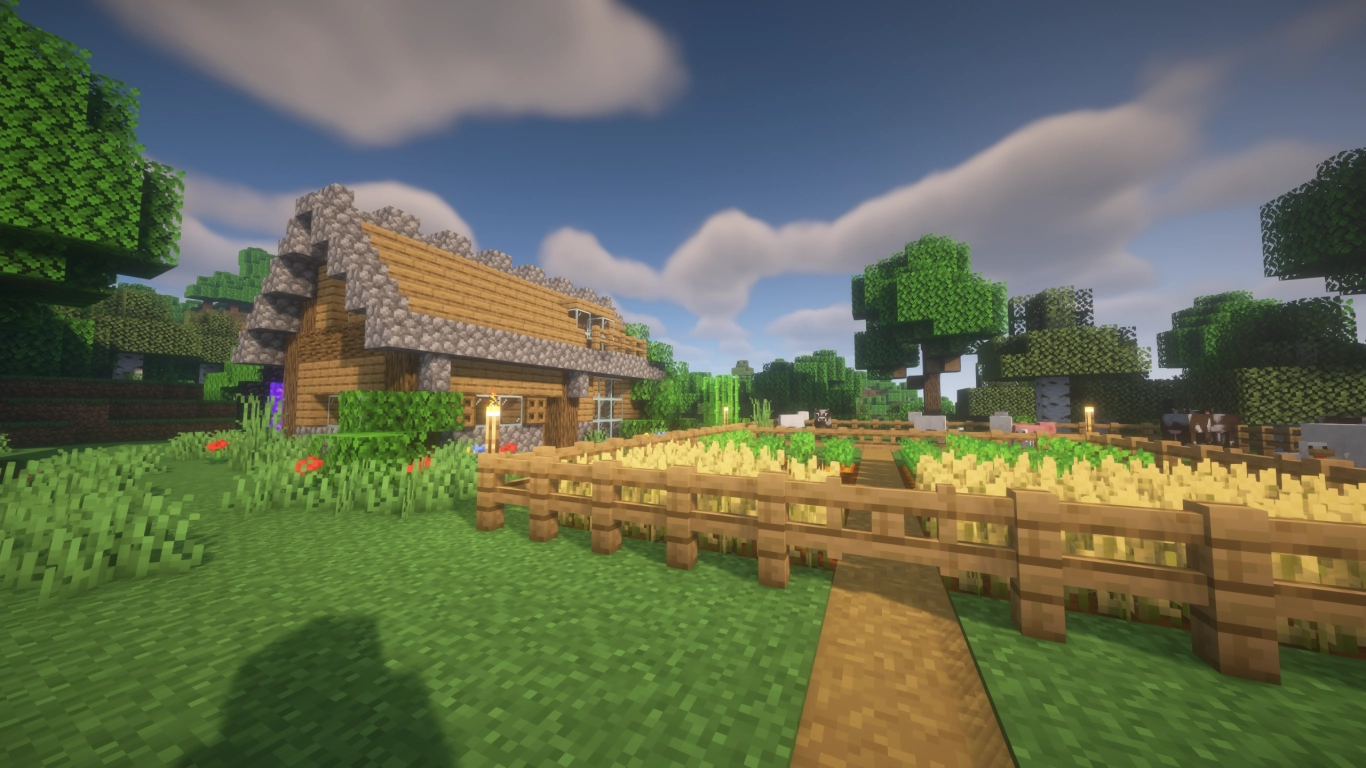
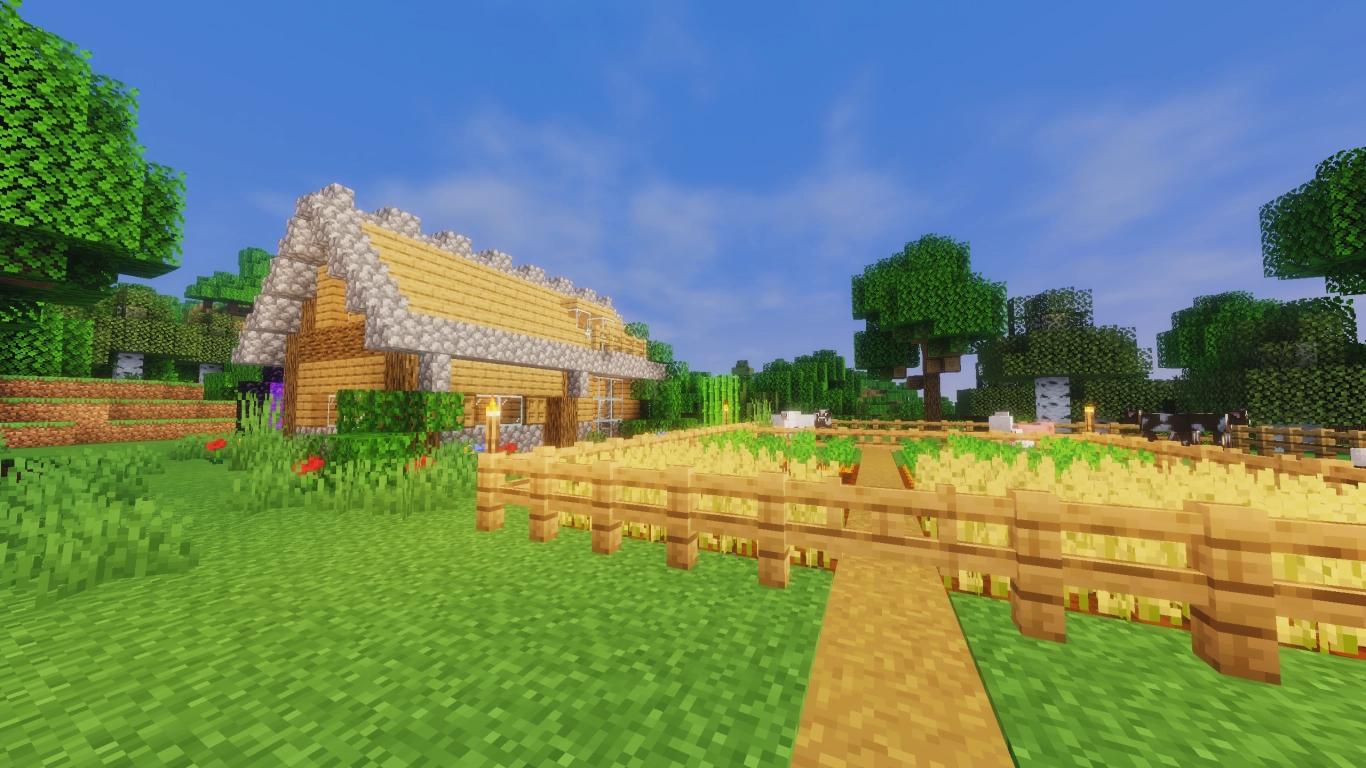
Minecraft might not be the most visually appealing game, although its pixel art style has its own unique charm. For many years, players and especially modders have been trying to get the most out of Minecraft. Besides texture packs, it’s primarily the many shader packs that give Minecraft a whole new look! For many players, they have become an essential part of the game, making the block graphics look incredibly beautiful. Whether it’s gorgeous sun rays through leaves, reflections on the sea, or weather effects, shaders make the Java version of Minecraft shine in a whole new light. Today, we’ll take a closer look at how you can install them and which shaders are worth it!
Guide to Installing Minecraft Shaders
Shaders can’t be used natively in Minecraft, and you’ll need to install a few mods first to enhance your game. However, it’s super easy and can be done in just a few minutes!
First, download these programs:
Make sure to download the correct Minecraft version (in our case, 1.21.5) and the right compatibility with Fabric. If you prefer working with Forge, you can use that version as well. The installation should be quite similar.
Note: Older players might still remember OptiFine for using shaders. You can still use shaders with it, but there is currently no version for 1.21.5. Additionally, Sodium has become a better alternative for graphical improvements.
Step-by-Step Guide to Installing Shaders in Minecraft
First, install Fabric. This can be done easily with a double click, and the program should select all the necessary elements automatically.
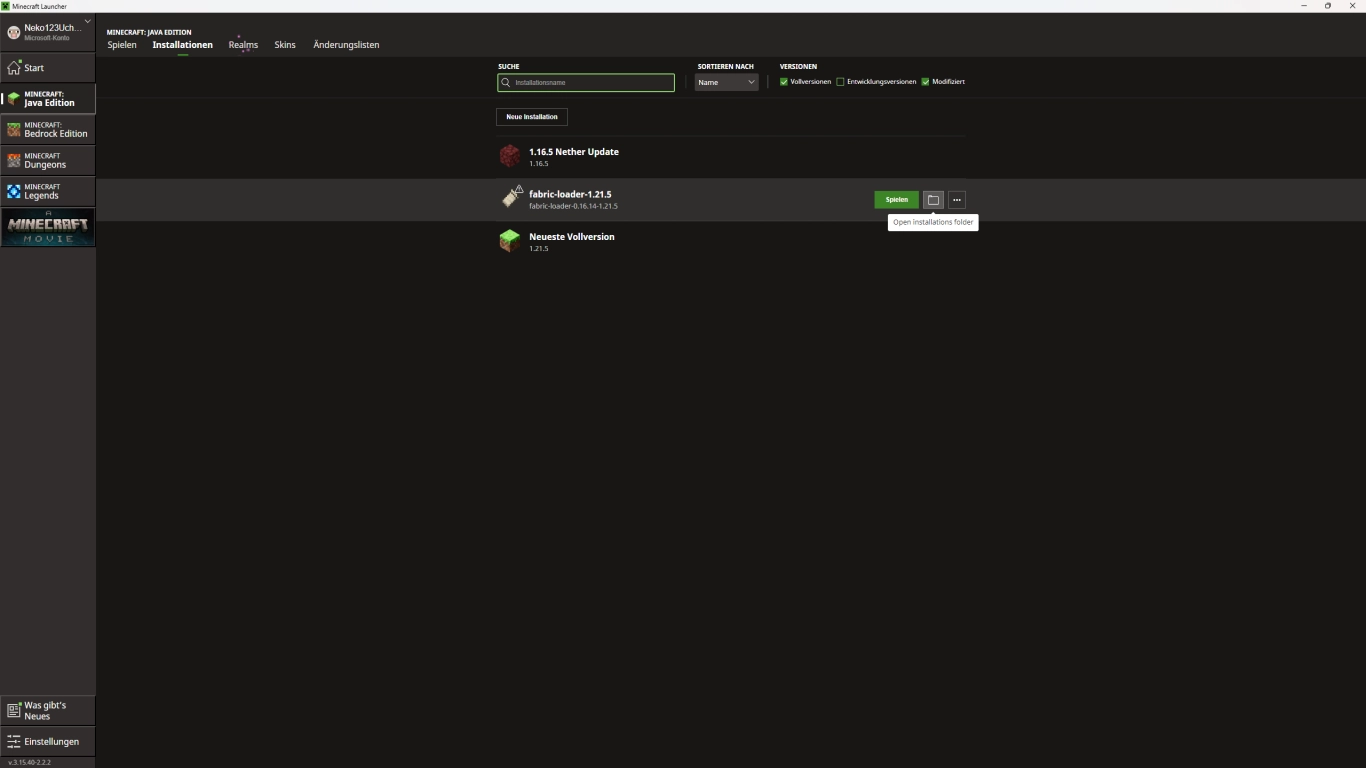
Next, open your Minecraft Launcher and navigate to “Installations” at the top of the bar. A new Fabric version should have appeared there. Click on the folder and navigate to the “mods” folder. Simply drag the remaining three files (API, Sodium, and Iris) into it. Then, start the Fabric version, and Minecraft should be able to recognize shaders.
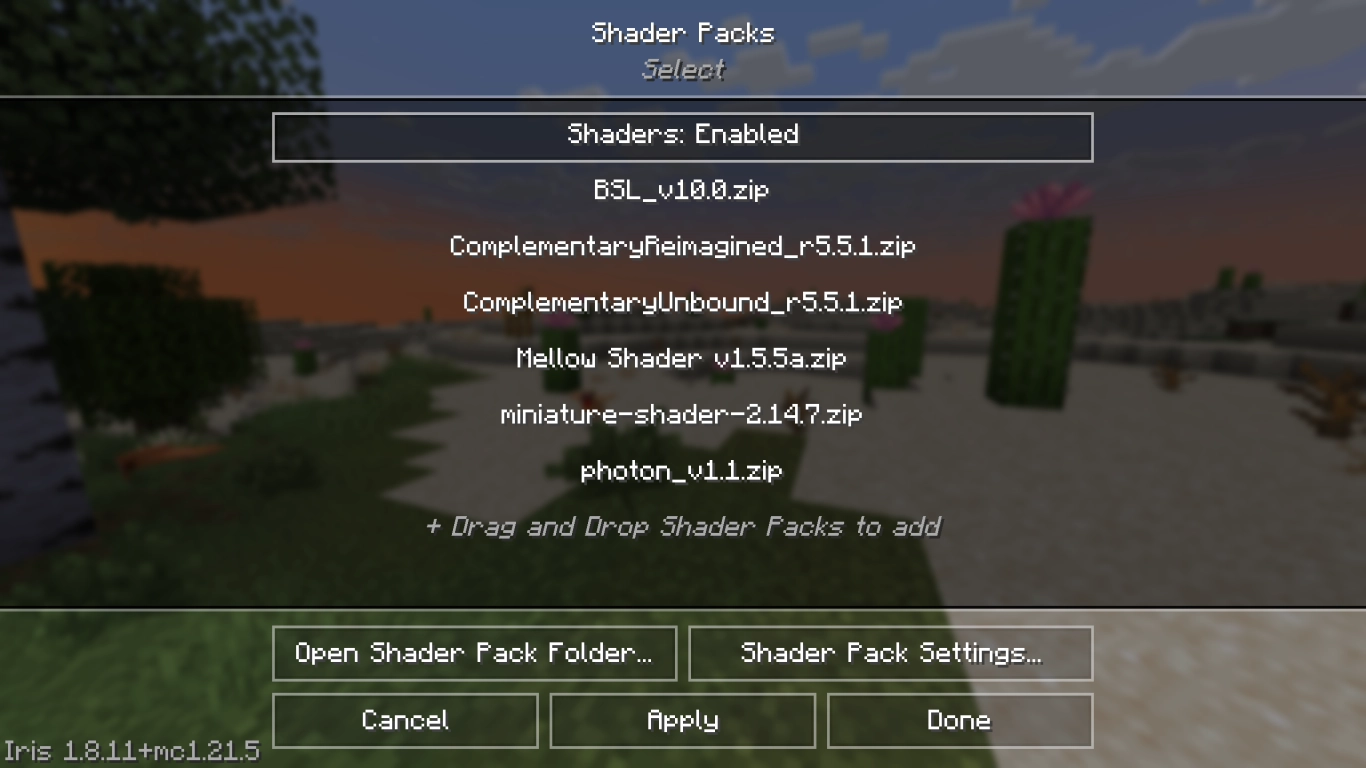
In the game, you can find the shaders by clicking on “Video Settings” in the options. The menu will have changed compared to the regular game. At the top of the bar, you can select “Shader Packs.” You can now add the corresponding shaders via “Drag and Drop” or copy them into the “shaderpacks” folder in the .minecraft directory.
Best Sources for Downloading Minecraft Shaders
While we’re already on Curseforge, here’s your first stop for shader packs. Nowadays, almost all major mods can be found here and downloaded easily. They are also regularly updated for the latest versions, which is, of course, very convenient! But Modrinth is also a great website for shader packs.
The shaders themselves come in zip files that you simply need to copy into the appropriate “shaderpacks” folder or into the settings in the game. After that, you can select and use them. Unlike many mods or texture packs, shaders are often cross-version compatible. It’s still best to always download the latest update. It should work in almost every case.
Performance Impact of Minecraft Shaders
Shader packs can have varying impacts on performance. Some you might hardly notice, while others may cost several FPS. Therefore, it’s worth trying out different packs to see how well or poorly they run. You can also make some adjustments to the shaders to tailor them to your individual preferences and perhaps extract a bit more performance.
Top Recommendations: The Best Shaders for Minecraft
We’ve already written a similar article on resource packs (Top 10 Resource Packs to Enhance Your Minecraft Visuals) , if you want to further enhance your graphics. Shaders and resource packs are fully compatible with each other and can complement each other beautifully!
Complementary Shaders: The All-Rounder
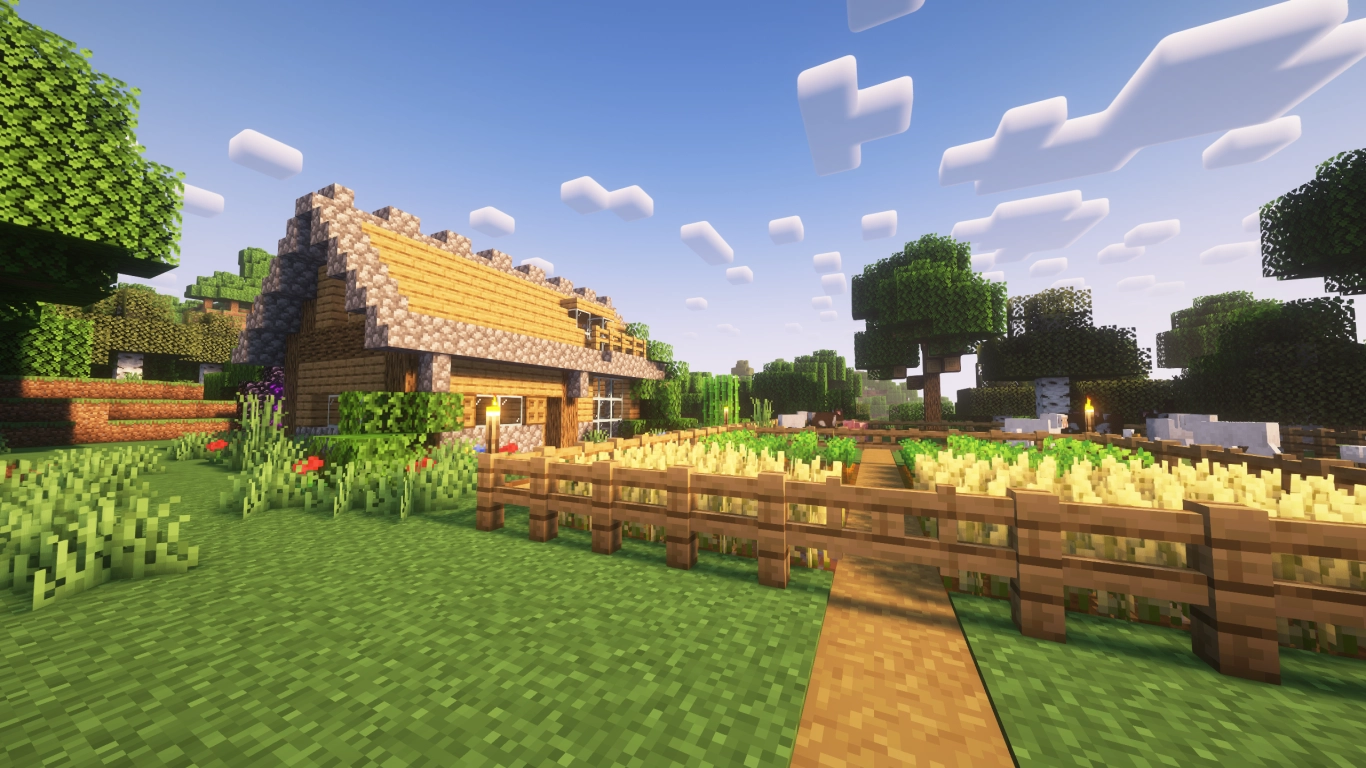
These shaders are listed first for a reason. They are truly amazing and offer you two different packs. There’s “Unbound,” a more elaborate version of the shader that requires more power. If you have a less powerful PC, “Reimagined” might be better. Regardless of which version, both look extremely stylish! You can, however, customize many settings in the shader settings to combine both versions or try out other visual effects. The Complementary Shader is a bit more resource-intensive but looks really beautiful and is currently the most downloaded shader for a reason.
Sildur’s Vibrant Shader: Lighting Effects for Everyone

Another extremely popular shader among players is Sildur’s Vibrant Shader. It has extremely cool lighting effects, many customization options, and gives the game a somewhat realistic look even with regular textures. The reflections are one of the highlights, but the sunrises and sunsets are also absolutely stunning! If the regular Vibrant Shader consumes too many FPS, we recommend Sildur’s Enhanced Default, a much better version for weaker PCs. This shader also looks very good, giving you realistic shadows and reflections on the water.
BSL Shader: Classic and Community Favorite
The BSL Shader is one of the classic and long-standing popular shader packs for Minecraft. It gives your world a very bright and soft appearance, as if the sun is shining all day. The pack is perfect for those who remember the earlier SEUS shaders, which unfortunately are no longer maintained. The BSL Shader is a great alternative and brings a wonderful atmosphere with it.
Mellow Shader: Elegance with Minimal Effort
Less bombastic but still very chic, the Mellow Shader is a great choice. As the name suggests, it may not bring the very best shadows, but it still looks extremely good. Even small changes can make Minecraft feel different, and that’s exactly what the Mellow Shaders are made for! They are suitable for weaker computers that still want to use shaders.
Miniature Shader: Performance and Looks for Beginners
Even more performant are the Miniature Shaders, which come very close to the Mellow Shaders and Sildur’s Enhanced Default Shaders. However, this pack also offers some unique features, such as beautiful underwater worlds and stunning sunsets. Otherwise, this shader pack doesn’t interfere too much with Minecraft’s original graphic style and is perfect for beginners!
Conclusion
With shader packs, you can get a lot more visually out of Minecraft! There are many different packs to choose from. Some hardly affect your performance, while other shaders are really only suitable for the best systems. You can rent your own Minecraft server with us and use individual shader packs. Each player on a server can use different packs, depending on their computer. Together with texture packs, everyone can have their own Minecraft experience!