
We already covered Minecraft’s toughest achievements in a previous post, but one of them stands above the rest in terms of complexity (Minecraft’s hardest achievements: how to unlock them) . In “How Did We Get Here?” you must have every available status effect active at the same time—which the advancement’s name sums up perfectly. No regular player would attempt this were it not for the achievement itself. Still, it’s a monumental hurdle that can be a lot of fun to plan out. And when you’re done, you’ll have something most players can’t claim. We’ll take a closer look at how to get every effect and exactly how to trigger the advancement.
All required status effects for the Minecraft advancement “How Did We Get Here?”
As of update 1.21.9 (Java), the “How Did We Get Here?” advancement includes 33 different status effects. Keep in mind that new updates can add more effects, which changes the requirements for the achievement. The already announced “Mounts of Mayhem” update is expected to add another effect—so the challenge will get even trickier.
It’s best to split the effects into different categories. This helps you prepare and make sure you don’t forget anything. Below we list the sources and methods you should use to obtain each status effect.
Effects from food (food-based effects in Minecraft)
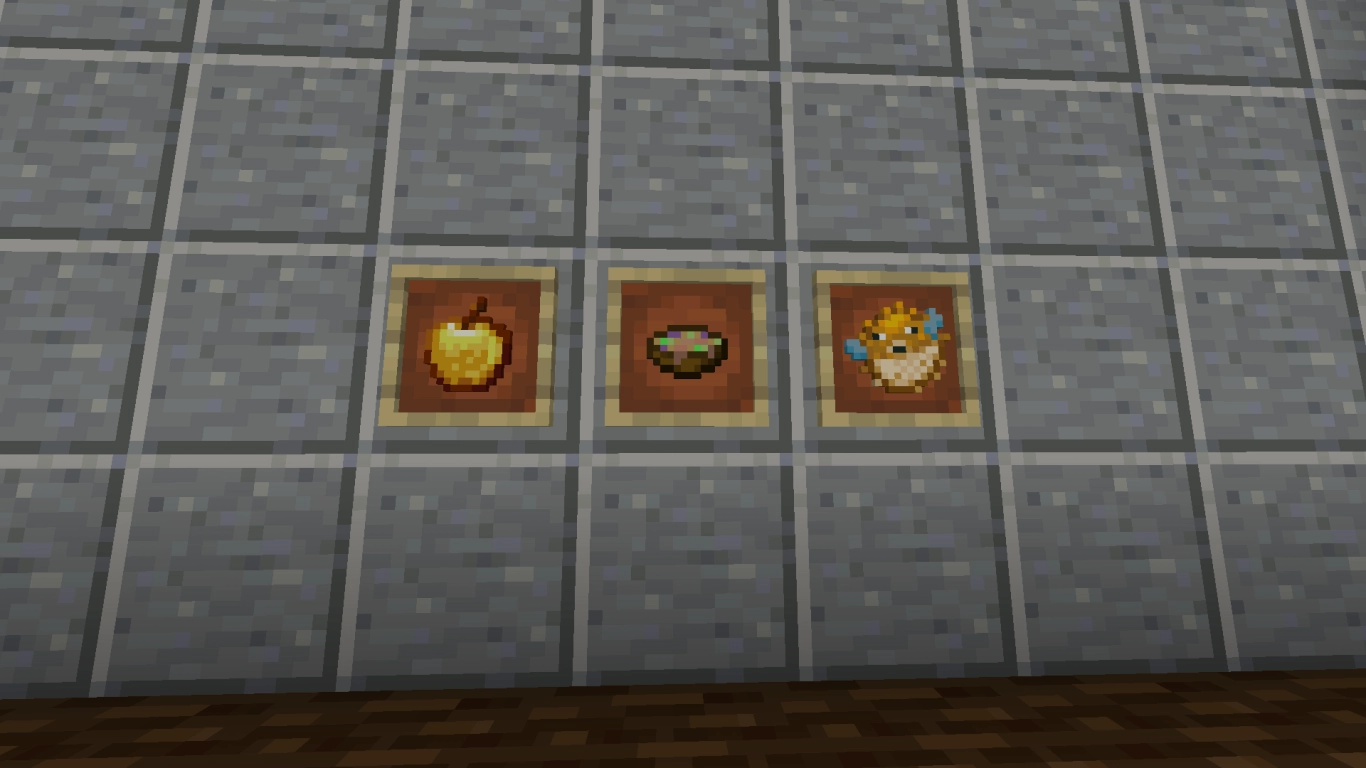
- Absorption: Eat a (enchanted) golden apple.
- Blindness: Obtain via suspicious stew made with an Azure Bluet.
- Hunger: Eat a pufferfish.
- Nausea: Eat a pufferfish.
- Poison: Eat a pufferfish.

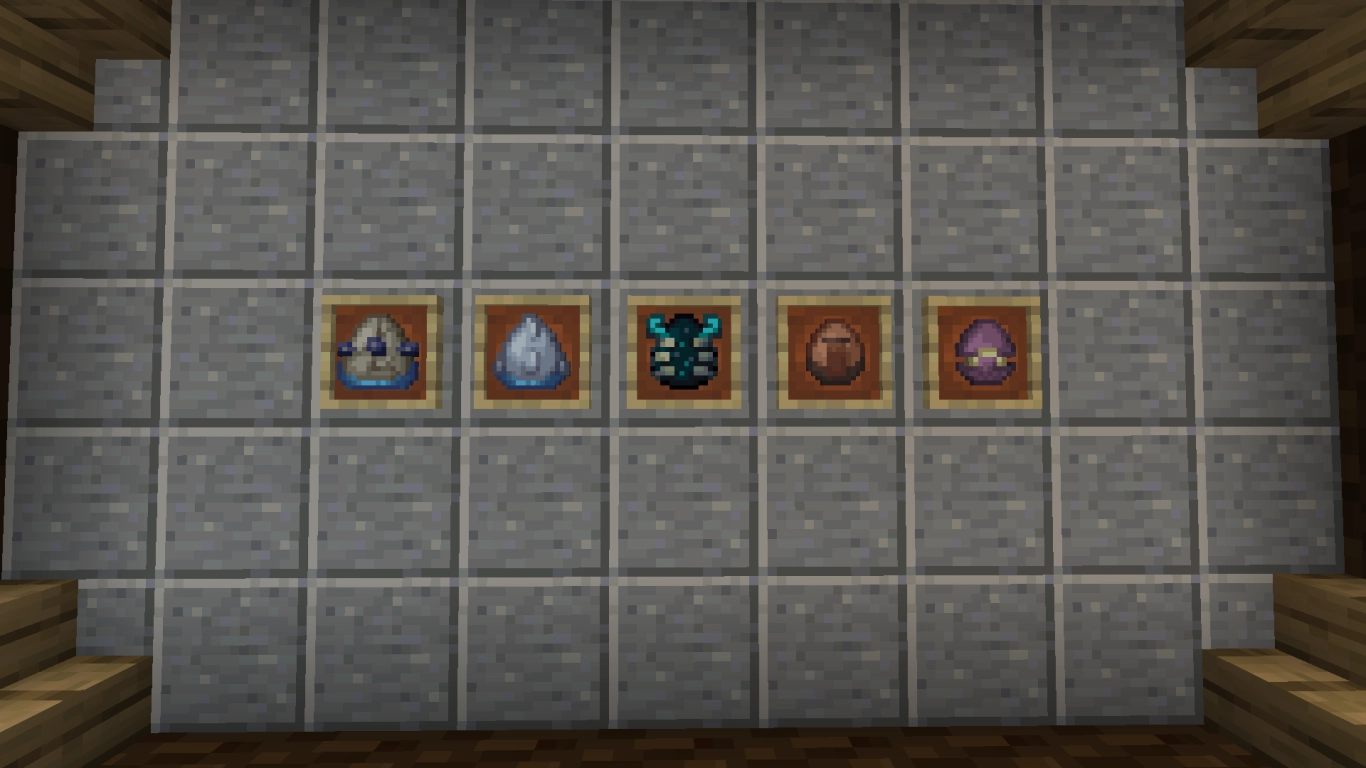
Effects from potions (splash potions and extensions)
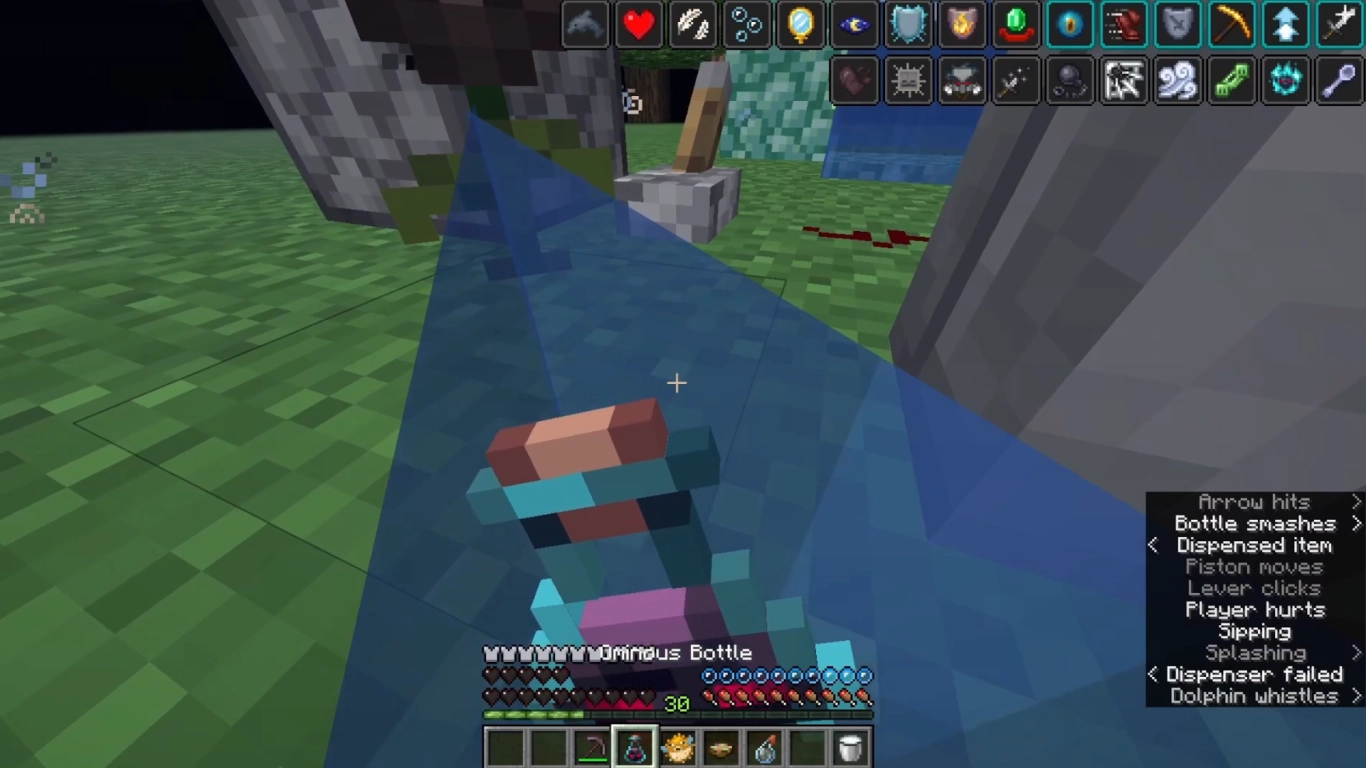
- Bad Omen: Drink an Ominous Bottle, obtained from pillagers or in trial chambers.
- Fire Resistance: Use a splash potion brewed with Magma Cream.
- Infested: Use a splash potion brewed with Stone.
- Invisibility: Extended splash potion brewed by corrupting Night Vision with a Fermented Spider Eye, then extending with Redstone.
- Night Vision: Extended splash potion brewed with a Golden Carrot and Redstone.
- Oozing: Use a splash potion brewed with a Slime Block.
- Slowness: Extended potion brewed by corrupting Speed with a Fermented Spider Eye, then extending with Redstone.
- Slow Falling: Extended potion brewed with Phantom Membrane and Redstone.
- Water Breathing: Extended potion brewed with Pufferfish and Redstone.
- Weakness: Extended potion brewed with a Fermented Spider Eye and Redstone.
- Weaving: Use a splash potion brewed with Cobweb.
- Wind Charged: Use a splash potion brewed with a Breeze Rod.
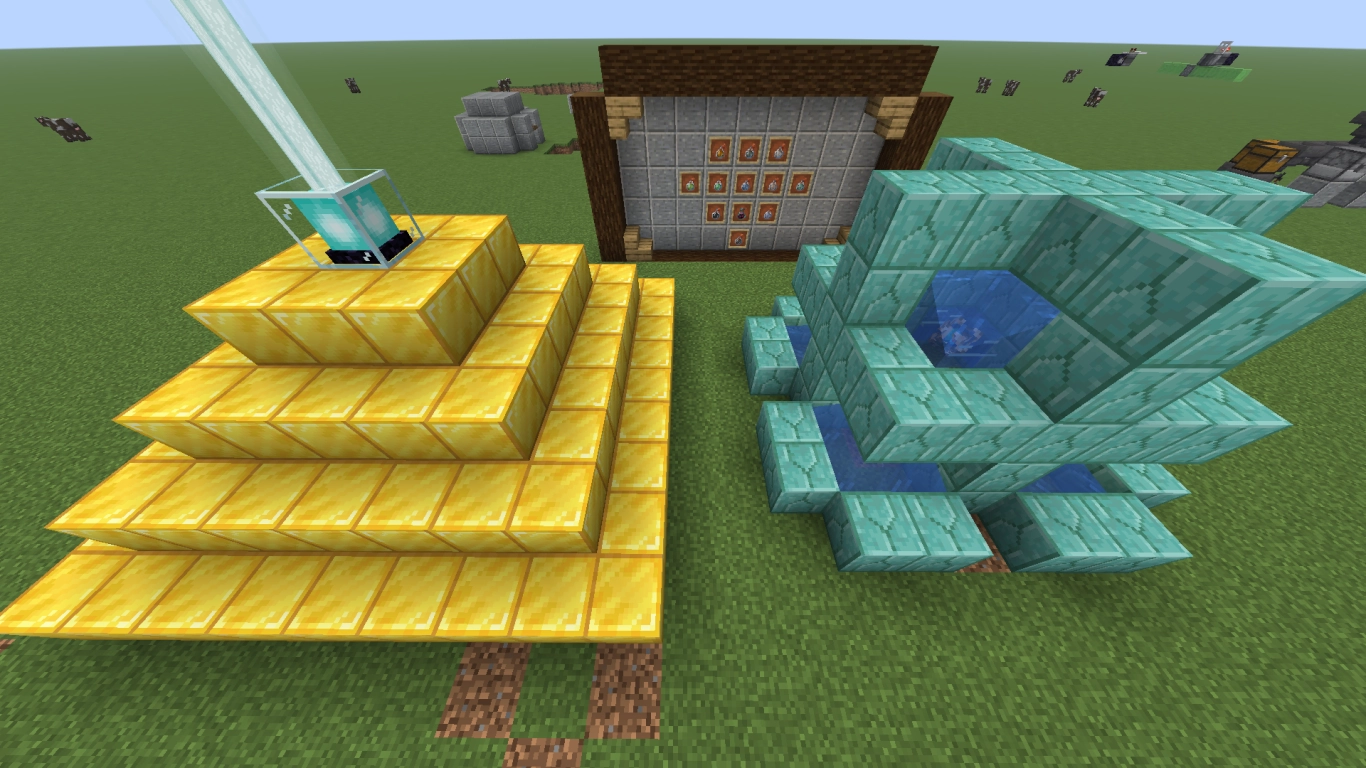
Effects from environmental sources (Beacon & Conduit)
- Conduit Power: Granted by a Conduit.
- Haste: From a full beacon.
- Jump Boost: From a beacon.
- Regeneration: From a beacon.
- Resistance: From a beacon.
- Speed: From a beacon.
- Strength: From a beacon.
Effects from mobs (Warden, Shulker, Elder Guardian, Dolphin)
- Dolphin’s Grace: Capture a dolphin and give it a Name Tag so it reliably grants its grace.
- Darkness: Granted by the Warden or by natural sculk in the depths.
- Hero of the Village: Make sure a villager has a job, then complete a raid.
- Levitation: Get hit by a Shulker.
- Mining Fatigue: Granted by an Elder Guardian in an ocean monument.
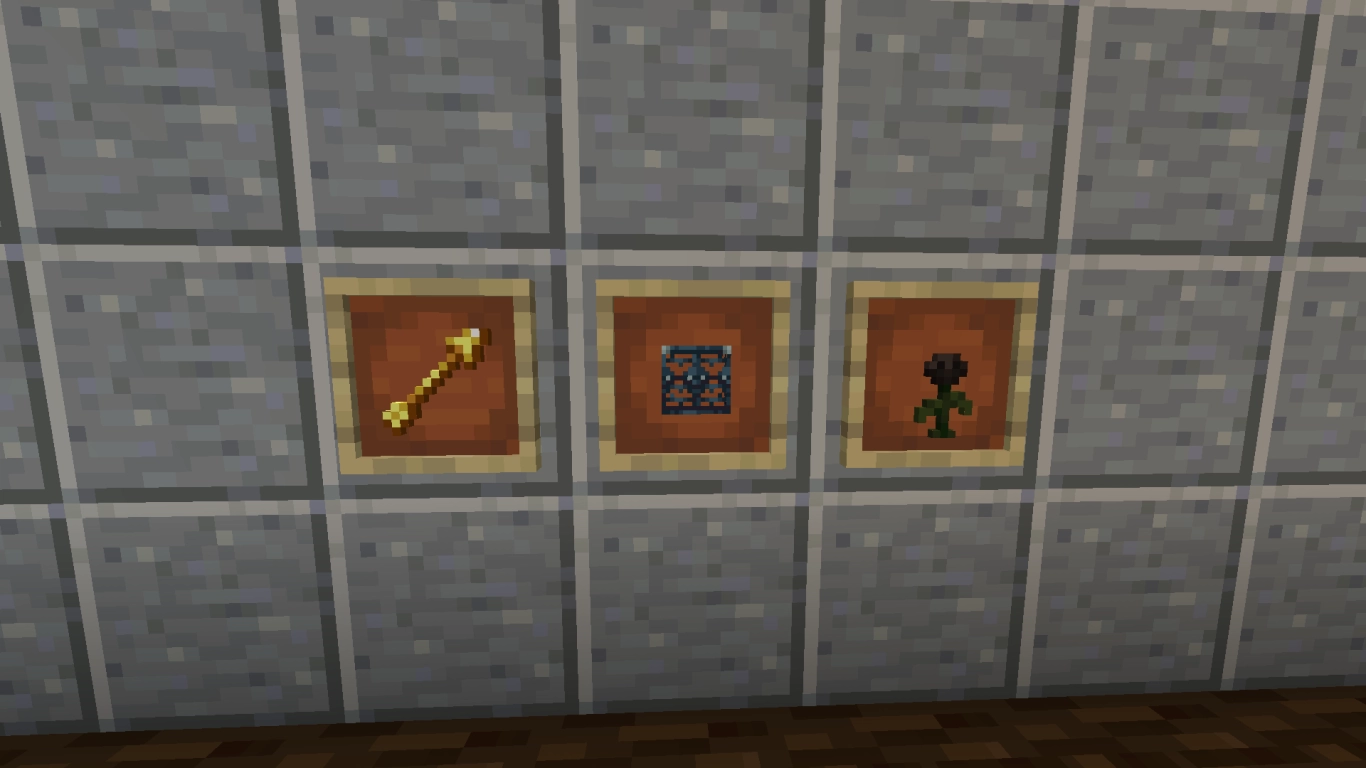
Effects from other sources (arrows, Wither Rose, trials)
- Glowing: Shoot yourself with a spectral arrow.
- Raid Omen: Drink an Ominous Bottle near a villager with a job.
- Trial Omen: Be near a trial spawner and drink an Ominous Bottle.
- Wither: Step on a Wither Rose or use suspicious stew made with a Wither Rose.
Step-by-step guide: The optimal order for “How Did We Get Here?” (1.21.9)
As you can see, the process is anything but simple. Many effects last only minutes—or even seconds—so timing is crucial. To help you, here’s a proven sequence.
We recommend preparing virtually everything you can in advance. Pick a clear area for your setup. Place all required mobs within range, set up the beacon and the conduit. Fill one dispenser with spectral arrows (all slots full) and another with most of the potions, and hook both up to a lever. Also keep a bucket of milk ready to clear all effects after the ordeal.
- Acquire four Ominous Bottles (pillagers drop them, or you can find them in trial chamber vaults). The first effect you’ll trigger is Hero of the Village. To get it, complete a raid. This effect lasts the longest—40 minutes.
- Drink the second Ominous Bottle next to a trial spawner to get 15 minutes of Trial Omen.
- Find an ocean monument and get Mining Fatigue for 5 minutes.
- Return to your prepared setup and activate all beacon effects.
- Splash yourself with all the 8-minute potions: Invisibility, Water Breathing, Night Vision, and Fire Resistance. Throw them straight up so they land on your head and you get the full duration.
- Put the following in your inventory: a golden apple, two Ominous Bottles, a pickaxe, the pufferfish, the suspicious stew, one extra potion (if there wasn’t enough space in the dispenser), and a bucket of milk.
- Eat the golden apple for 2 minutes of Absorption. Now focus!
- Drink the third Ominous Bottle to get Raid Omen near a villager. Kill the villager with the pickaxe, then immediately drink the fourth Ominous Bottle to get Bad Omen. You’ll have roughly 30 seconds left now.
- Get into water and enter the swimming animation to receive both Conduit Power and Dolphin’s Grace.
- The Darkness effect should apply automatically if a Warden is nearby.
- Step into the Wither Rose while still in the water and keep line of sight to the Shulker.
- Flip the lever to trigger both dispensers. This gives you the remaining potion effects and the spectral arrow’s Glowing. Toggle the lever multiple times—Glowing lasts only a few seconds.
- Eat the pufferfish and the suspicious stew. Splash yourself with the last potion from your inventory.

Voilà! With this order you should have all effects active simultaneously and trigger the hidden achievement “How Did We Get Here?”—plus 1000 experience points. If you want a good video tutorial, we recommend Barbar31. The Minecraft Wiki also offers a detailed breakdown if you’re missing an effect or something isn’t clear.
Conclusion: Is the Minecraft advancement worth it?
Minecraft’s achievements guide your journey, but “How Did We Get Here?” is downright wild. For veterans, it’s a fantastic challenge to take on. The preparation forces you to understand many different game mechanics—and at the end, you’re rewarded with a true triumph.
Rent one of our Minecraft servers and try to earn this rare advancement together with your friends. Or challenge each other to see who can do it first.
More interesting articles
Minecraft’s hardest achievements: how to unlock them
Minecraft challenges: 7 exciting challenges with tips
Minecraft Walkthrough 2026: From spawn to Ender Dragon, complete guide