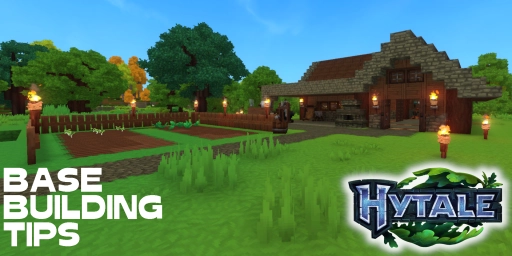
In Hytale you can, of course, not only explore the world but also build! The system is already quite complex, with many different blocks and decorations you can use. A base is not just great for storage and all your workbenches — it also lets you set up your first fields and gives you a place to respawn when you die. As you progress and with future updates, you can expand it or move to a new, more scenic location. Today we’ll walk you through Hytale’s building basics so you can create the perfect first base!
1. Choosing a Hytale base location: tips for the perfect spot

First, decide where you want to build your base. There are several factors that can make a location good or bad. You can go purely by taste, but sometimes a bit of strategy pays off.
In general, we recommend starting your first base in Zone 1, where you also spawn. That gives you access to other zones in all directions and places you centrally on the map. Later, you can move to other biomes if you prefer the desert or snowy landscapes.
We also suggest setting up near points of interest — cave entrances, other structures, the Forgotten Temple, or a Kweebec village. Try to be close to water so you can irrigate your fields later or set up fish traps.
You don’t have to start from scratch, either — you can claim and renovate one of the many existing structures. That’s a lot of fun and can be easier for beginners since you already have shelter and a template to follow. For example, you could rebuild the spawn temple or find an old mine. Just remember that in some structures, monsters respawn — and you probably don’t want unexpected visitors!
2. Hytale building materials and textures: combine them well
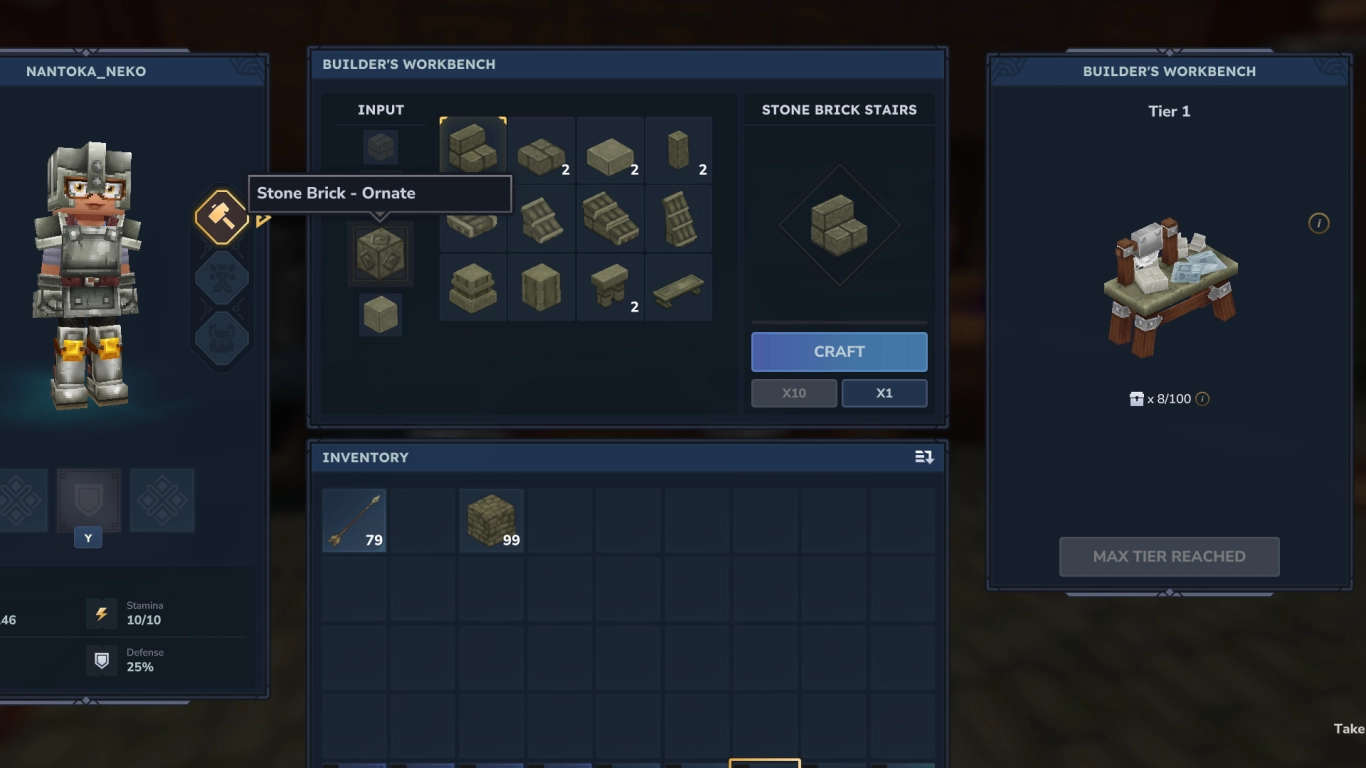
Hytale offers a wide range of resources to build with. Use the Builder’s Workbench to process found materials into different shapes. Not every block can be transformed, but you’ll find many different wood types and stones on your travels! We already have a detailed guide to trees and wood (Hytale Wood Types & Saplings: Where to Find Every Tree) so you can track down all eleven types and use them in your base.
This lets you mix materials, colors, and textures to see what pairs best. Builds by other players online or a real-world reference can help you stay on theme — or you can unleash your creativity and focus on your own ideas. Hytale is especially suited to medieval-style builds, but even within that theme there’s plenty of variety.
3. Hytale workbenches and chests: optimize reach
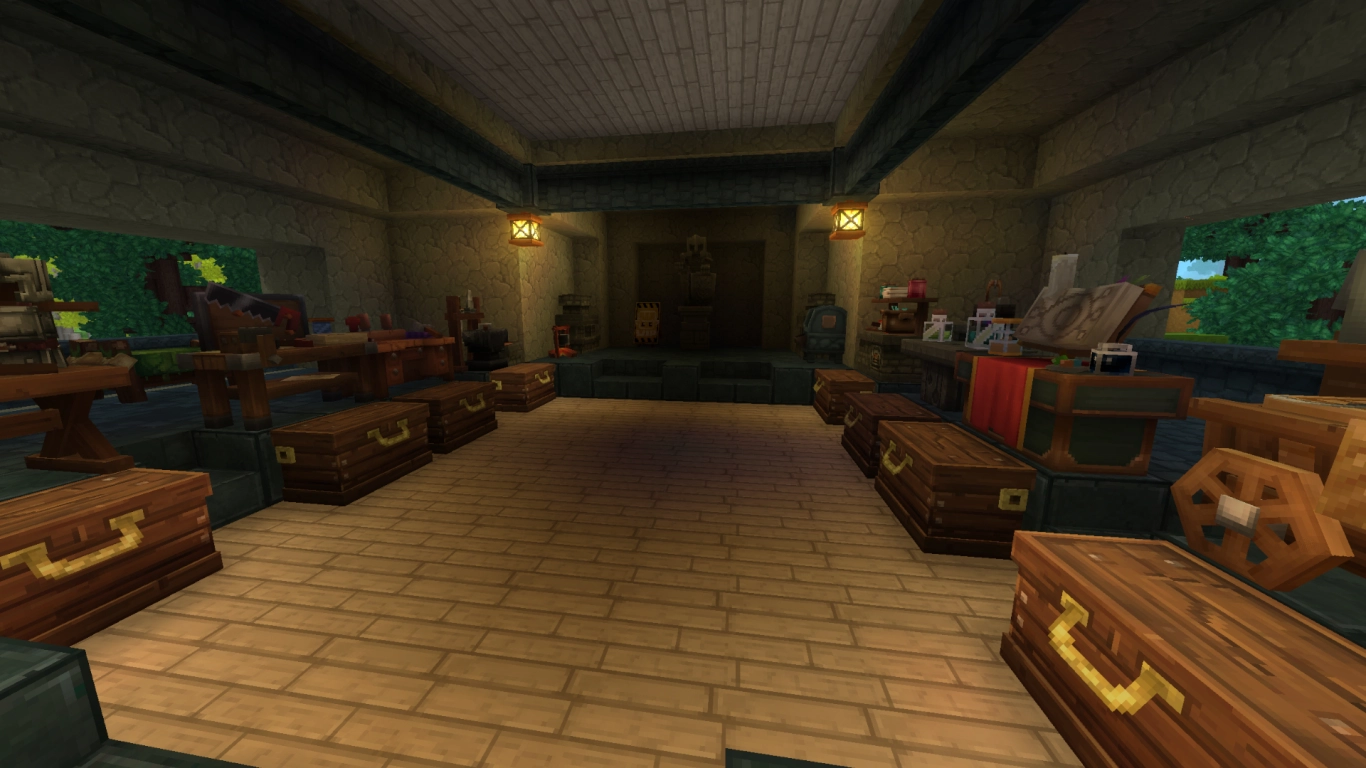
Unlike Minecraft, Hytale uses different workbenches for crafting. However, they can access nearby chests, so you don’t have to carry every item in your inventory. That’s why it’s important to plan the layout of your base accordingly.
Currently, each workbench has a range of 14 blocks in any horizontal direction, plus 6 blocks up and down. In Early Access this can be a bit buggy at times, but it generally works. Make sure your chests and workbenches sit within this radius if you want to take advantage of it.
4. Hytale farming: make room for fields and animals
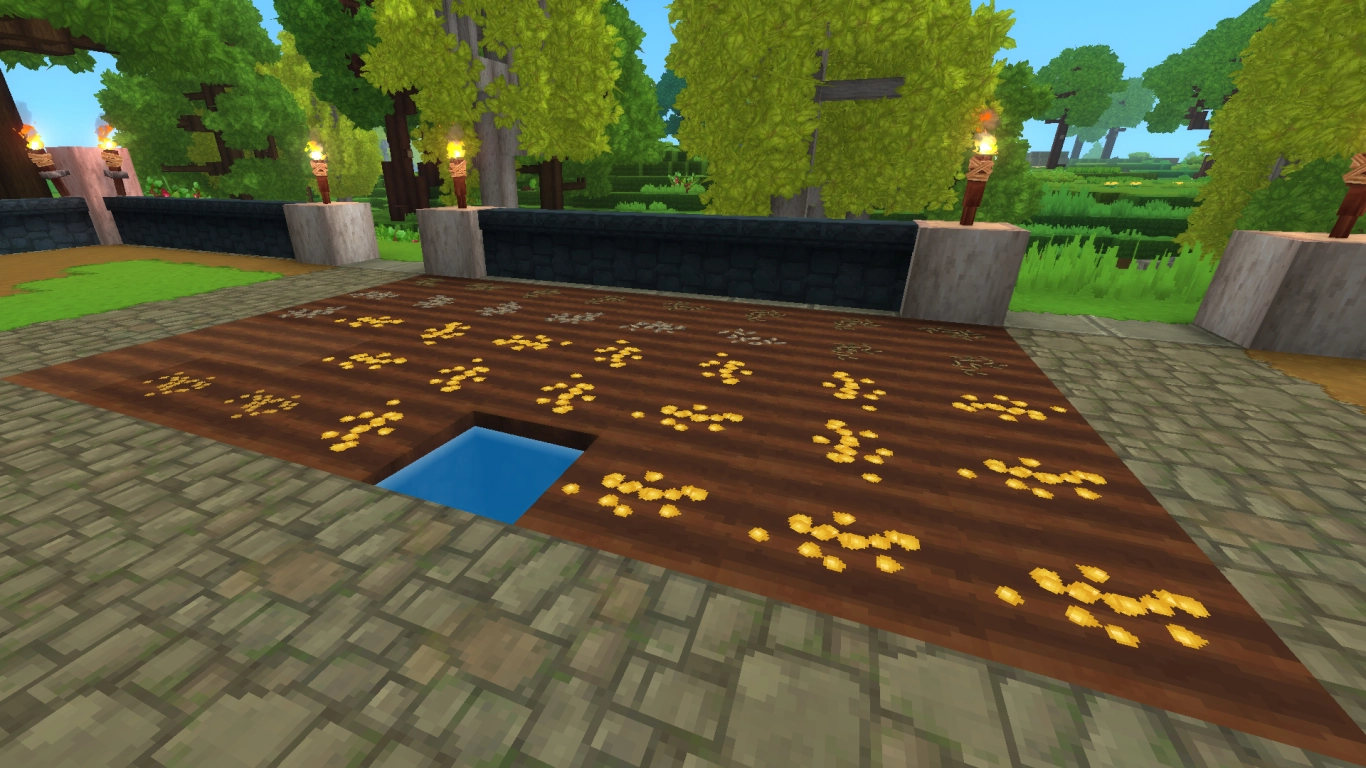
Lush fields are part of Hytale’s charm and form a key pillar for several other systems in the game, including food, saplings, and natural decor. You should set up at least a small field next to your base to upgrade the Farmer’s Workbench over time and grow some tasty vegetables. Farming is already quite fleshed out and a lot of fun! Read more in our dedicated post (Hytale Farming Guide: Workbench, Irrigation, and Essence of Life) .
You might also be able to capture a few animals to collect eggs, wool, or milk. This system is not fully polished yet, and animals sometimes wander out of their pens. It will surely see fixes and expansions in upcoming updates.
5. Hytale smithy: plan a practical outdoor area
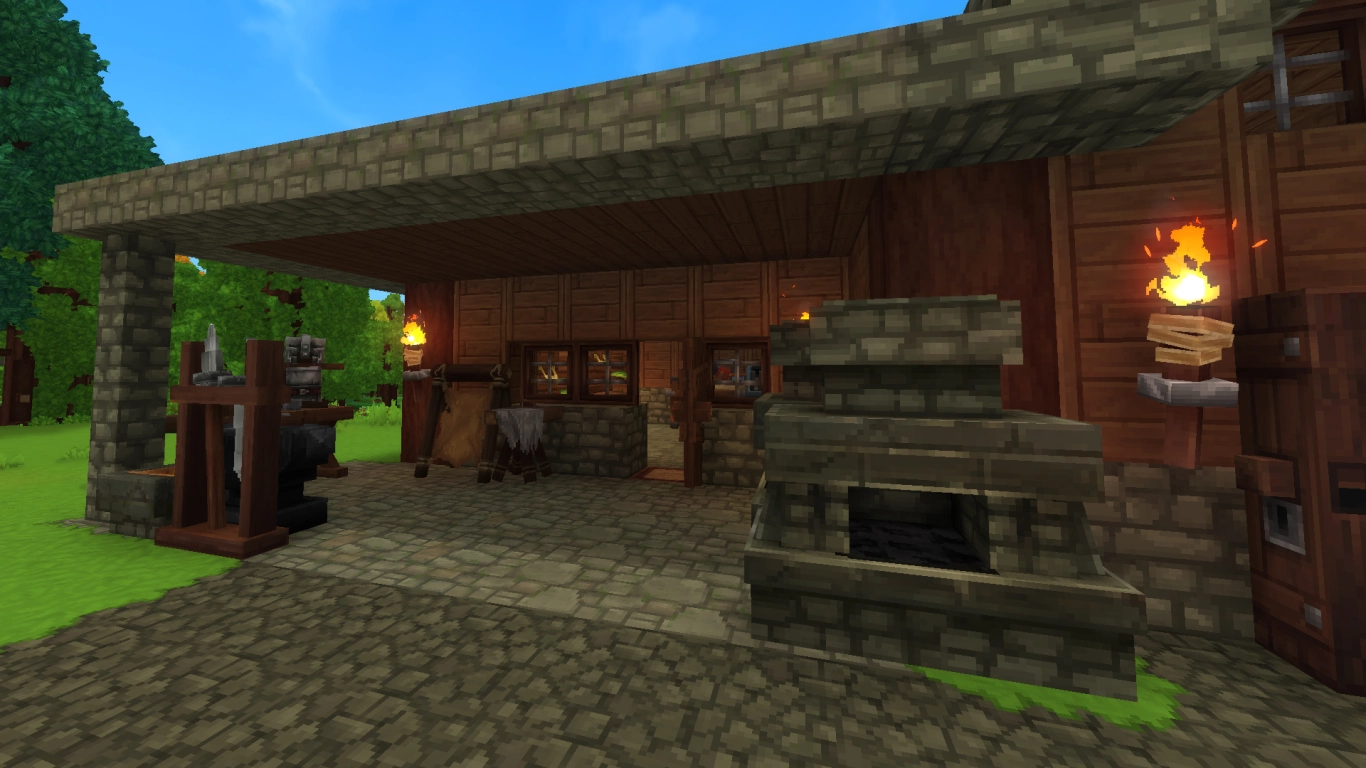
A nice touch for your first base is to create a dedicated smithy area. That way, not every workbench sits in your main house, and you can integrate them better into your overall design. Thanks to the 14-block range to nearby chests, you should still be able to use them comfortably.
For example, you can place your furnaces outside and add the Tanning Workbench nearby. Neither requires chest access since you operate these stations manually. The Weapon Smithing Table and the Armor Workbench are also perfect for such an outdoor area, as they don’t really belong in your living room.
6. Hytale lighting: effective light sources for visibility
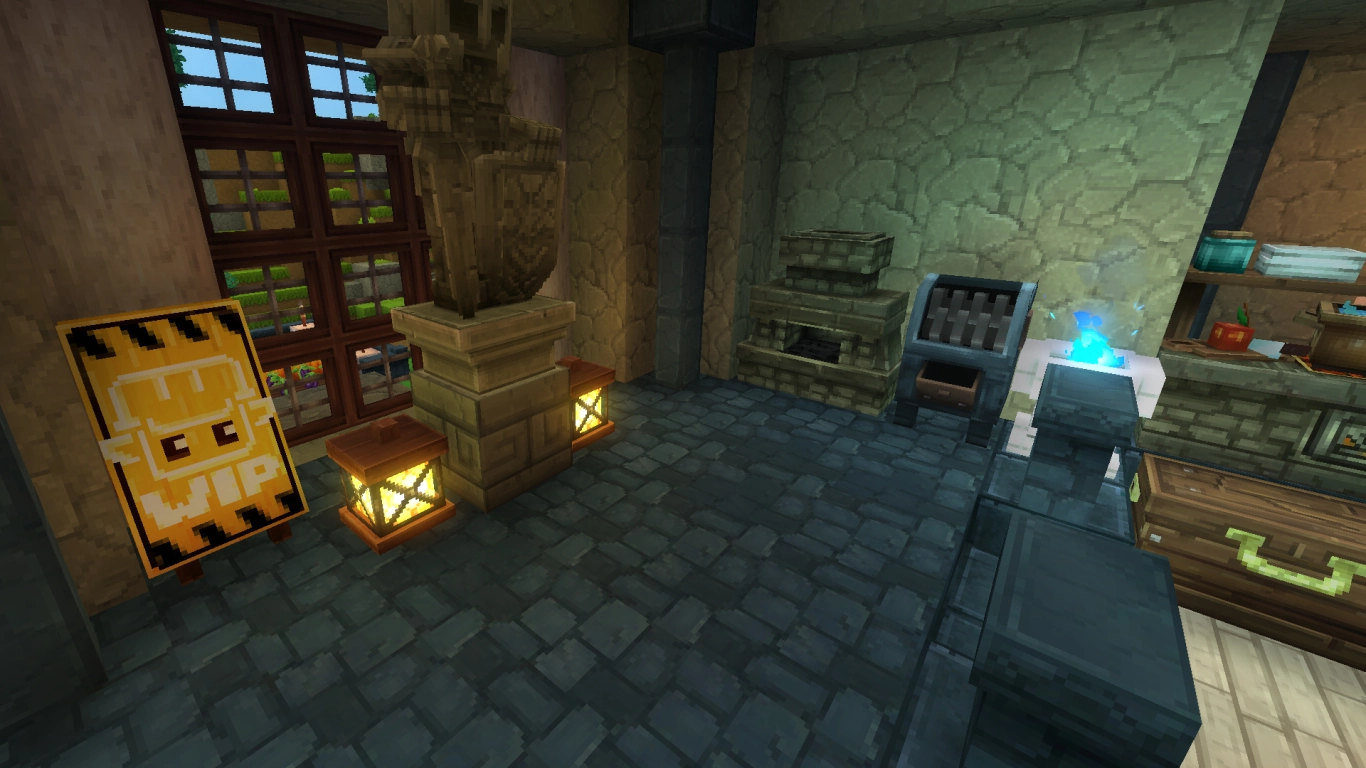
The right lighting adds the finishing touch to your base — and Hytale offers lots of options beyond simple torches. Check the Furniture Workbench: under the section for “Lighting” you’ll find beautiful decor pieces that also illuminate your base. From atmospheric candles and dangerous braziers to bamboo lamps, there are plenty of great light sources. A look at the festive decorations tab reveals even more lamps and string lights!
You can also take lights from existing structures — some of them currently only appear that way. Explore zones and structures to discover rare light sources. With a bit of luck, you’ll find beautiful lamps you can’t craft.
Conclusion: Your first Hytale base as a springboard for adventure
Thanks to its complex materials, Hytale is perfect for creative ideas. In the Builder’s Workbench, you can turn nearly any resource into other blocks, roofs, or fences to give your base a unique look. Exploring pays off, as you’ll keep discovering new stone types and woods. Make effective use of your workbenches to, for example, set up fields or craft stylish lamps. And remember: future updates will almost certainly add many more options!
Start building your first Hytale base now by renting your own Hytale server! You can not only build solo, but also together with your friends. Compare ideas or work side by side on a large, shared base.
More interesting articles
Hytale Structures: Top Structures by Zone (1–4)
Hytale Caves Guide: All Ores, Resources, Biomes, and Tips