If you think you’re in the clear just because you survived Day 1, welcome to the reality of 7 Days to Die. The real challenge starts now. The game isn’t called that for nothing — on Day 7, the horde arrives. And it will find you. Wherever you are. Whether you like it or not.
This article shows how to go from a clueless survivor to a somewhat prepared fortress builder — and why there’s still no guarantee you’ll make it through the night. But hey: we’ll get through it together.
7 Days to Die Blood Moon rhythm: Time management up to Day 7
7 Days to Die has a simple but brilliant mechanic: every seven days a huge horde attacks your base — at night, when it’s most dangerous. That means you have exactly one week to prepare. Sounds like a lot? It isn’t. Days are short, the to-do list is long, and zombies get a little more active each day.
The goal is simple: Survive the Blood Moon. But until then you need to…
- Gather resources
- Loot like mad
- Build a base
- Arm yourself
And ideally not starve or get torn apart by a wolf along the way.
Pro tips for time management:
- Place a bedroll early to set your spawn point.
- Mark good loot spots on the map and plan routes for the next day.
- Collect wood, stone, iron on the side — every minute counts.
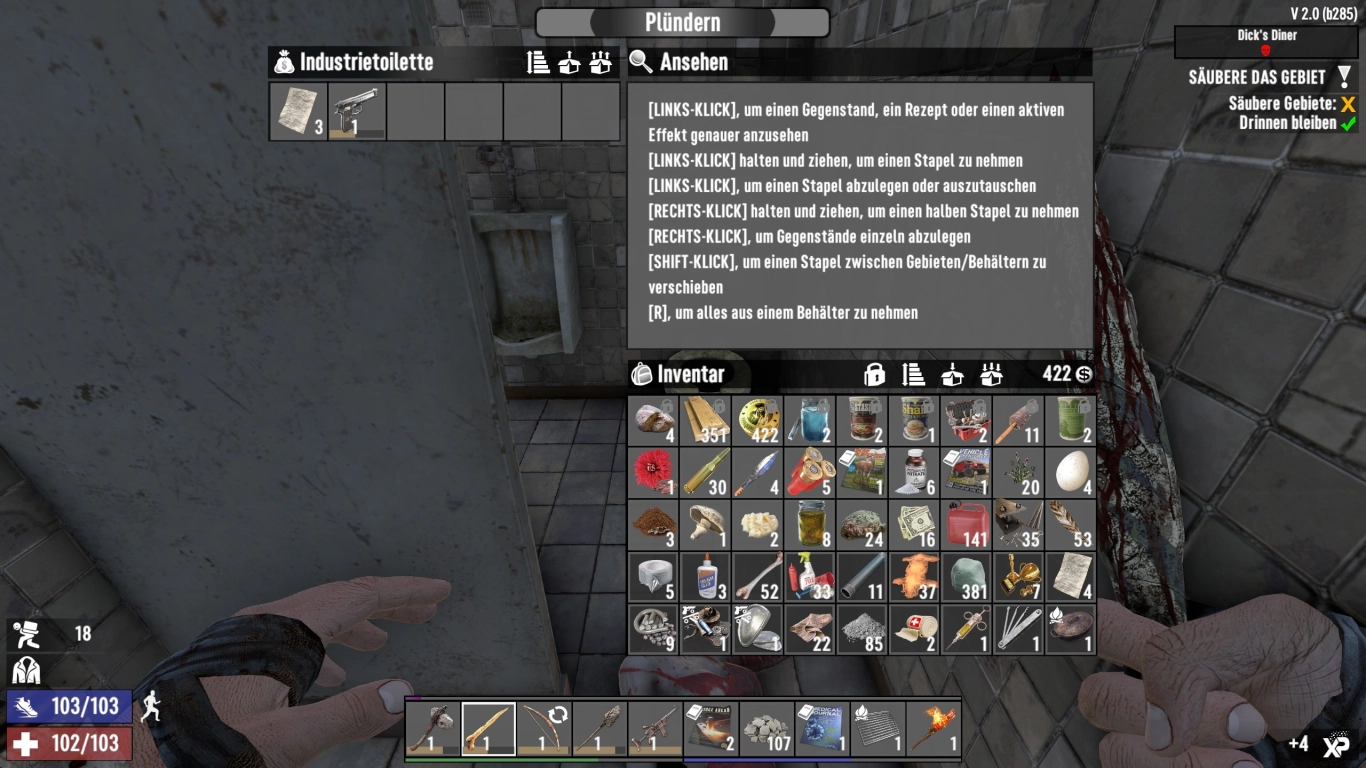
Looting in 7 Days to Die: Efficient routes and high-value finds
No matter how much you gather, it won’t feel like enough for Day 7. So use every chance to loot. Especially:
- Toolboxes, gun racks, medicine cabinets
- Safes (with patience or a sledgehammer)
- Cars: Dismantling often yields engines, batteries, gasoline
- Bird nests: Feathers and eggs (ammo + food)
- Fridges, ovens, and pantry cabinets — food
And most importantly: never skip a bookshelf! Schematics and perk books are your key to progress.
Pro tip: Always bring lockpicks or any candy you find (e.g., Jail Breakers) — they save time and resources when opening safes.
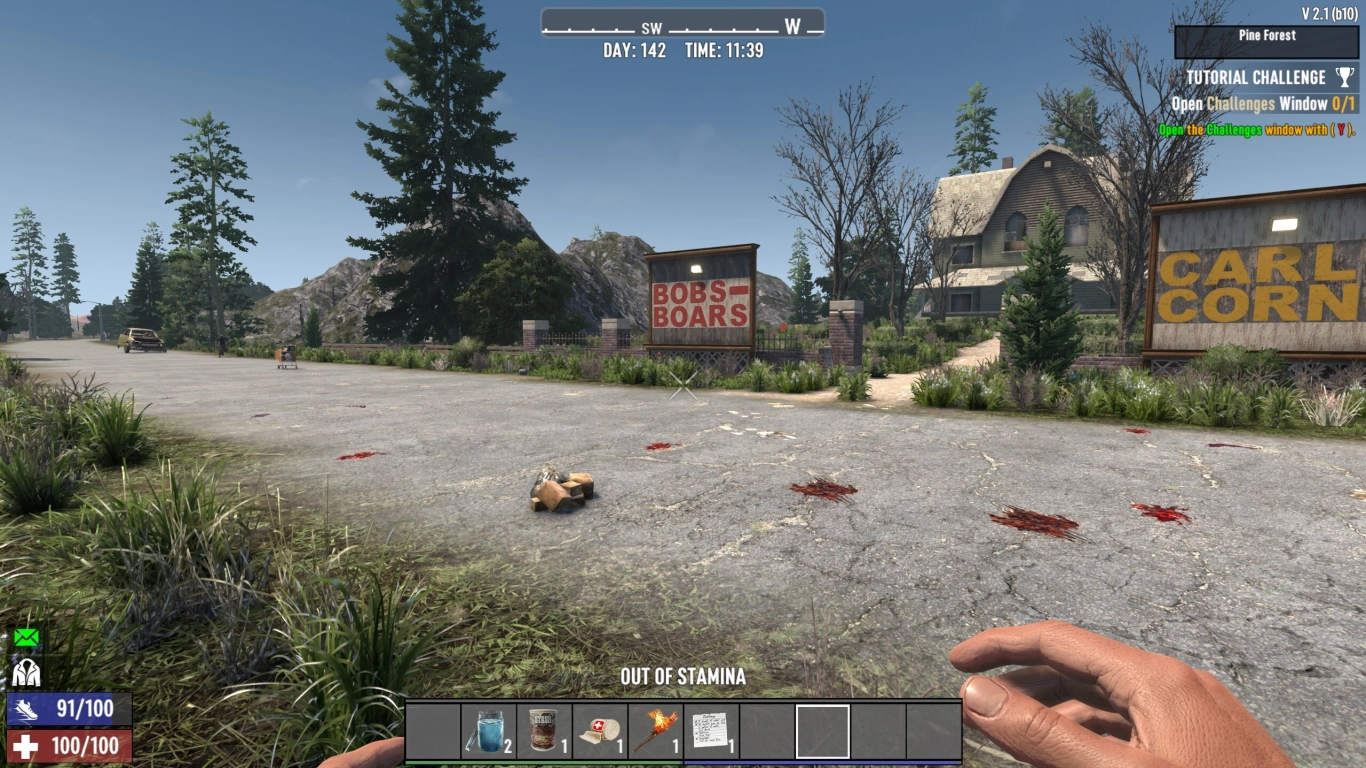
Best early-game loot locations in 7 Days to Die
Not all buildings are equal. Here are a few spots that are especially worthwhile (and manageable without getting eaten right away):
- Trailer parks: Lots of containers, weaker zombies, quick to clear
- Gas stations: Workbenches, tools, often great loot
- Shops (Shotgun Messiah, Working Stiff Tools): Jackpot! But usually well-guarded
- Houses with basements: Often have hidden supply rooms
- Barns or farms: Good source of food, animals, and building materials
Avoid skyscrapers, hospitals, or military camps in Week 1 — they’re (still) a bit much.
Pro tips:
- Harvest cobblestone pallets and cement bags: free upgrade materials.
- Remember quest paths in POIs: trader quests reset buildings — double loot!
The best perks in Week 1: Skill up for the Blood Moon
Every skill point is worth gold. You can rely on what you find — or become the maker yourself. That only works with the right perks.
In Week 1, these perks are especially strong:
- ‘Sexual Tyrannosaurus’: Less stamina drain for actions
- ‘Pummel Pete’: More blunt weapon damage — perfect for club and baseball bat
- ‘Pack Mule’: More inventory space = longer runs
- ‘Master Chef’: Cooked meals make life better (e.g., bacon and eggs)
- ‘Grease Monkey’ (later): Unlocks vehicle crafting
Don’t over-specialize yet — that comes later. For now, prioritise: survival and being an all-rounder.
Also valuable:
- ‘Healing Factor’ or ‘Pain Tolerance’ for better survivability.
- ‘Daring Adventurer’ for better trader rewards.
Building a Blood Moon base: Must-haves for Day 7
If you don’t have a functioning base by Day 7, it’ll be a very short game. Here are the basics without getting too technical:
- Elevated platform or tower: Zombies can’t fly (yet). Height is your friend.
- Access via ladder or ramp: Remove it during the attack so zombies can’t climb up.
- Spikes and barbed wire: At least slow the horde down.
- Solid doors and walls: No paper walls — use wood, cobblestone, or better.
- Lighting: Nights are pitch black. A flashlight helps — better yet, power (e.g., generator + spotlights).
Tip: Don’t build flat on the ground. Elevated structures or bridges help a lot. Zombies attack from below — so make sure you’re above them.
Rapid build checklist:
- Carry plenty of frame shapes and build/adjust on the fly.
- Upgrade wood → cobblestone; concrete comes later.
- Place Land Claim Block (optional) and bedroll.
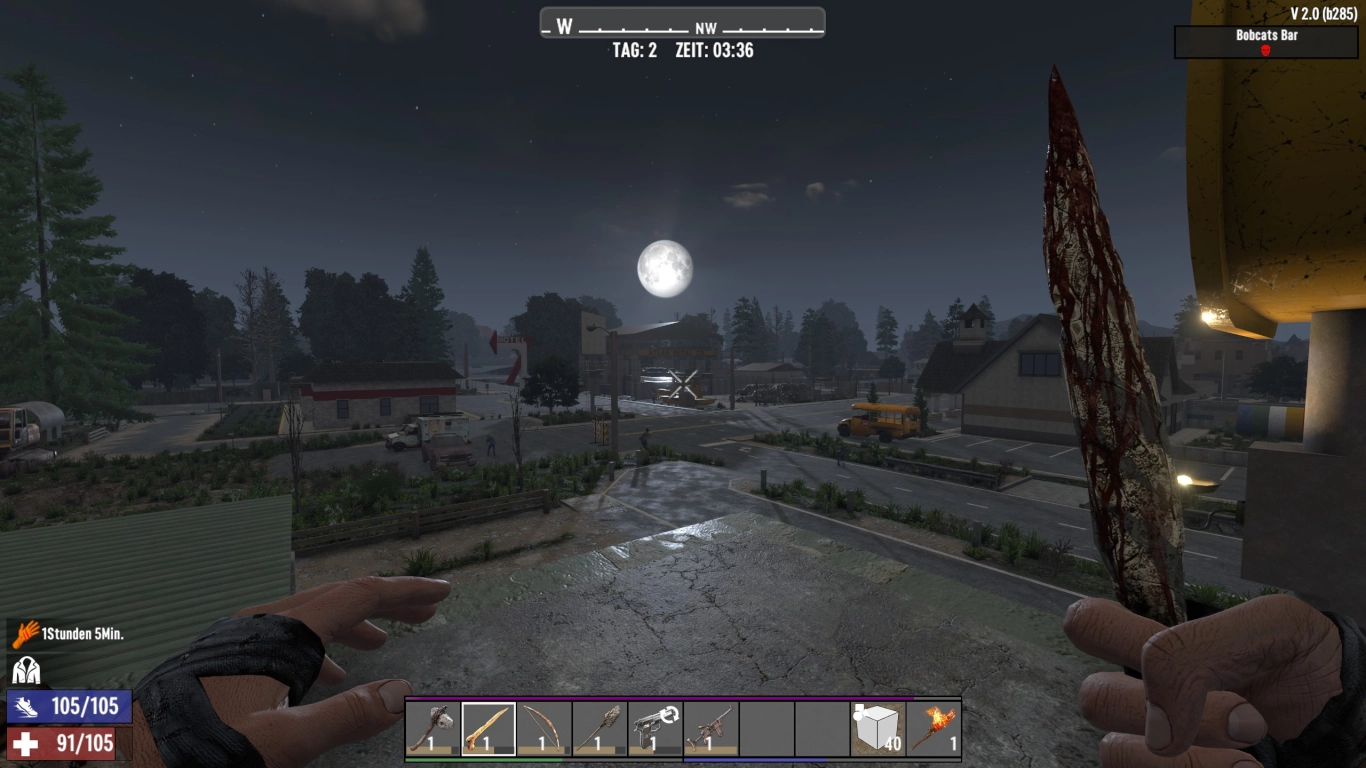
Weapons by Day 7: Realistic gear and ammo
Many newcomers hope for shotguns or pistols — but realistically your arsenal will look more like this:
- Club or baseball bat: Your best friend — repairable, quiet, strong
- Primitive bow or crossbow: Great for stealth — but slower
- Pipe pistol or pipe rifle: Clunky, but adds firepower — if found
- Molotovs: Perfect for groups stuck on your spikes
- Spear: Not everyone’s favourite, but handy to throw
You’ll need ammo. Lots. Use the Blood Moon smartly — you don’t have to kill everything, only survive. Aim for headshots and save expensive ammo for emergencies.
Pro tips for gear:
- Always carry repair kits (duct tape + forged iron).
- Wear clothing with pocket mods for more inventory slots.
- Keep healing ready: bandages, first aid kits, honey for infections.
Common beginner mistakes in 7 Days to Die
- Roaming at night — unless you like thrills and frequent respawns.
- Building your base too late — there’s no pause button!
- Ignoring the trader — their quests help you progress.
- Dumping all points into one thing — all-rounders survive.
- Thinking “It’ll be fine” — it won’t. Plan ahead.
7 Days to Die in multiplayer: Benefits, roles, server tips
7 Days to Die is not only more fun in multiplayer, but also easier — if you do it right:
- Split roles: one builds, one loots, one cooks.
- Defend the base together.
- Make shared progress — e.g., on trader quests.
- On your own server (e.g., with 4Netplayers), you can set the difficulty as you like.
And let’s be honest: when the sky turns red at 22:00 and the zombies start to sprint, it’s comforting to not be alone in a dark tower.
Conclusion: Survive the Blood Moon with planning
The first week in 7 Days to Die is a crash course in survival. The game tests your nerves, your planning, and your ability to handle stress. And that’s exactly the appeal.
The horde on the seventh day will come — and it will demand everything from you. If you’re well prepared, it’s a thrill with goosebump guarantee. If you mess up, it’s a short, brutal restart. But that’s 7 Days to Die: ruthless, honest, yet fair. Rent your 7 Days to Die server and try to survive your first Blood Moon.
More interesting articles
7 Days to Die 2.0: Beginner’s guide for your first hours
7 Days to Die 2.0: Base Building Guide for Secure Bases
7 Days to Die 2.0: Traders, Quests, Reputation & Strategies
7 Days to Die Endgame Guide: Gear, Weapons & Builds
7 Days to Die Vehicles Guide 2.0: From Bicycle to Gyrocopter