With Tier 8 you also unlock drones, another way alongside trains and trucks to transport items over long distances. Drones work a bit differently and can feel limiting at first, but they absolutely have their place. If you dig into them, they can even outperform the other two vehicles. Today we’ll look in detail at how to use drones effectively, how they work, and which fuel is best. There are clear differences in how quickly items get from A to B.
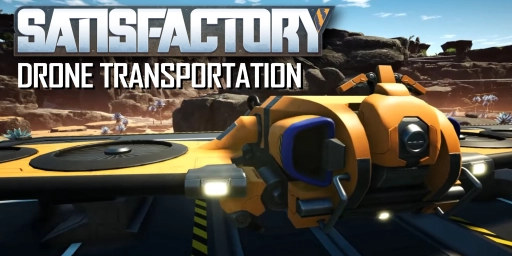
Transporting with Satisfactory drones: setup, drone ports, and use cases
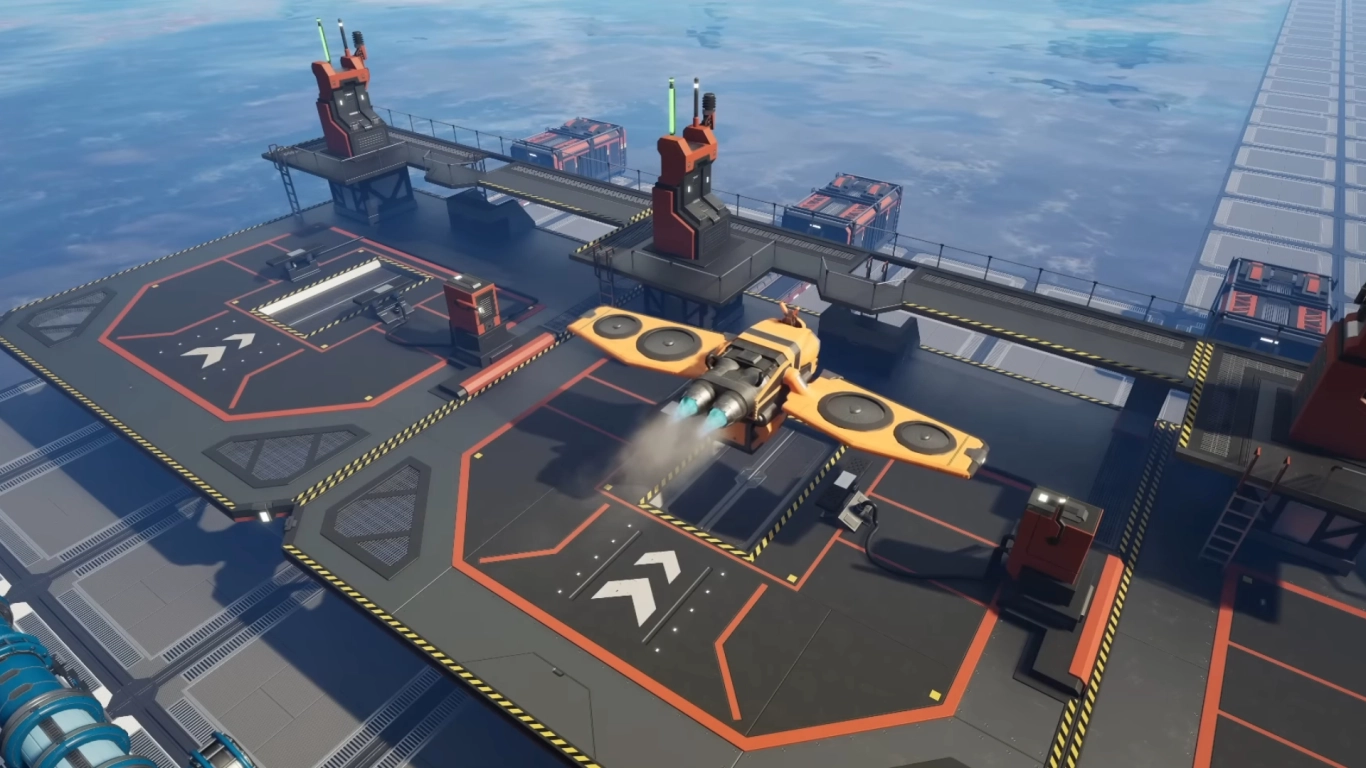
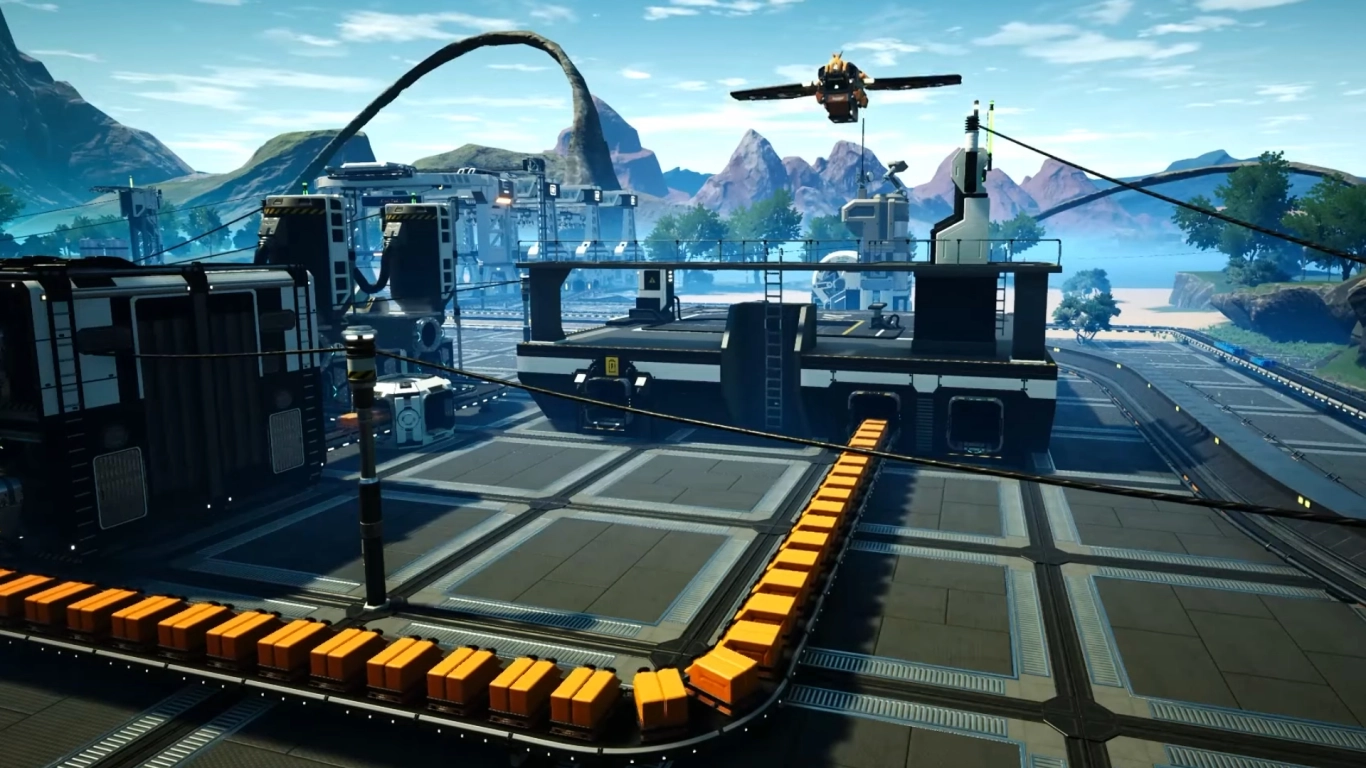
To use a drone for transporting items, you must first build a drone port. A drone can only fly back and forth between two ports, which limits it somewhat. There is a home port and a destination port. However, you can run multiple drones on the same route and combine ports as you like.
A drone costs:
- 4x Motor
- 10x Alclad Aluminum Sheet
- 1x Radio Control Unit
- 2x AI Limiter
- 1x Portable Miner
A port costs:
- 20x Heavy Modular Frame
- 20x High-Speed Connector
- 50x Alclad Aluminum Sheet
- 50x Aluminum Casing
- 10x Radio Control Unit
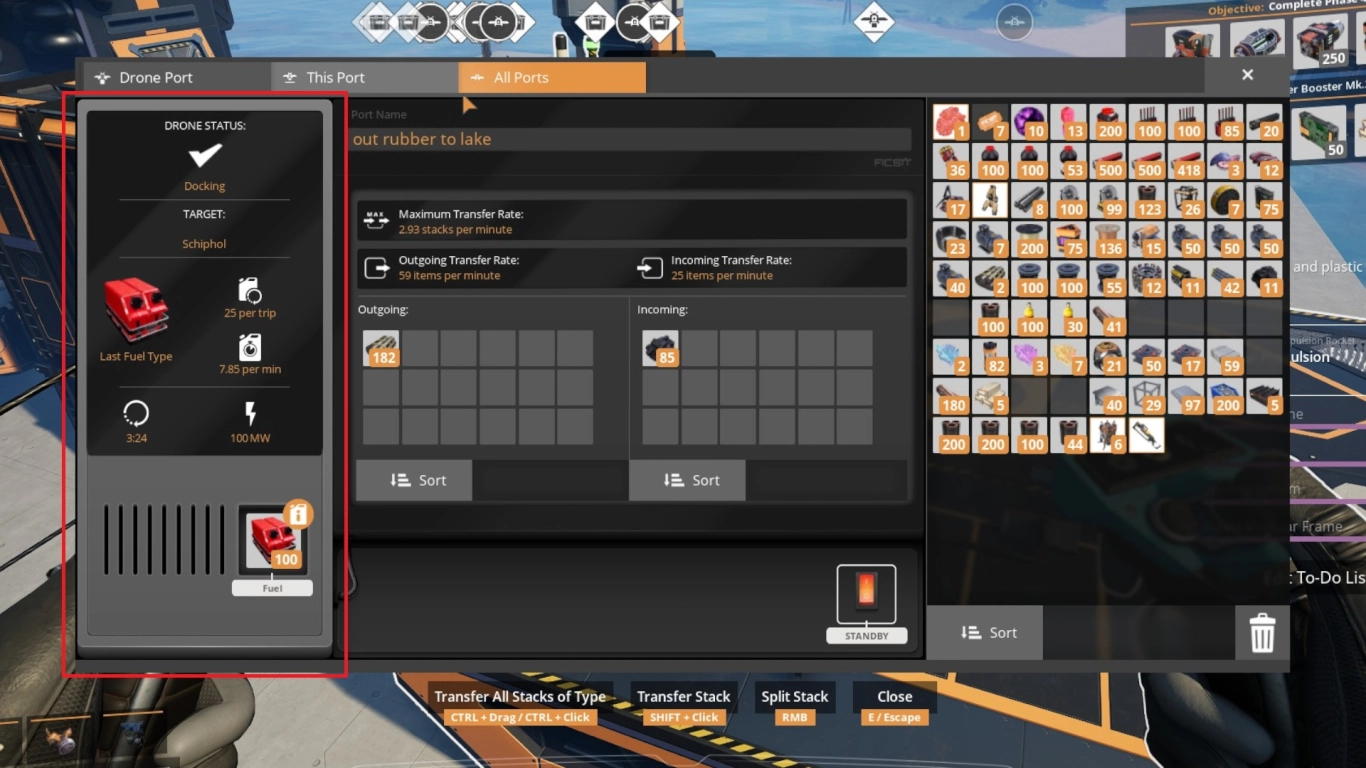
A drone has 9 free slots to carry items. They also require fuel to fly. Everything is managed at the home port. There is a fuel input as well as input and output for the items being transported. A drone picks up the items, takes off, flies to its destination port, unloads the materials there, and flies back. How quickly items are loaded and unloaded depends on the quantity.
You can rename the stations, just like train stations, which makes them easier to find in the list. You can also color both the ports and the drones to tell them apart more easily. The port always consumes 100 MW, whether it’s in use or not.
Best fuel for Satisfactory drones: speed, range, and consumption
While drones could long only be powered by batteries, since version 1.0 you can also use other fuel types. This gives you more flexibility and lets you choose fuels that match your current progression. In general, you can only use packaged fuels, so plan for that from the start.
The fuel determines how far your drone can fly and how fast it is. The calculations are shown at the home port, and they vary per trip. On the bottom left you can select different fuels, and you’ll see the fuel consumption per minute. Choose your preferred fuel and supply the station accordingly. Higher up you can see how many units per minute and per trip are consumed. The total round-trip time is shown as well.
These Satisfactory fuels can be used for drones:
- Packaged Fuel
- Packaged Turbo Fuel
- Batteries
- Packaged Rocket Fuel
- Packaged Ionized Fuel
- Uranium Fuel Rod
- Plutonium Fuel Rod
A fun detail: the drone’s exhaust color depends on the fuel used. If you want to know what you’re currently burning, check the exhaust.
Which fuel you use depends on your current stage. Every type is viable—focus on what fits your playstyle. Also, consumption depends on the route, not just the distance, but also the terrain the drone flies over.
Our top 3 fuels for drones in Satisfactory:
- Batteries: Drones originally ran only on batteries, and they’re still a solid option. Production isn’t complicated once you have sulfur and aluminum. At 6,000 MJ they’re efficient and let the drone reach 133 km/h.
- Rocket Fuel: Rocket Fuel is generally a good choice, even if it’s a bit weaker in drones. It’s often more practical than Ionized Fuel, which can be too involved for its benefit. Rocket Fuel has 7,200 MJ and also enables 133 km/h. In some setups it’s simpler to produce than batteries.
- Uranium/Plutonium: Nuclear fuels are even more effective, but only worth it if you already run that setup. Advantage: Using fuel rods in drones produces no waste, unlike in nuclear plants. Uranium offers around 750,000 MJ at 151 km/h, while Plutonium is much stronger at roughly 1.75 million MJ, enabling 162 km/h.
Satisfactory drones compared: advantages and disadvantages versus trains and trucks

Drones are exciting and can replace some of your conveyors, trains, or trucks. They’re not for everyone, though—it ultimately comes down to your playstyle. As a fast transport method they’re strong, but they come at a cost.
Advantages:
- No need to lay tracks
- Fast, efficient transport on a direct flight path
- Multiple fuel types possible
- Perfect for handling nuclear fuel
Disadvantages:
- Can carry only 9 slots per flight
- Speed depends on fuel
- Only a single route between two ports
- Setup can be costly
An overview of all three transport options:
- Trucks are best before you unlock trains. They let you start transporting items and replacing belts. They’re cost-effective since you don’t need tracks. Unlike drones, you can connect multiple stations and plan routes.
- Trains are best for moving large quantities of materials over both short and long distances. With many freight cars, you can move a lot from A to B. They are, however, quite complex—especially with multiple trains and signals.
- Drones are best for long-range transport. Their setup is very simple and straightforward. They’re ideal for specialized items that don’t take up much space.
Conclusion: Using Satisfactory drones correctly for fast item transport
Especially in Satisfactory’s late game, where you need to move resources across long distances, drones are a welcome helper. They have limitations, but they’re extremely practical for moving materials from one point to another. In terms of speed, they outpace other transport methods, making them very flexible. You can also choose the fuel that best fits your current progression.
Rent a Satisfactory server from us and make it to Tier 8 to unlock drones. Try different fuels and transport crucial items across the entire map!
More interesting articles
Satisfactory MAM: Explore flora and fauna, healing, protective gear, and new weapons
Satisfactory Tier 8 Guide: Nuclear Power, Drones, and Mk.3 Miners
Satisfactory Space Elevator Phase 5 Guide: Recipes, Production, and Tips