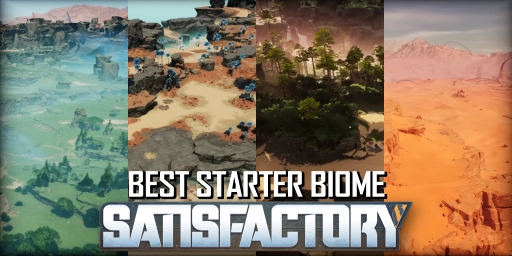
When you begin a new save in Satisfactory, you can choose from four starting areas. In the end, you’ll still play on the same map with the same resources available, but especially early on it can be tough to travel long distances. That makes your starting area important for learning the mechanics in the first few hours and setting up your first small factories. We’ll look at all four areas in detail—what you’ll find there and what hurdles you might face. If you’re a veteran, we recommend trying them all, or discovering new spots that make a great base!
Satisfactory starting area Grass Fields: flat terrain and few pure nodes
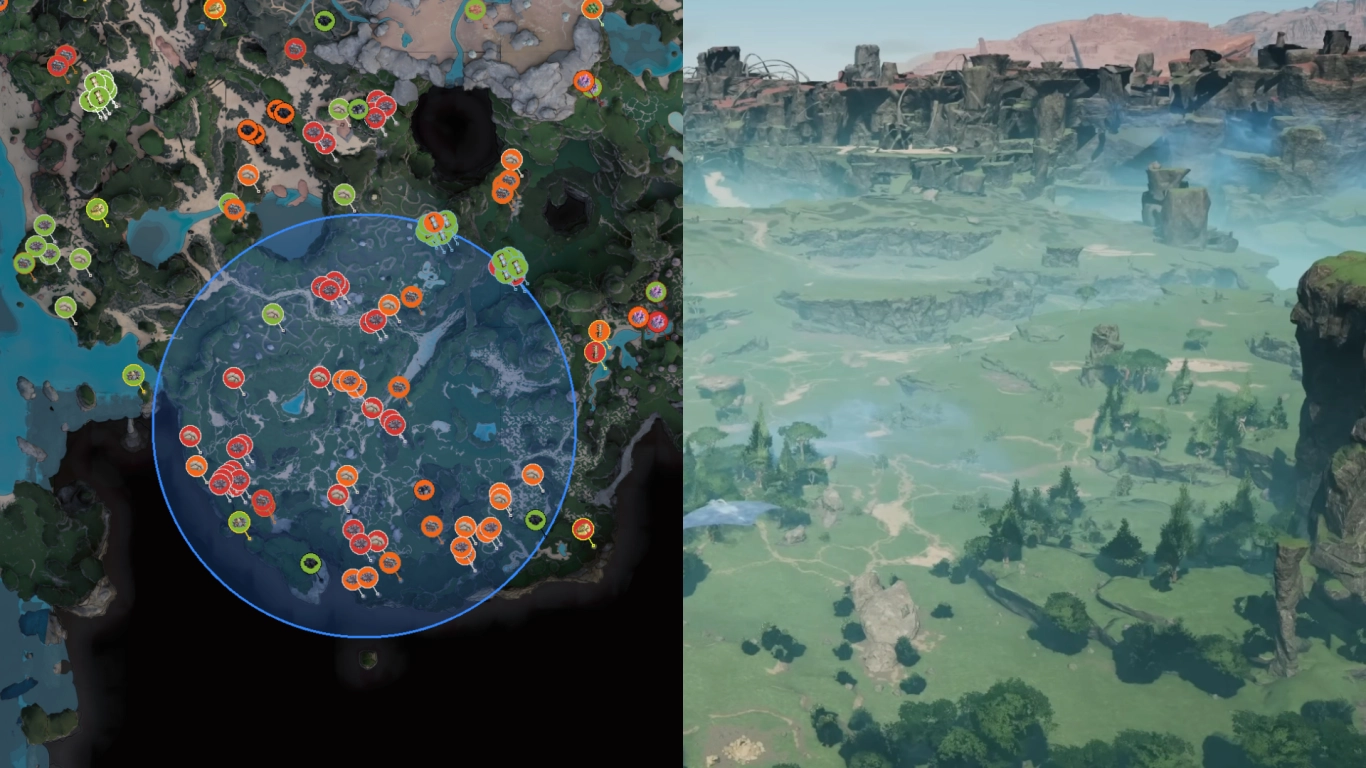
The Grass Fields are located in the south of the map and look especially appealing to newcomers at first glance. They are very flat and beautiful. But this idyllic start is a bit deceiving, as there are fewer high-quality resources here, especially for the late game.
Terrain: The flat terrain is probably the biggest advantage of this biome. You can build just about anywhere without dealing with mountains or hills. The Grass Fields also look great. It’s peaceful.
Nature: You’ll have no trouble finding enough foliage for biomass to power your first generators.
Resource nodes: This is where the region falls short—almost all ore nodes are impure or normal, so production is lower. You’ll still find all necessary resources, just less output per node. Things get tricky once you need coal and oil. There’s very little water, and coal is only in the southern part of the biome.
Neighboring areas: You can offset this by expanding. North along the coast you’ll find plenty of oil, and the Blue Crater east of the Grass Fields is a fantastic area for all kinds of factories. From Tiers 3 through 5, you should branch out into nearby regions.
Satisfactory starting area Rocky Desert: lots of space and strong resource density
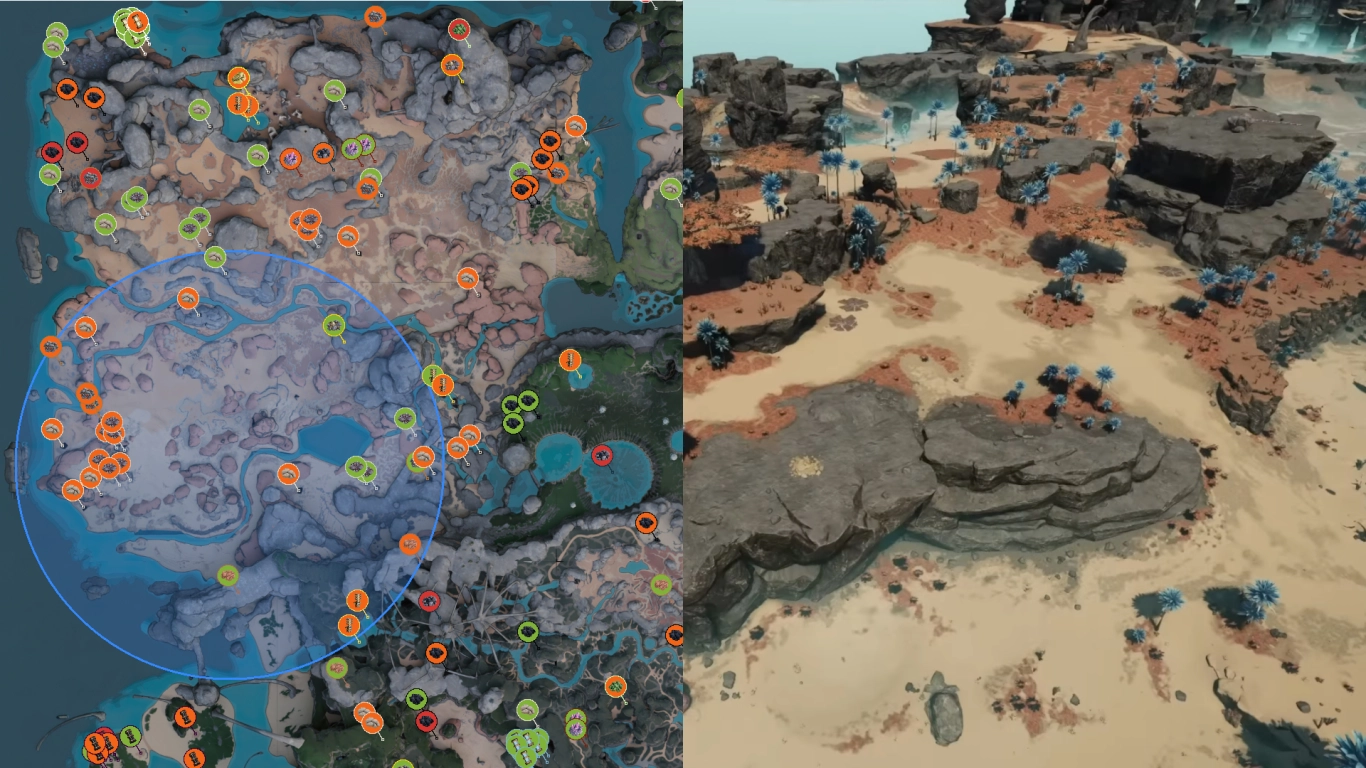
The Rocky Desert in the northwest of the map may look less inviting at first, but it’s arguably the best starting area in Satisfactory. You get plenty of room to build and very few drawbacks to slow you down. Plus, you have access to many resources.
Terrain: The terrain is rocky and a bit hilly, but overall you have more than enough space to lay out production lines. Set your early factories between the desert rock formations. It can feel a bit monotonous due to fewer green patches, but the biome is more varied than it appears.
Nature: Despite being a desert, there’s enough for biomass. Forests with trees can be found along the edges of the biome and are easy to harvest. The desert is less barren than it looks, making it great for a smooth start.
Resource nodes: Here’s where the real advantage shows: most resources are normal or pure. You’ll also find plenty of nodes that are close together. There’s water, and coal can be found to the north. Late-game resources like quartz, bauxite, and nitrogen gas are available as well.
Neighboring areas: The Rocky Desert also shines in terms of adjacent regions. The craters to the east offer lots of coal and geysers. You’ll find oil both to the south and further along the northern coast.
Satisfactory starting area Northern Forest: many resources and challenging terrain

The Northern Forest charms with a beautiful atmosphere and dense woods, but its tricky terrain can make building a real headache. If you can handle it, you’ll benefit from rich nodes and a strategically strong location.
Terrain: The uneven Northern Forest makes this area less appealing to many, especially beginners. Veterans, however, should give it a try for a solid first factory.
Nature: There is absolutely no shortage of nature here. The area is thick with vegetation, so you can produce plenty of biomass.
Resource nodes: This region shines with many pure nodes, making production much easier. They’re concentrated toward the center of the biome. Geysers can be tapped early, offering an alternative power source. You’ll need to leave the area for coal and oil, but the travel is short.
Neighboring areas: Strategically, the Northern Forest is excellent, with nearly all other resources surrounding it. North lies a coastline with oil, and to the south is an area with coal, quartz, and sulfur.
Satisfactory starting area Dune Desert: lots of space and early coal
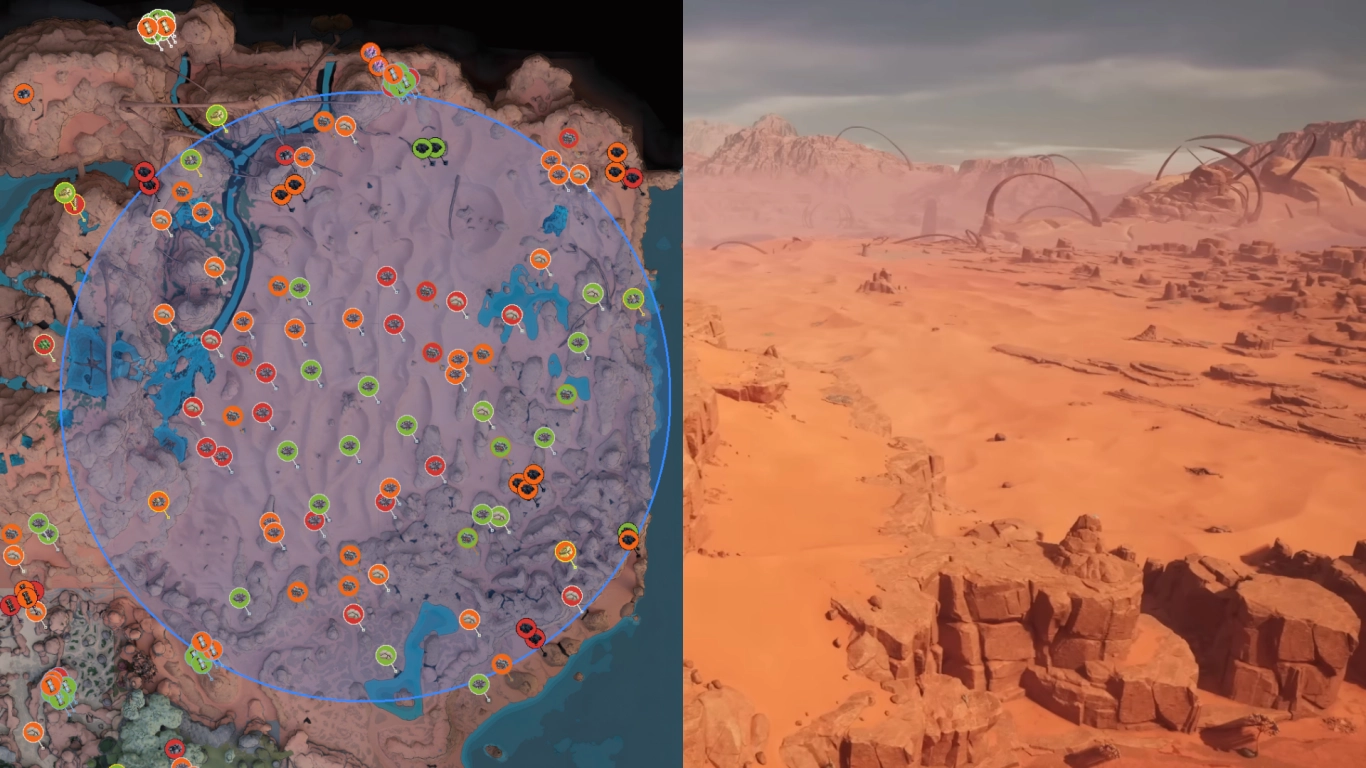
In the Dune Desert in the northeast, you start in a surprisingly flat and comfortable biome. You’ll have to deal with some creatures, but the advantages outweigh that. There are plenty of resources, you’re close to water, and you can expand flexibly.
Terrain: Space is no issue—the desert is vast and flat. You can build anywhere, and even a massive megafactory is possible. This area is better suited for experienced players or for the mid and late game.
Nature: Within the desert there’s little natural biomass, but outside you’ll find bushes and trees near oases. You just need to manage the alphas, which is very doable.
Resource nodes: There are plenty of ores. Nodes are well distributed and a mix of impure, normal, and pure. Unlike the other starting areas, you have coal and sulfur right away. You can access water and oil along the western coast.
Neighboring areas: Expanding southeast is especially fruitful for key resources. The coast is ideal for oil production, and the Titan Forest and Swamp offer quartz, bauxite, and uranium.
Conclusion: Comparing Satisfactory starting areas and our recommendation
With the four starting areas, Satisfactory gives you plenty of variety to begin each run with a different setup. For beginners, we recommend the Rocky Desert thanks to its strong balance of resources and terrain. The Grass Fields are good too, but they lack pure nodes. If you’re experienced, the spacious Dune Desert or the challenging Northern Forest offer more variety and challenge.
To pick the perfect starting biome, rent your own server from us and jump into Satisfactory. Of course, you can build anywhere else you discover a beautiful region during exploration. Invite friends and play together.