Copper has become one of the most important resources in Minecraft. You can obtain the ore in several ways and craft a wide range of different blocks with it. Use it for decorative blocks in different oxidation stages, craft a lightning rod and a spyglass, and even use waxed variants that won’t oxidize. That makes copper a key resource you may want to collect in bulk. But how exactly? Today we’ll look at where you can get copper and why Drowned play an important role.
Minecraft copper: Properties, blocks, and oxidation
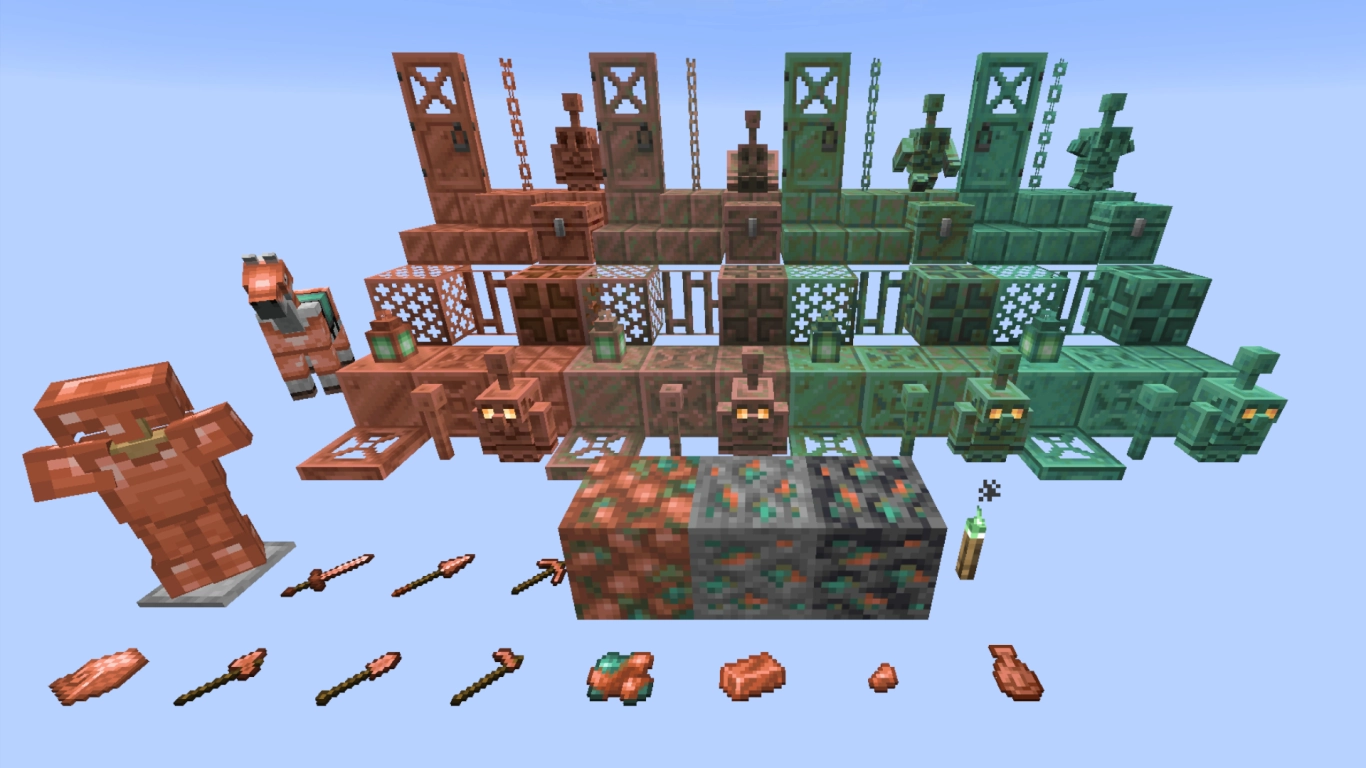
What started as a relatively new ore has become one of the most versatile materials in the entire game. Copper spans many areas of gameplay and can be used by just about every player for a variety of purposes. We recommend getting into it sooner rather than later.
You can learn more about every copper block in our separate article (The Ultimate Guide to Copper in Minecraft: Discoveries, Building Ideas, and Oxidation) . Also remember that all copper blocks and decorations oxidize, so there are four different colors!
Farming copper in Minecraft: Ores, Trial Chambers, and Drowned
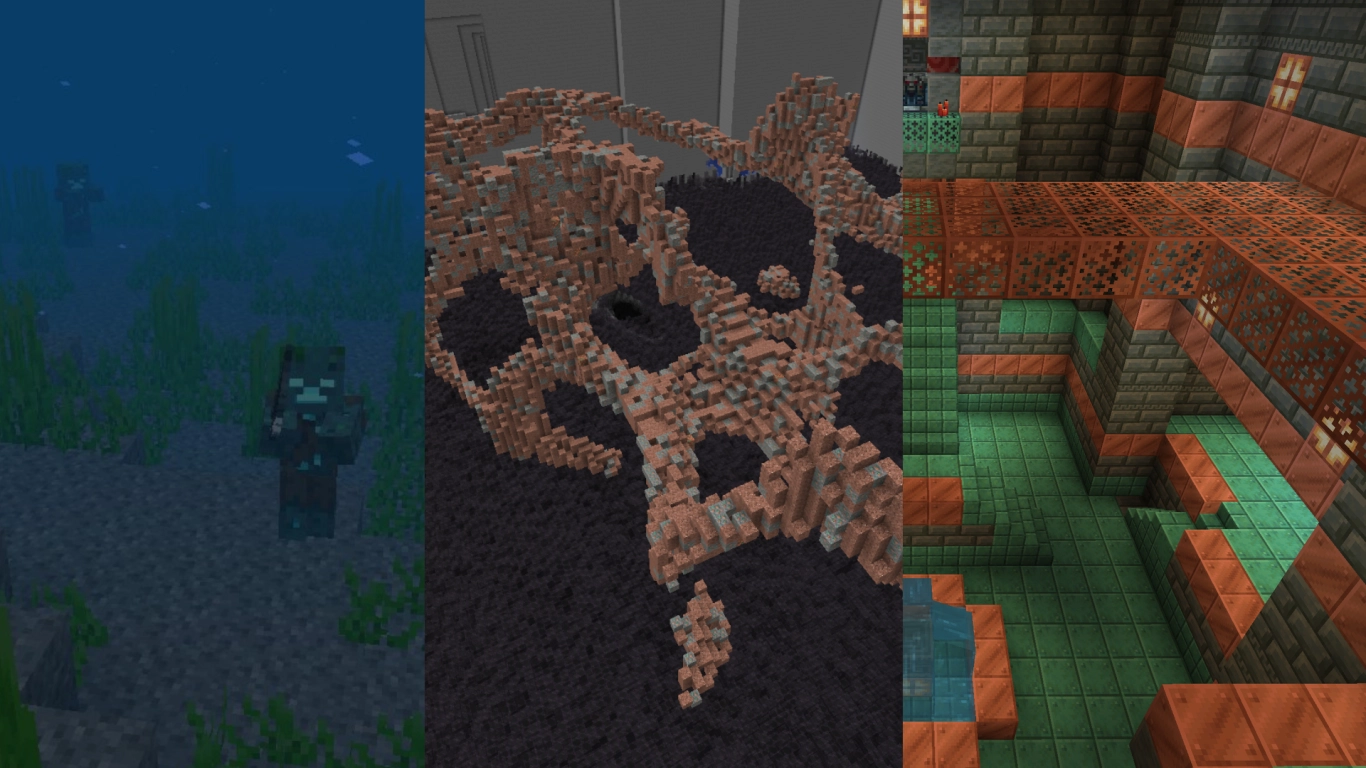
Copper is an ore you need to mine in mountains or caves. You can find it between Y-level -16 and 112, most commonly around Y-level 47 to 48. From Y-level 40 to 0 you can also occasionally find copper veins that contain several hundred copper ore blocks and are marked by granite and raw copper. You should especially search dripstone caves, where copper generates more frequently.
Another source for copper blocks is Trial Chambers. They’re made of a lot of copper and tuff that you can mine and reuse. The copper blocks you find there are waxed, so they don’t oxidize.
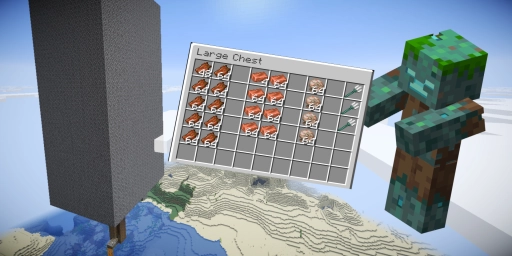
If you don’t want to go spelunking or hunt for Trial Chambers, there’s a third source for copper. Copper ingots can also be dropped by Drowned, but only if you land the killing blow. Alongside rotten flesh, the occasional trident, and nautilus shells, copper ingots are one of the rare drops from Drowned. With a large Drowned farm, you can collect plenty of copper ingots without going underground.
Materials and gear for the Minecraft Drowned farm
A Drowned-and-copper farm is quite large and requires a lot of building materials. It’s worth gathering these first and then moving on to construction. We’ll also show you a trick to save on materials. Otherwise, the build isn’t particularly hard as long as you understand Drowned spawn mechanics. More on that in the tutorial.
You’ll need:
- 2–3 stacks of scaffolding (bamboo) for construction
- one double chest of building materials, preferably cobblestone, OR alternatively several lava buckets and access to a lava source, e.g., a Nether portal, for about 80 bucketfuls of lava
- 2x water buckets for an infinite water source
- 7 stacks of dirt as temporary scaffolding
- 7 stacks of slabs
- 7 stacks of signs
- 4 hoppers plus 2 chests
- Sword with “Sweeping Edge” and “Looting”
Drowned farm for copper in Minecraft: Step-by-step guide
1. Choose a location: River biome and height for Drowned spawns
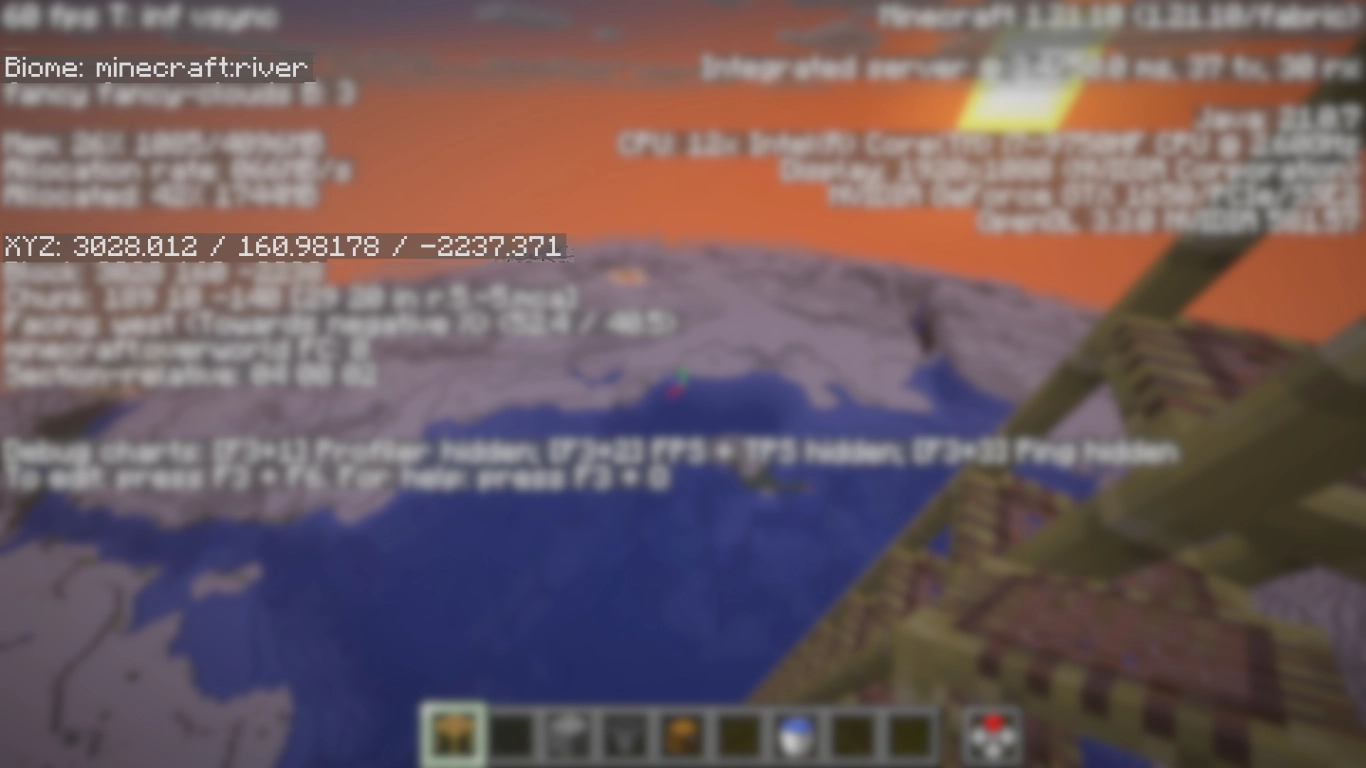
For Drowned to spawn, certain conditions must be met:
- Build in a wide river biome with at least 20x20 blocks of space.
- Construct the farm well above the river, ideally at Y-level 160.
- Make sure the farm is completely underwater—more on that in Step 3.
2. Build the collection pit and hopper system
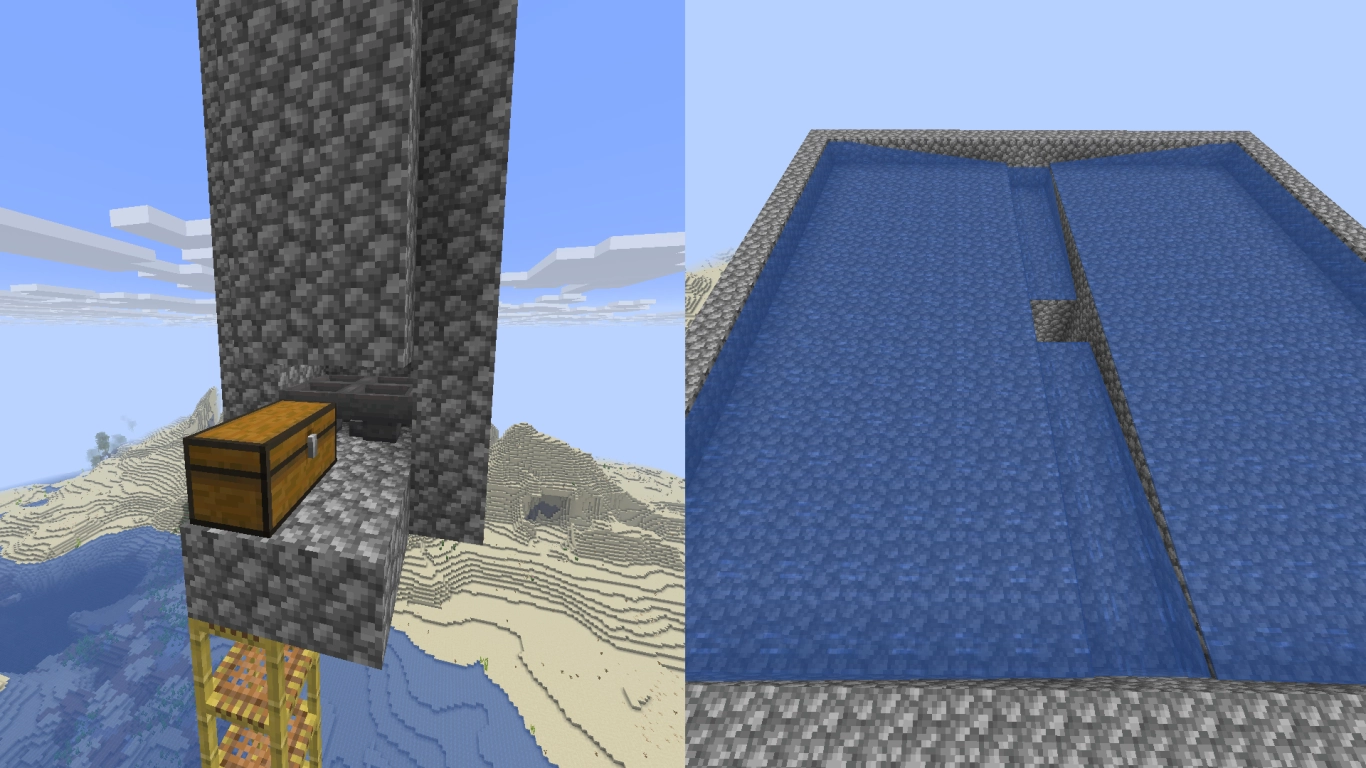
As with any mob farm, start with a collection station for mobs and their drops. Use scaffolding to climb to Y-level 160 and build the farm there. This minimizes other nearby spawns and increases the chance for Drowned to spawn.
Build a small platform, place four hoppers, and connect them to the chest. As drops increase, you can expand this later. Above the hoppers, build a 2x2-wide, 18-block-tall shaft. At the top, feed the shaft with two side channels, each 8 blocks long and 2 blocks wide. One layer above that, add two larger platforms to the left and right, also 8 blocks long. Use water streams to funnel the Drowned into the hole.
3. Water tank and Drowned spawning mechanics

Now build the water tank where Drowned can spawn. First, make a 4-block-tall wall around the collection area. Fill the top layer entirely with signs. These prevent the water above from flowing down, while still letting Drowned fall through.
Above that, build another wall around 50 blocks high. This requires a lot of materials. Alternatively, you can let lava streams flow from above and turn them into cobblestone with water. Both methods have pros and cons. The key is ending up with a large tank full of water.
Filling the water is straightforward. At the top edge of the tank, lay a layer of dirt with a one-block gap to the wall. Then fill the entire surface with water. Remove the dirt so the rest of the tank fills in.
4. Final touches: Spawn optimization and safe kills

Your Drowned farm is basically done. We recommend covering the top with slabs to prevent other mob spawns and keep it dark. Drowned should now spawn in the tank, sink down, pass through the signs into the collection pit, and fall into the tunnel. At the bottom, finish them with an enchanted sword to collect all drops, from rotten flesh and tridents to plenty of copper.
Pro tip: Looting III increases drop chances, and Sweeping Edge helps you hit multiple Drowned at once. Make sure the final hit comes from you so copper ingots can drop.
Conclusion: Unlimited copper with a Drowned farm
If you want enough copper for all your builds, a large Drowned farm above a river is the way to go. It’s a bit involved to set up, but it will reliably supply you with copper over the long term. No more caving or hunting down Trial Chambers. At the same time, the farm also yields plenty of experience.
For your own Drowned farm, you can rent a Minecraft server from us right away: https://www.4netplayers.com/en-us/gameserver-hosting/minecraft/. On a server, a farm like this is indispensable—you can build it with friends and use it together to gather enough copper ingots.
More interesting articles
Minecraft Hoglin Farm: Automatically farm porkchops and leather in the Nether
Building a Minecraft XP Farm: Quickly and Easily Reach Level 30
Minecraft resin farming: Automatic Knarz farm 1.21.4