With Phase 3 of the Space Elevator complete, two new milestones are now available (Satisfactory Space Elevator Phase 3 Guide: Unlock Tiers 7 and 8) . This lets you expand your factories further and discover many new resources. Both Tier 7 and the subsequent Tier 8 are crucial to prepare for the final big hurdles in the game. They unlock a wealth of new buildings and items, including entirely new machines for manufacturing. In this tier there are five sections to complete in sequence. Things do get increasingly complex, but don’t feel pressured—take as much time as you need.
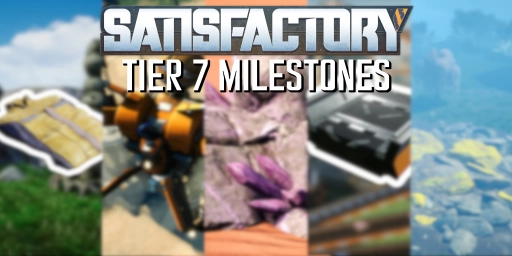
Satisfactory Tier 7: Bauxite refinery and aluminium production
This is arguably the most important part of the milestone, as it unlocks a completely new material and a host of recipes built around it.
Costs to complete:
- 100x Computer
- 100x Heavy Modular Frame
- 250x Motor
- 500x Rubber
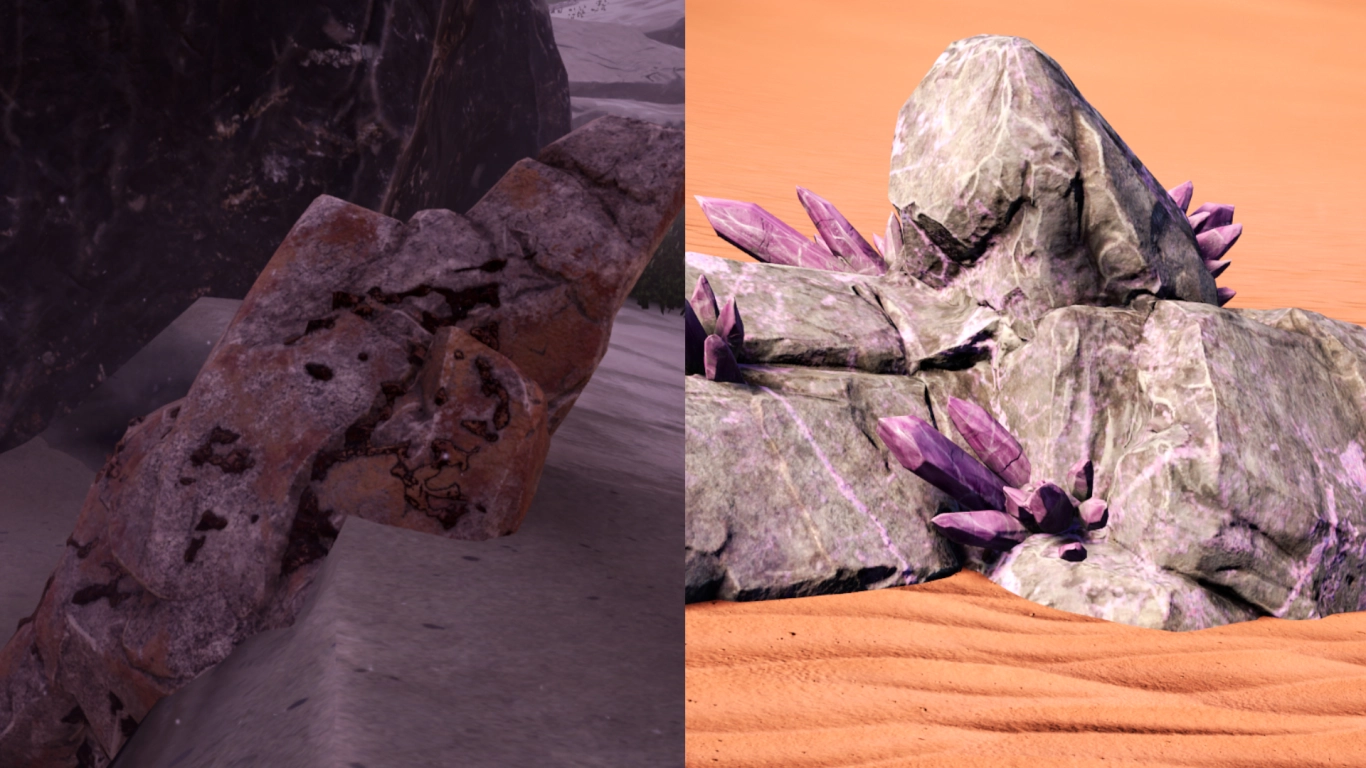
Your resource scanner can now search for Raw Quartz and Bauxite—two essential ores with plenty of uses. You can mine both with your standard Miners, and there are pure as well as impure nodes. For production, we recommend the Swamp (Satisfactory map: Best locations for every resource) , where both resources are readily accessible.
You will need both materials to produce aluminium. The chain isn’t trivial: you’ll require Aluminium Scrap and Silica. First, combine Bauxite ore with water to make Alumina Solution, then mix that with coal to produce Aluminium Scrap. Create Silica from Quartz. Aluminium Ingots feed into many other recipes—including numerous alternates—but the real workhorses for your progress will be Aluminium Sheets and Aluminium Casings.
Satisfactory Hoverpack vs Jetpack: Precise movement in Tier 7

Right after you’ve established aluminium production, prioritise the Hoverpack to move around more effectively. You can then retire your old Jetpack.
Costs to complete:
- Aluminium Sheets
- 100x Heavy Modular Frame
- 100x Computer
- 250x Motor
The Hoverpack is far more precise and easier to handle than the Jetpack. It allows you to hover in place and reach otherwise awkward spots with ease. Crafting it requires the same item types used to unlock this section, just in smaller quantities. You’ll also gain three additional inventory slots.
Power is drawn from nearby power poles—another clear advantage over the Jetpack. You won’t need fuel as long as you’re within range of your power network. The Hoverpack consumes 100 MW.
Satisfactory logistics Mk.5: Faster belts for 780 items per minute
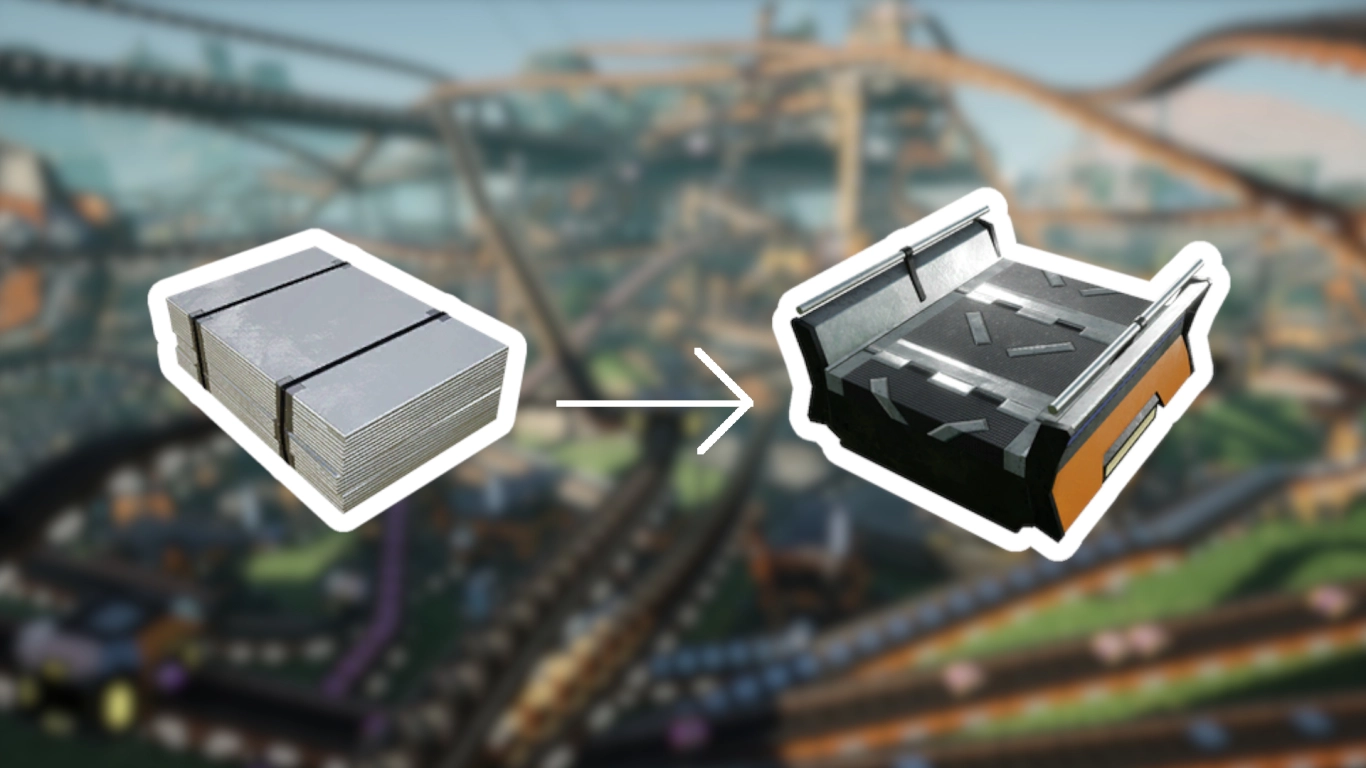
This milestone is a small but meaningful workflow upgrade. New conveyor belts are always welcome and help you move more items.
Costs to complete:
- 200x Aluminium Sheets
- 400x Encased Industrial Beams
- 600x Reinforced Iron Plates
Compared with Mk.4 belts at 480 items per minute, Mk.5 belts move up to 780 items per minute. You don’t need to replace every belt at once—focus on the bottlenecks in your production lines where the upgrade really pays off. Each Mk.5 belt requires one Aluminium Sheet to craft, so you’ll need your aluminium production up and running. Visually, Mk.5 belts feature an arrow motif and taller stone sidewalls.
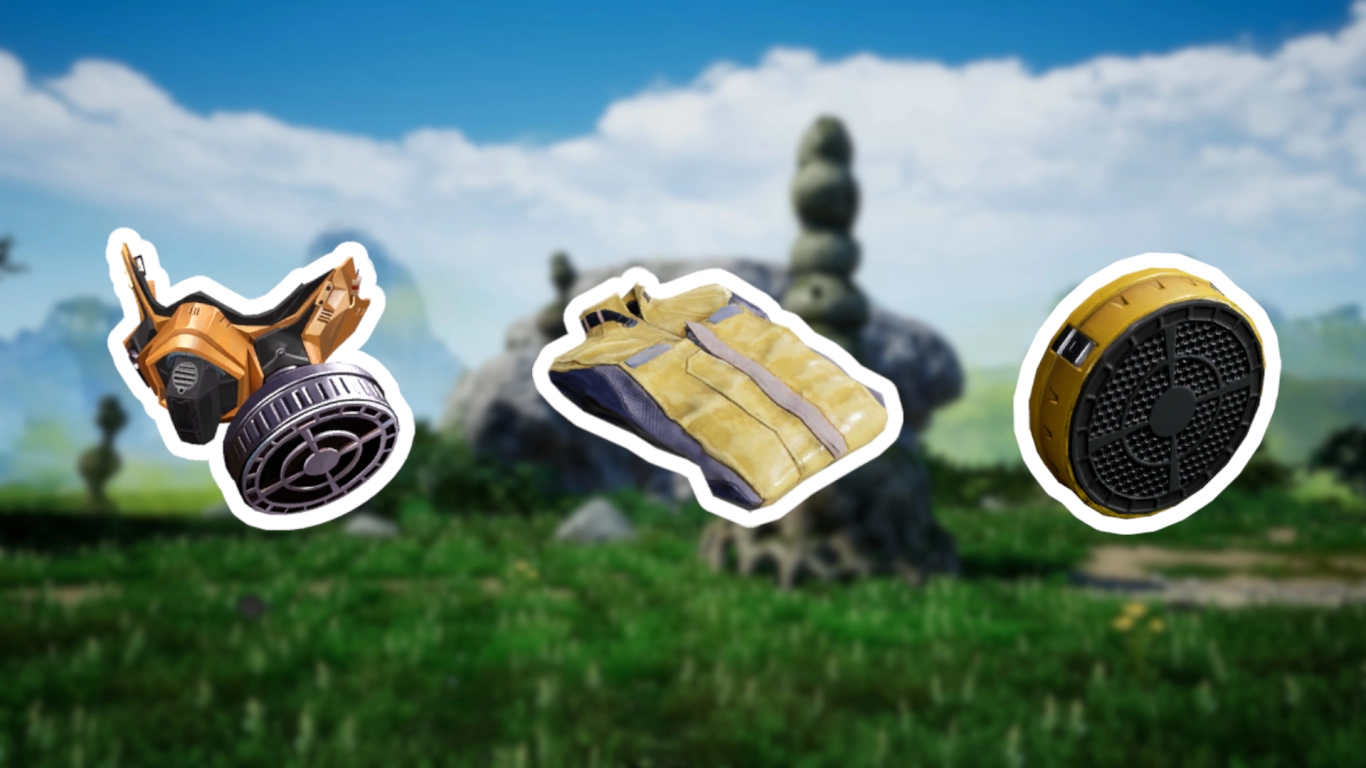
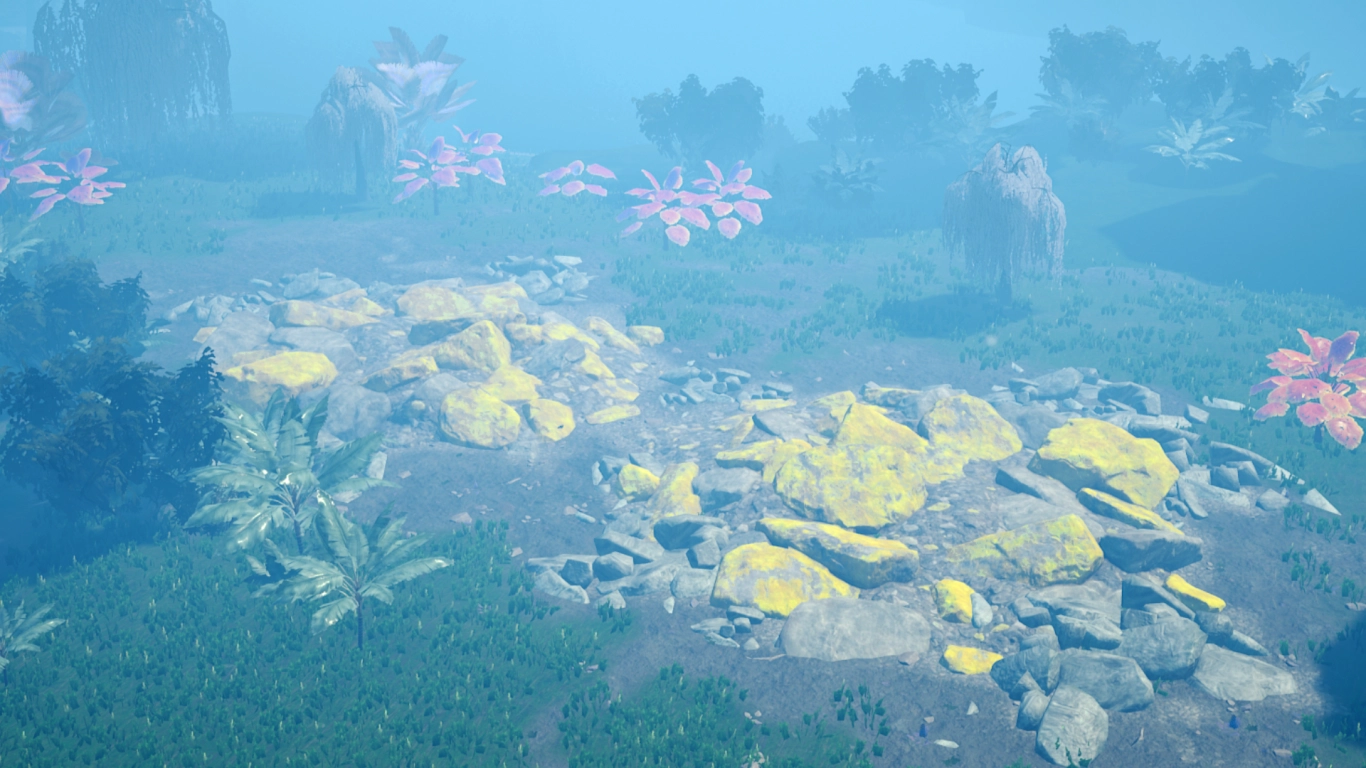
Satisfactory hazmat suit and gas mask: Safe passage through toxic areas
You may already have found regions that are anything but friendly. With the right protection you can enter them safely and collect some rare items.
Costs to complete:
- 50x Gas Filters
- 100x Aluminium Casings
- 500x Turbo wire
Alongside three more inventory slots, you’ll unlock both the hazmat suit and the gas mask. They protect you from toxic gases and offer limited protection against radiation as well. Radiation becomes relevant in later tiers, so this is a good time to prepare.
For crafting, make sure to progress the Mycelia research in the MAM. There you’ll learn how to produce Fabric from Mycelia and Biomass. You’ll need Fabric for the filters, the mask, and the suit. You will also need iodine filters, which must be replaced periodically. Collect mushrooms as you explore and research them in the MAM so you can craft the suit and filters for Tier 8 and beyond.
Satisfactory sulphur, Blender and sulphuric acid: Foundation for endgame recipes
The final Tier 7 section is another big step and a key component of several production lines. In addition to sulphur, you’ll unlock a number of essential endgame recipes.
Costs to complete:
- 200x Aluminium Sheets
- 400x Aluminium Casings
- 200x Computer
- 1,000x Plastic
First you unlock the Blender, which lets you combine both solid and liquid components. It’s required for several upcoming recipes and also opens up stronger alternate recipes.
The second key part of this branch is sulphur. You can now locate and mine it if you haven’t already researched it via the MAM. Sulphur is used in various components, from explosive weapons and batteries to alternate fuels. Sulphuric acid, for instance, is vital for batteries and later for nuclear power. Alternate recipes also enable better coal options and Turbo Fuel.
Finally, you’ll unlock the recipes for Radio Control Unit, Supercomputer, and Assembly Director System. These are core to Tiers 8 and 9, so you don’t need to dive into the details just yet.
Conclusion on Satisfactory Tier 7: Aluminium, sulphur and key upgrades
Tier 7 is an important stepping stone towards the game’s final challenges. You unlock several new resources—most notably aluminium and sulphur—opening up exciting possibilities. Some tasks become easier too, thanks to the Hoverpack for navigation and the faster Mk.5 conveyor belts. You’ll also lay much of the groundwork for Tier 8, including the hazmat suit and the last recipes you need to unlock.
Rent one of our Satisfactory servers and work your way steadily to Tier 7. The game does get more complex, but once you’ve mastered this stage, you’ll be well prepared for what comes next!
More interesting articles
Satisfactory Tier 8 Guide: Nuclear Power, Drones and Miner Mk.3
Satisfactory Nuclear Power Guide: Reactors, Fuel Rods & 0% Waste
Satisfactory Quartz research: Blade Runners, Explorer, Radar Tower
Satisfactory Sulfur research: locations, Nobelisks, fuel and weapons
Satisfactory Tier 9 Guide: Converter, Mk. 6 Conveyor Belts, Portals and More