With the completion of Phase 1 of the Space Elevator, both Tier 3 and Tier 4 become available in the Milestones. We’ve already covered Tier 3 (Satisfactory Tier 3 Guide: Coal Power, Truck Transport and Steel Production) and now it’s time to expand your factory’s logistics. This stage focuses less on brand-new features and more on upgrading existing ones. From new miners and conveyor belts to the much‑loved Blueprints, Tier 4 has plenty of surprises in store! It’s also currently the last stage you can finish before you need to tackle Phase 2 of the Space Elevator to progress.
Satisfactory Tier 4: Using FICSIT Blueprints efficiently
Blueprints are an extremely helpful tool for building your factory and can be unlocked in this tier. They let you expand consistently without having to plan every step from scratch. We recommend unlocking them even while you are still working through Tier 3. The earlier, the better!
Cost to unlock:
- 100x Modular Frame
- 200x Steel Beam
- 500x Cable
- 1000x Concrete
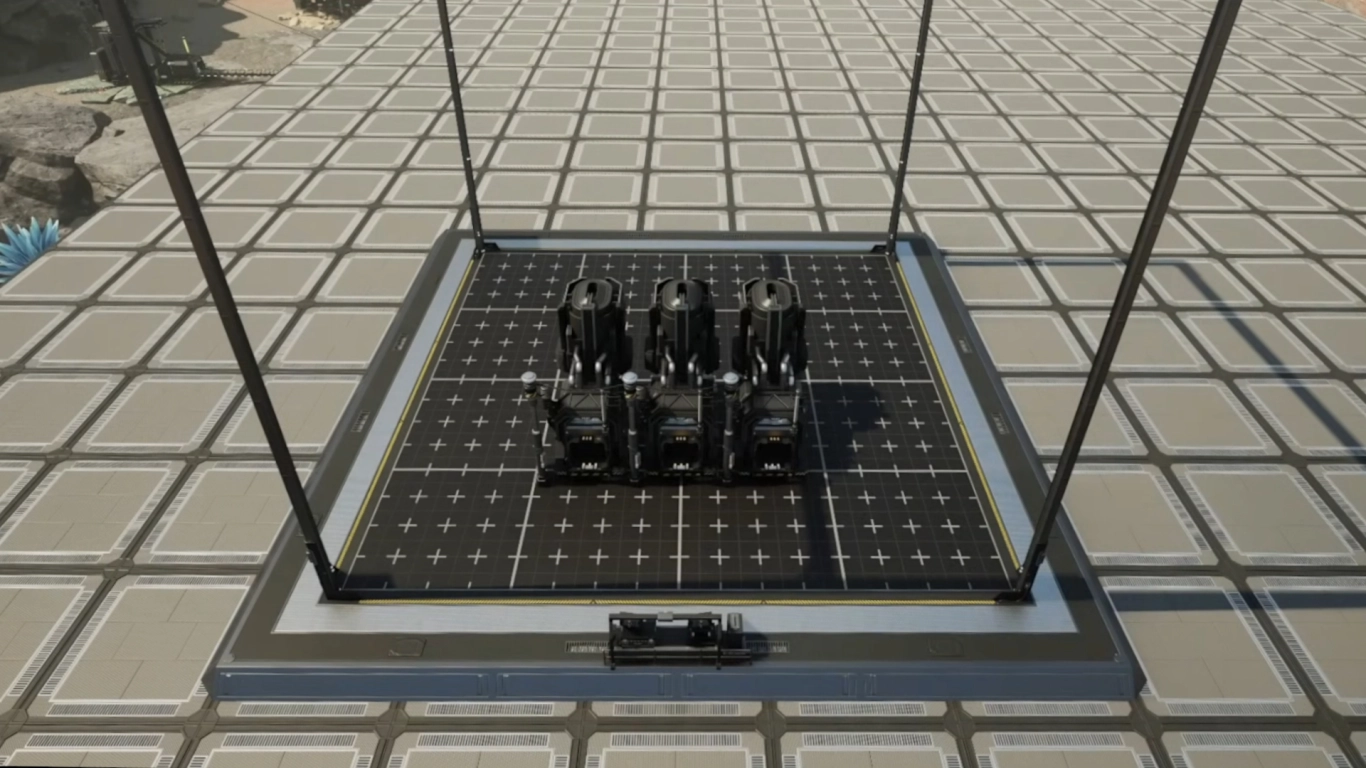
Blueprints Mk. 1 provide a 4x4‑tile area. They’re not huge, but already incredibly practical. You’ll be able to unlock larger footprints later, but for now you’ll have to make do with these.
Press Q to bring up and place the frame. A grid will appear on the ground along with a workstation. Build your desired setup on the grid and save it at the station. There you can set the name, icon, and a description so you can tell your blueprints apart. Afterwards you can reuse the blueprint to build repetitive parts of your production faster and more reliably.
Logistics Mk. 3 in Satisfactory: Faster belts and larger storage
This Milestone is also crucial, especially for speeding up production and moving more items. Prioritise unlocking it to enjoy the benefits quickly.
Cost to unlock:
- 200x Steel Beam
- 200x Steel Pipe
- 400x Reinforced Iron Plate
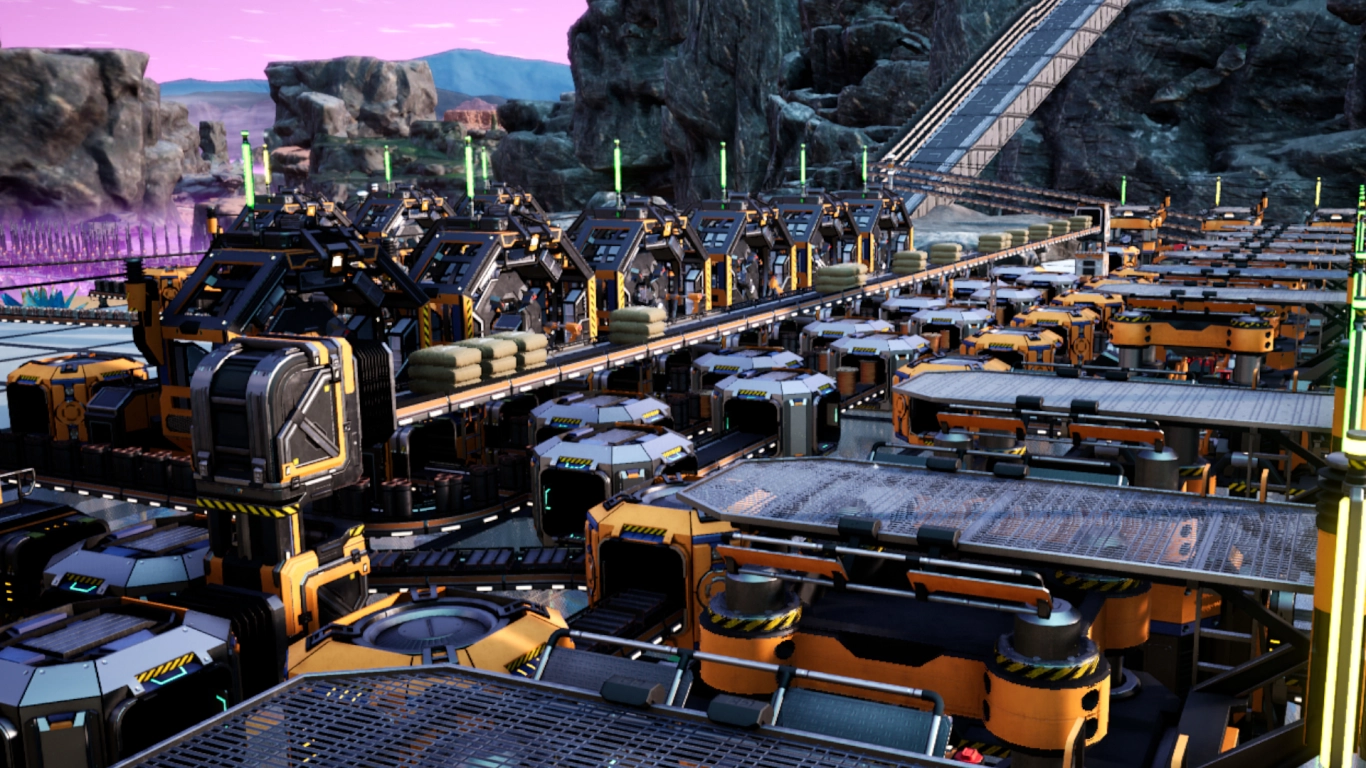
First you’ll unlock improved Conveyor Belts Mk. 3, plus the matching Conveyor Lift Mk. 3 for better vertical transport. These new belts are more than twice as fast, letting you feed machines with far more resources. It’s best to upgrade all belts in your factory over time. You don’t need to dismantle old segments either — simply upgrade the existing belts.
Equally important here are the new Industrial Storage Containers, which now offer double the capacity of the regular ones. Swap these in at the end of your largest production lines to store more resources. You can also combine them with the Dimensional Depot for direct access, as they now provide two inputs and two outputs.
Satisfactory steel production: Encased Industrial Beams, Motors, Stators & Miner Mk. 2
Steel remains one of your most important resources and will be essential for progressing the Space Elevator. It’s worth investing in this early, even if the required materials are a bit trickier to produce.
Cost to unlock:
- 100x Steel Pipe
- 100x Modular Frame
- 200x Rotor
- 500x Concrete
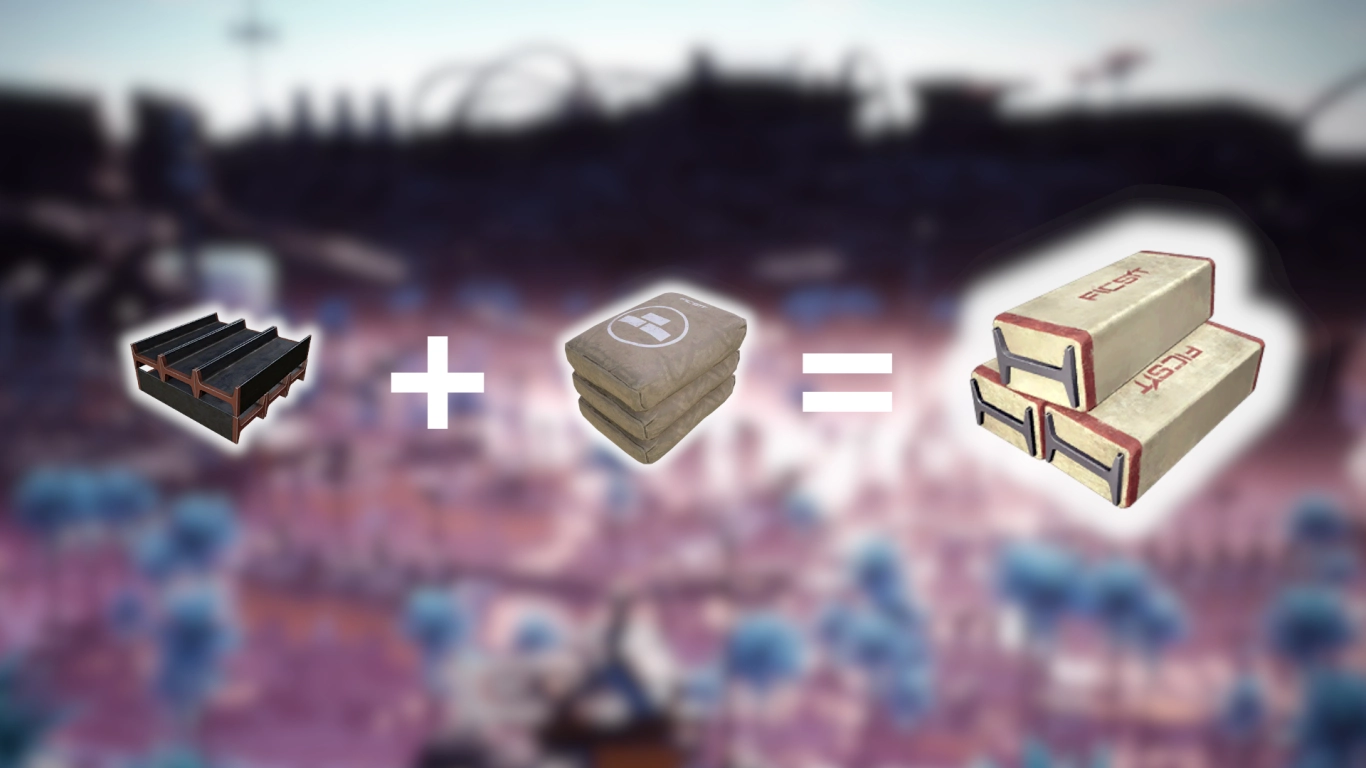
Before you can unlock the last two Tier 4 aspects, you’ll need to set up production of Encased Industrial Beams. These are vital later on and are also required to complete Tier 4 itself. Craft them from Steel Beams and Concrete.
You’ll also unlock production of Motors, Stators, and — most importantly — Automated Wiring. This is the final material you need for the Space Elevator. You can already produce Smart Plating (Tier 2, partial assembly) and Versatile Framework (Tier 3, steel production). Set up this production chain as well so you can unlock Tiers 5 and 6.
Don’t forget the new Miner Mk. 2, which you can now deploy on your ore nodes. It extracts twice as much ore, boosting a pure node from 120 up to a full 240 items per minute. Combined with the Conveyor Belts Mk. 3 from the previous Milestone, nothing stands in the way of your upgraded throughput.
Expand your power grid: Power Poles Mk. 2, Zipline and Power Storage
You’ll need stronger steel production for Encased Industrial Beams first, but afterwards you should quickly modernise your power network. This helps you span longer distances — both for electricity and, thanks to Ziplines, for yourself.
Cost to unlock:
- 50x Encased Industrial Beam
- 100x Steel Beam
- 200x Modular Frame
- 2000x Wire
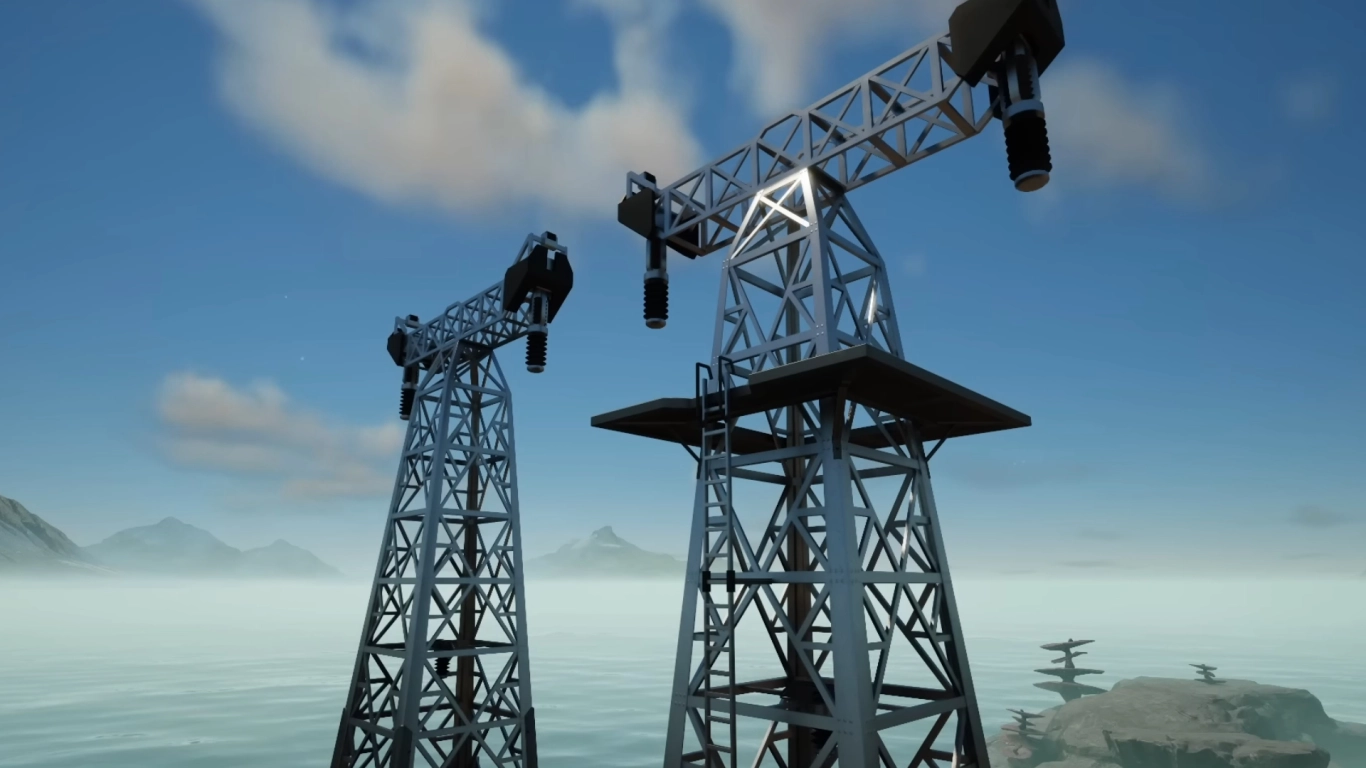
The new Power Poles you unlock here are great for expanding your factory. They have a significantly longer reach than regular poles and make it easier to move power from A to B.
They’re not just for power transport, though. With the Zipline equipment you can ride along your power lines to cover large distances quickly. Use Power Poles with intermediate platforms to make the most of it. You unlock the Zipline in the MAM by researching Caterium.
Also important is the Power Storage building you can now construct. It prevents wasted energy and smooths out power spikes. Each unit has a capacity of 100 MW, so build several and don’t let surplus power go to waste.
Hypertubes in Satisfactory: Rapid player transport
You don’t need to unlock this last Tier 4 Milestone immediately, as it isn’t essential for production. Still, Hypertubes can be well worth it, especially over long distances.
Cost to unlock:
- 50x Encased Industrial Beam
- 300x Steel Pipe
- 500x Copper Sheet
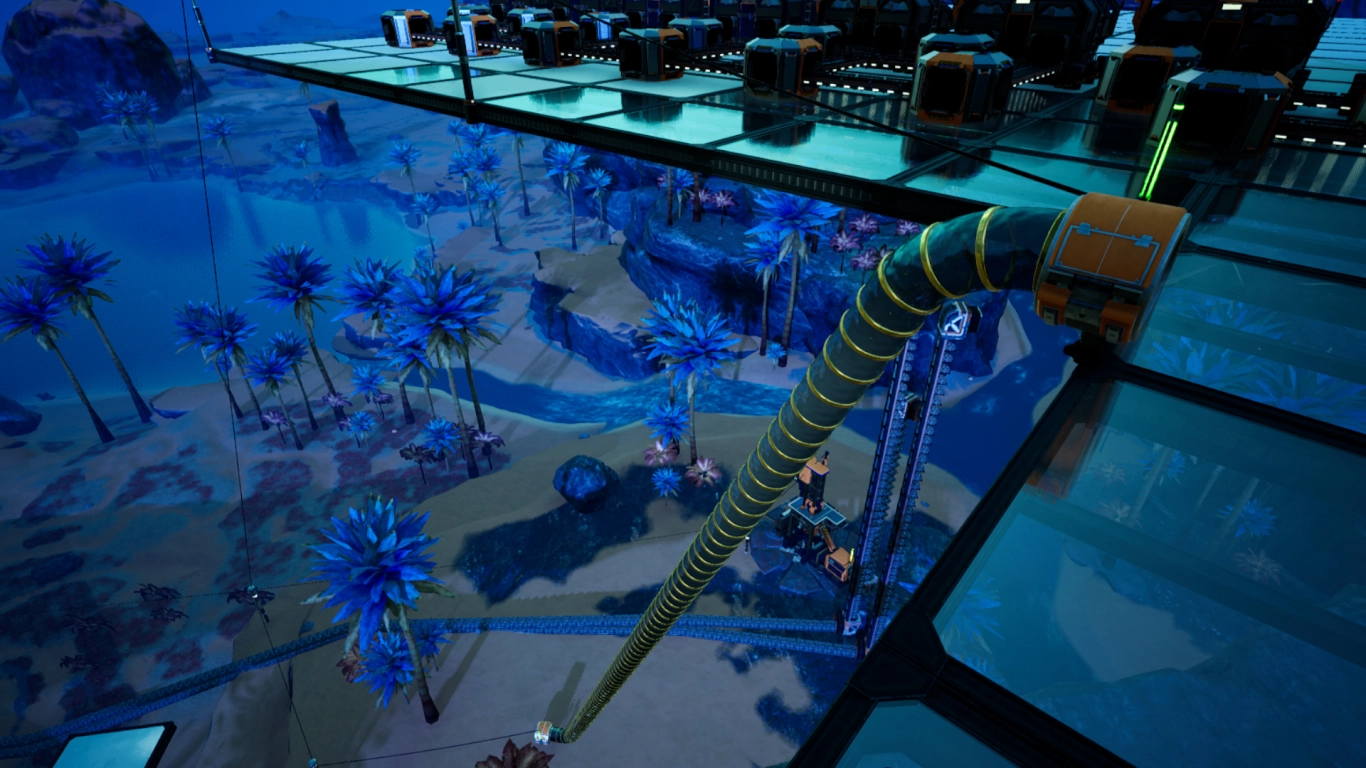
Hypertubes are another personal transport option. They function like giant pneumatic tubes that shoot you through using air pressure. Use them across long stretches or between floors to move quickly. Some players even use them as cannons. Search online for blueprints (we covered these in point 1) or get creative yourself.
Conclusion: Tier 4 as the foundation for progress and efficiency
To push the Space Elevator and improve your production, Tier 4 is indispensable. You’ll unlock many key elements that markedly increase your output. From faster conveyor belts and upgraded power infrastructure to better miners for ore extraction, this stage has a lot to offer. And with the new Blueprints, you can plan and build more efficiently than ever.
You can rent your own Satisfactory server from us right away to build together with your friends. Once you complete Tier 4, a wealth of new aspects of the game open up — and they’re even more fun in co‑op.