In Satisfactory, it takes a little time to unlock many of the key parts and machines for your factory. The Milestones gradually grant you new components that let you build further and unlock new resources. After the Tier 0 introduction, Tier 1 follows with new options and improvements for your first production lines. If you still need to finish Tier 0 and learn some of the basics, read our guide here (Satisfactory Beginner's Guide: Tier 0, the HUB & Automation) . Let’s take a closer look at what you should focus on now!
Satisfactory Tier 1 power: Biomass Burners and energy management
Before you expand your machinery, make sure you have enough power available. With the two Biomass Burners on the HUB, you’ll likely no longer get far. Together they only produce a maximum of 40 MW and are generally limited. It’s time to set up separate power generation!
By finishing Tier 0, you’ve unlocked proper standalone Biomass Burners you can build away from the HUB. They’re more practical to manage and each produces 30 MW. We recommend building two of them, bringing your total capacity up to 100 MW.
At the same time, switch your burners over to Biomass, which you also unlocked in Tier 0. Hand-craft both Leaves and Wood into Biomass to generate power for longer and more efficiently. You can automate this later, but at first you’ll still need to gather organic resources yourself. Watch out for overload: if consumption exceeds capacity, the grid will trip and you’ll need to restart the generators.
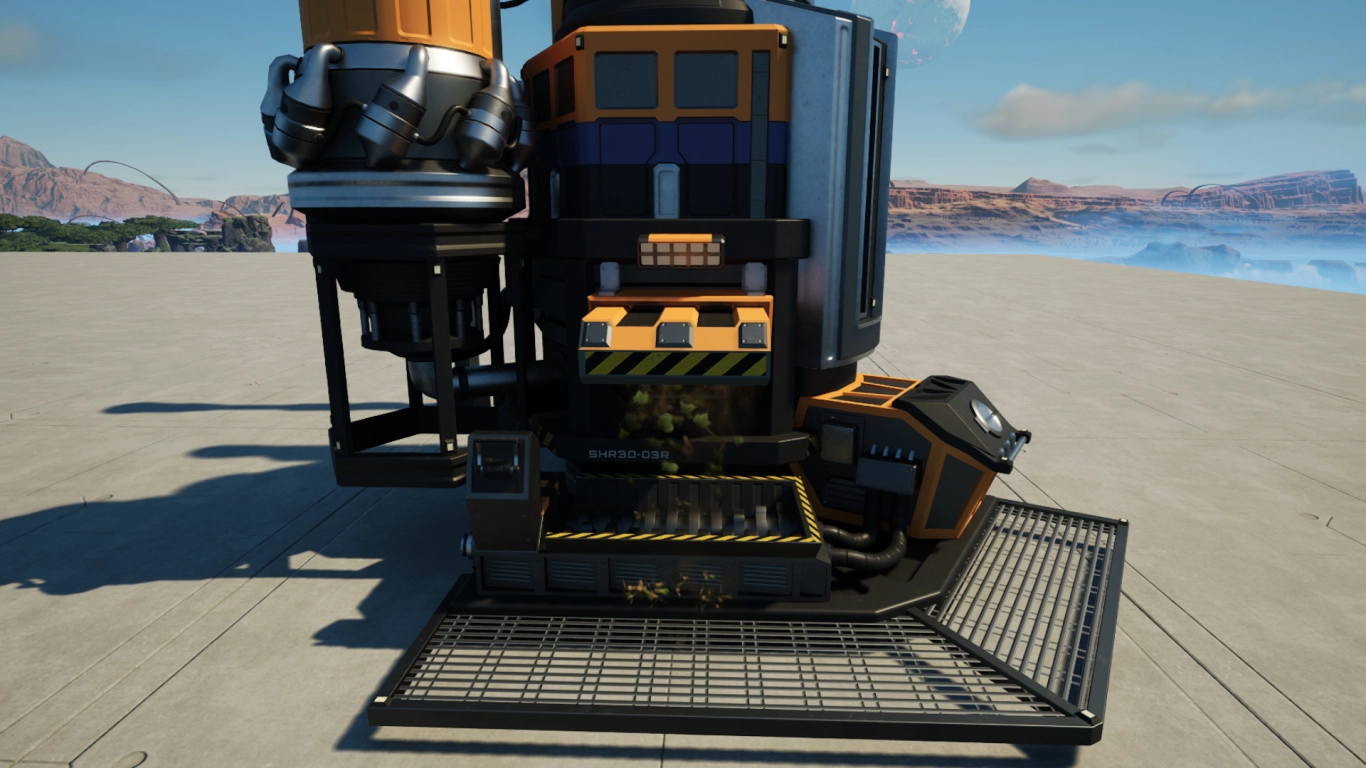
Using Miner Mk.1 efficiently: node purity and extraction rates
There’s also an upgrade for your drills that extract ore for further processing. Convert all your extraction points to Miner Mk.1 to increase your resource flow. Purity now matters for each resource node. You can see it by hovering your cursor over the node.
- Impure: produces 30 ore per minute
- Normal: produces 60 ore per minute
- Pure: produces 120 ore per minute
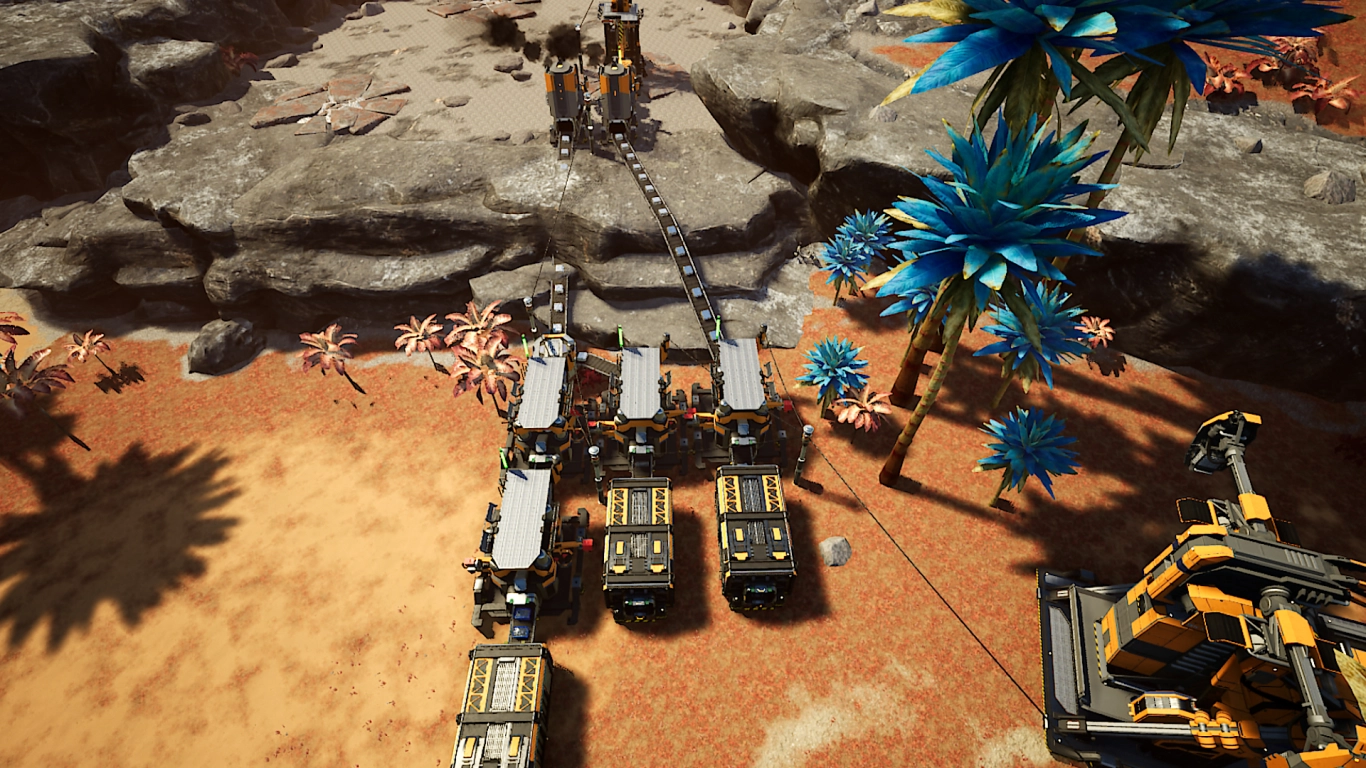
Scaling production: building up concrete, iron and copper chains
For the upcoming Tier 1 upgrades you don’t need brand-new materials, but you do need a lot more of what you already know. With more power and better miners you should now be able to produce more. Don’t overdo it, though — you must also generate enough power to hook up all your machines and run them at full capacity.
Prioritise automation: parts to automate early
New milestones can cost you hundreds of resources. If you’ve set things up well, that shouldn’t be a problem. Keep focusing on the three key ores that let you craft almost everything. You can copy and paste machine recipes with Ctrl+C and Ctrl+V. Collect finished products in Storage Containers at the end of your lines.
Limestone
- Concrete: Limestone (Miner Mk.1) → Concrete (Constructor)
Iron:
- Iron Plates: Iron Ore (Miner Mk.1) → Iron Ingots (Smelter) → Iron Plates (Constructor)
- Iron Rods: Iron Ore (Miner Mk.1) → Iron Ingots (Smelter) → Iron Rods (Constructor)
- Screws: Iron Ore (Miner Mk.1) → Iron Ingots (Smelter) → Iron Rods (Constructor) → Screws (Constructor)
Copper:
- Wire: Copper Ore (Miner Mk.1) → Copper Ingots (Smelter) → Wire (Constructor)
- Cable: Copper Ore (Miner Mk.1) → Copper Ingots (Smelter) → Wire (Constructor) → Cable (Constructor)
Satisfactory Tier 1 milestones: rewards and a sensible order
After completing Tier 0, all Tier 1 and some Tier 2 upgrades are now available. You can finish them in any order, carving out your own path. With the production lines above, this should be straightforward!
Once you’ve chosen a milestone, bring all the resources to the HUB and launch them into space. Unlike Tier 0, where you could queue everything, there’s now a cooldown of a few minutes. In-game, the materials are sent to your employer FICSIT, which takes a little time.
Below, we’ll go through the most important improvements in Tier 1 that you can integrate into your factory straight away.
Base building in Satisfactory: foundations and a clean layout
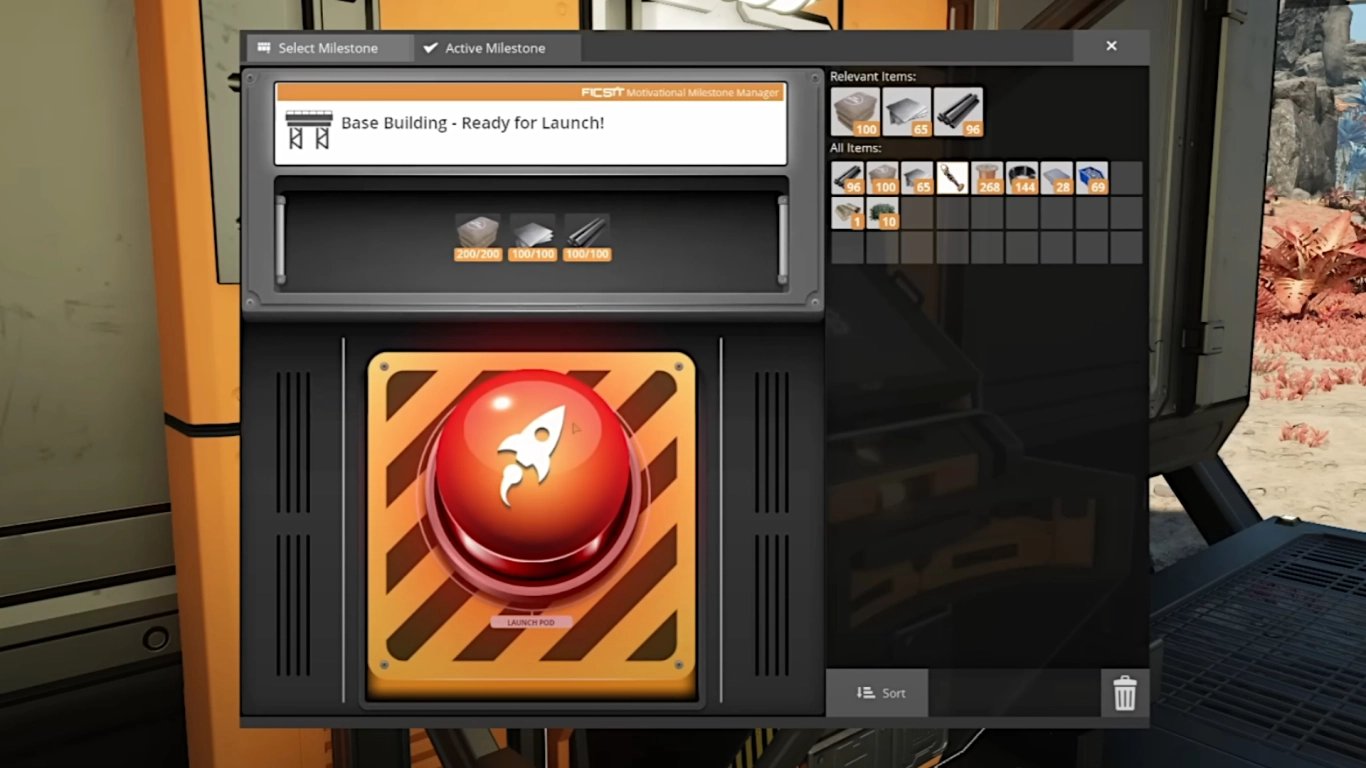
Complete with:
- 200x Concrete
- 100x Iron Plates
- 100x Iron Rods
This milestone unlocks Foundations and various other building pieces. They’re extremely handy for keeping your factory organised and building on a single level. Start using Foundations right away and lay out your existing machines properly. If you want to create a small base, you can do that too — you now have far more options.
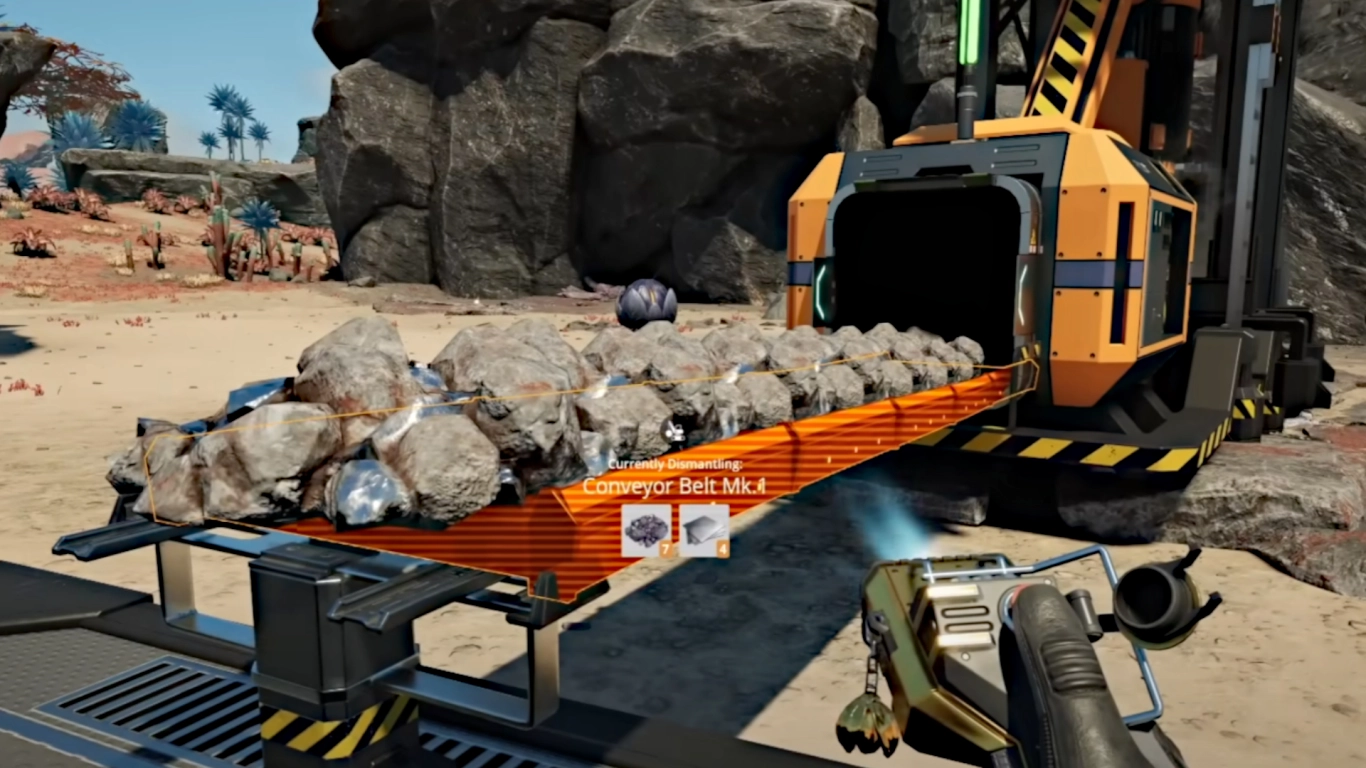
Optimise logistics: conveyor splitters and mergers
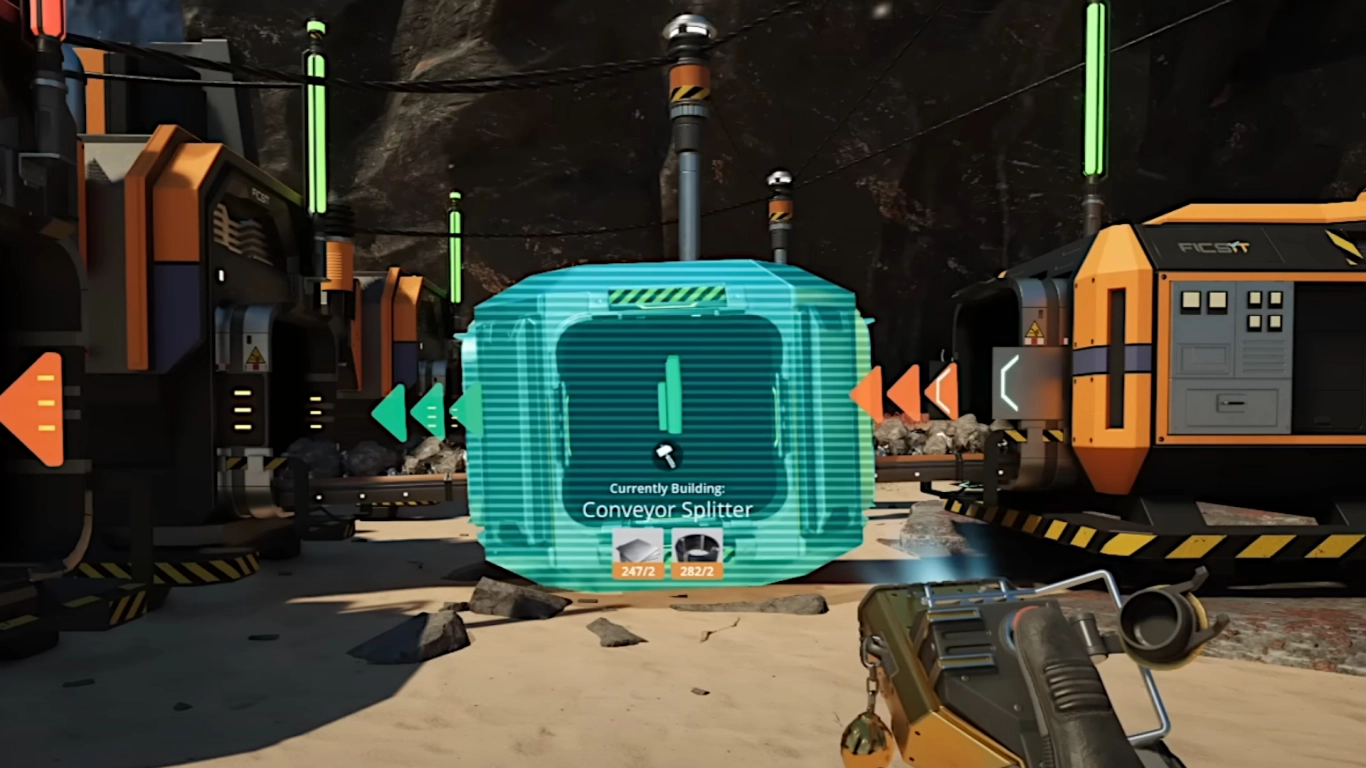
Complete with:
- 150x Iron Plates
- 150x Iron Rods
- 300x Wire
Arguably the most important part of Tier 1 is logistics. Here you unlock Conveyor Splitters and Conveyor Mergers, letting you split and merge production lines. This pays off now, as you’re likely extracting more ore than a single line can use. For example, you can only smelt 30 ore per minute into ingots, but even an Impure node produces 60 per minute — highly inefficient if not split!
You can now divide one iron node into two production lines, and with a Pure node, even more. You can also insert a Splitter into existing conveyor belts. This lets you, for instance, store Iron Rods on one side while converting the other side into Screws.
Unlock research: make good use of MAM and the map
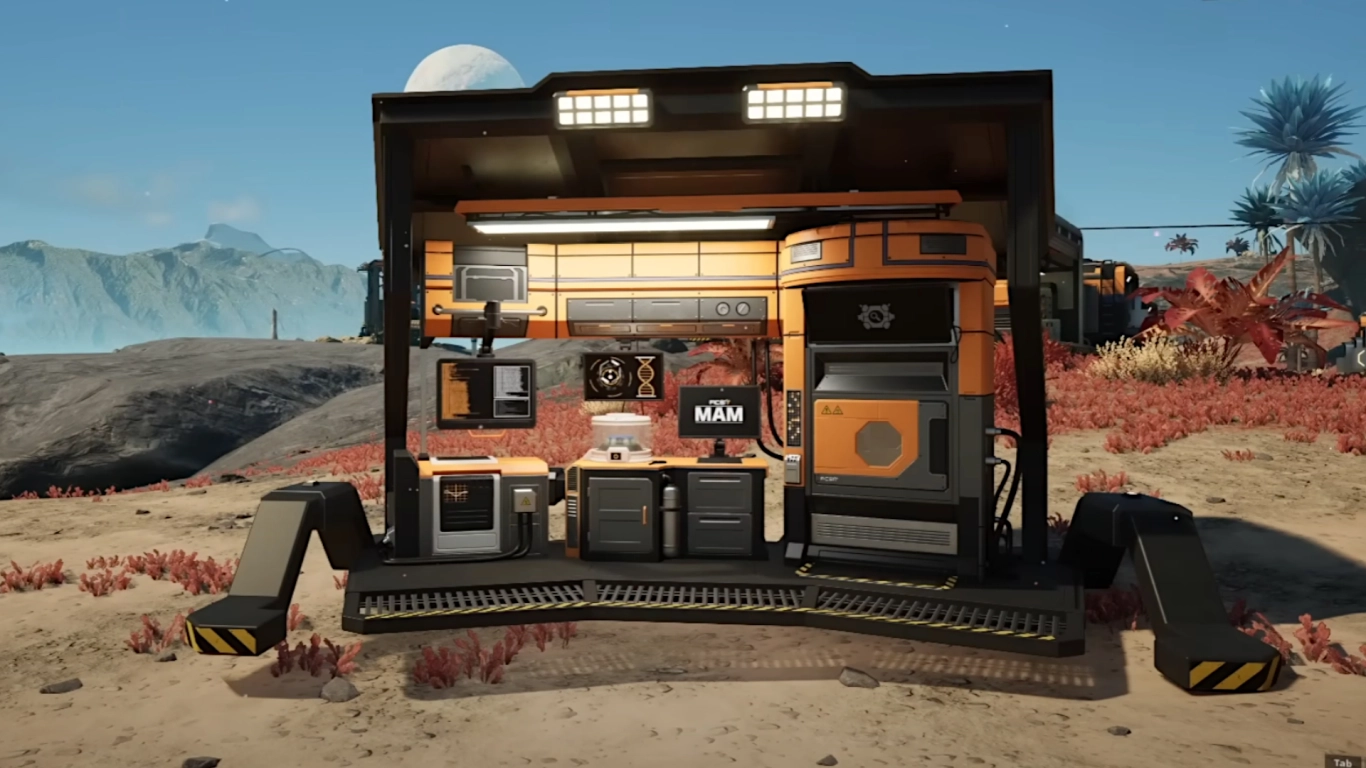
Complete with:
- 300x Wire
- 300x Screws
- 100x Iron Plates
The third Tier 1 path focuses on research and exploration. It unlocks MAM as well as the map.
With the MAM (Molecular Analysis Machine) you can make further progress and unlock recipes by researching various planetary resources. After all, you’re on an alien world and need to report everything to your employer! We recommend unlocking everything you can at this stage.
You can also now open the map to explore your surroundings more effectively. See where you are and what’s nearby. You can create markers to remember important locations. Exploration runs will definitely become more important later on.
Conclusion: mastering Tier 1 efficiently
Tier 1 is where Satisfactory truly gets going, giving you many ways to lean further into automated production. You can now split lines to produce a variety of materials. With these fundamentals, you should feel much more confident.
Play together with your friends and rent a Satisfactory server! You can work on Milestones as a team and try to build an efficient factory.
More interesting articles
Satisfactory Tier 2 Guide: Assembler, Chainsaw & Logistics
Exploring Satisfactory: Gear, combat system and resources
Satisfactory guide: best starting area for beginners and veterans
Satisfactory: The best tips for beginners – hotbar, power & automation