Alongside your production lines, exploring the map is the other pillar of Satisfactory. Sooner or later you’ll have to set off, scout unfamiliar regions and discover new resources. Some players find exploration less exciting, while others love it — and you won’t be able to avoid it anyway. Many materials are scattered across the map and you’ll need them to unlock later Milestones or MAM research. It’s best to get into the habit early and head out regularly to find and research more. In this guide we’ll give you all the key points so you’re fully prepared.
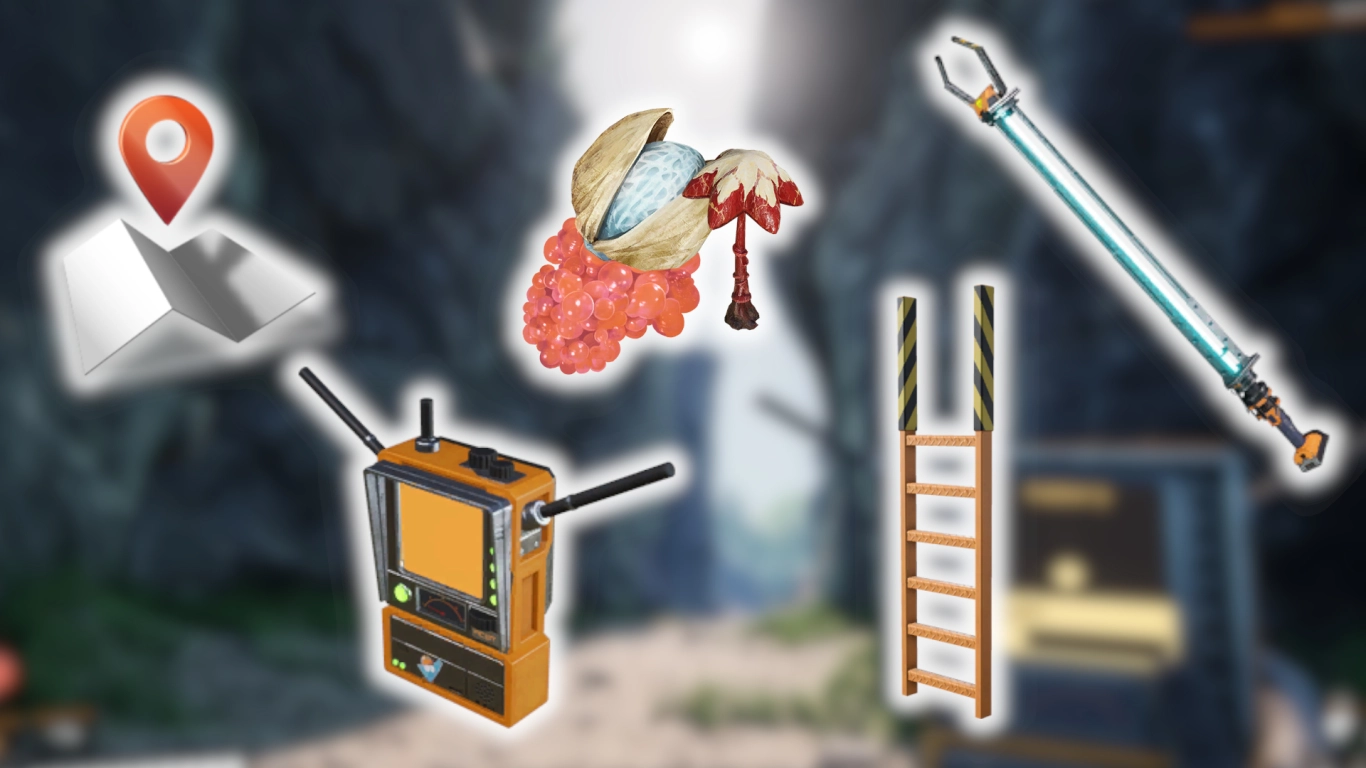
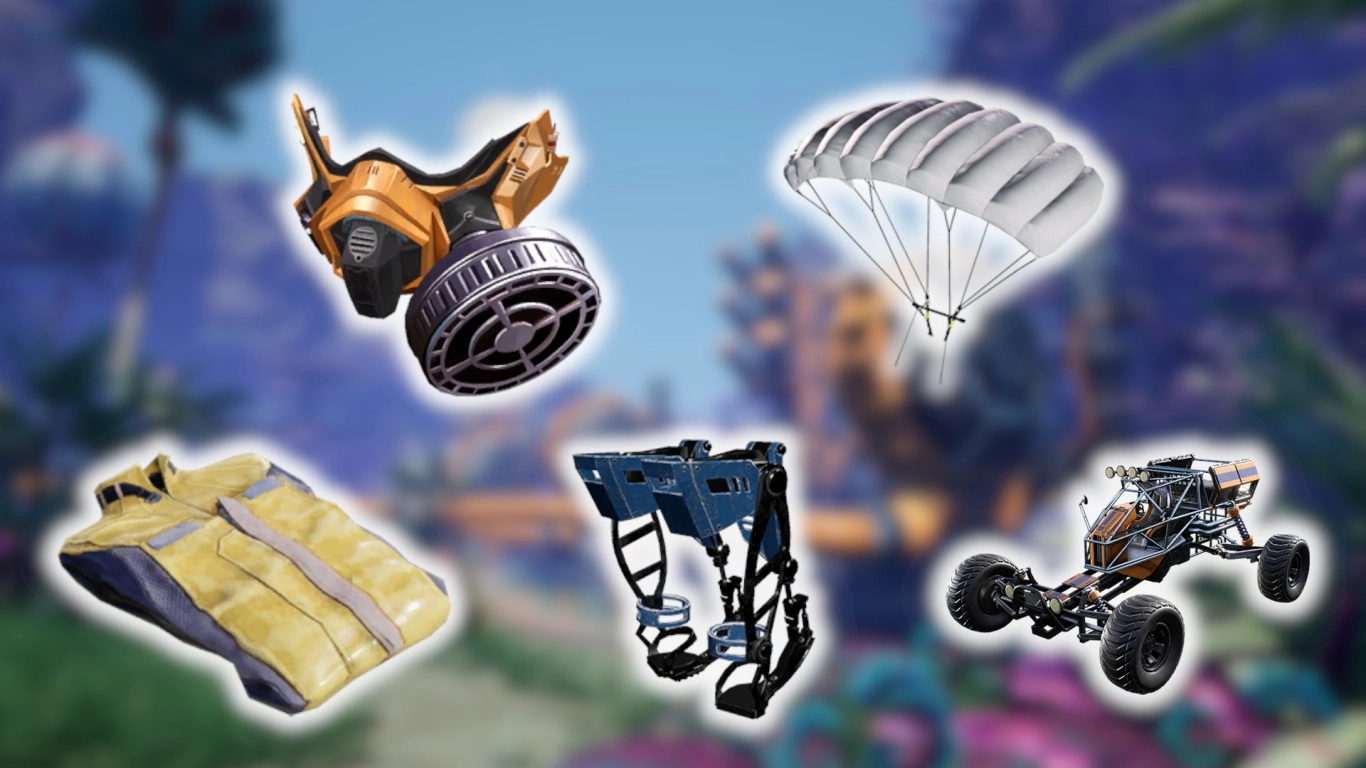
Essential kit for exploring Satisfactory: map, scanner and Xeno-Basher
Don’t head out empty-handed, or you probably won’t get far. We recommend waiting to explore until Tier 3 or Tier 4, so you’ve unlocked the most important items. In the end, it’s up to you how you approach it.
Essential items for your first scouting trip:
- Map: The map is indispensable, and you unlock it at the end of Tier 1. You really shouldn’t explore before that — you’ll get lost faster than you think.
- Object Scanner: You unlock this at the same time. It lets you search the world for specific items. It’s very handy and always points you in the right direction so you can find what you’re after.
- Xeno-Basher: Unlocked in Tier 3, this is your first proper weapon. Don’t set out without it if creatures are on Default. It’s a melee weapon that only deals modest damage, but it’s essential.
- Healing items: If you take damage, you’ll want to heal. Collect Bacon Agaric, Beryl Nuts and Paleberries to craft Inhalers later.
- Inventory slots: Unlock more slots via Milestones or MAM research.
- Concrete & iron plates: Keep these on you to build ramps. Parts of Satisfactory’s map are very vertical, which makes exploration trickier.
- Ladders: An alternative to foundations and ramps if you can buy them in the AWESOME Shop for 3 coupons.
- Portable Miner: You’ll find unknown ores on the way that you should definitely mine and take with you. No big factory needed.
Pro tip: Bring a few Beacons or signs to mark discoveries. Also stock up on fuel for vehicles or your Jetpack.
As you explore, you’ll unlock new aspects of Satisfactory that give you access to more items. The more you research, the more advantages you can leverage.
Items to unlock later for better exploration:
- Rebar Gun: Research in MAM Alien Megafauna. A pistol that can use different types of ammunition.
- Explorer: A vehicle unlocked in the MAM via Quartz research. Perfect for long-distance scouting.
- Jetpack: Unlocked in Tier 5. Lets you fly, but needs fuel.
- Parachute: Found in the Mycelia MAM tree. Completely negates fall damage when deployed.
- Blade Runners: Research in MAM Quartz. Lets you jump higher, take less fall damage and run faster.
- Dimensional Depot: Found under MAM Alien Technology. Acts as a universal inventory, similar to an Ender Chest in Minecraft.
- Gas mask: In the Mycelia MAM tree. Effective against gas, but not radiation. Requires filters.
- Hazmat Suit: Unlocked with Tier 7. Protects against gas and radiation and becomes very important later.
Combat in Satisfactory: creatures, settings and starter tips
We’ll cover the combat system and all creatures in more detail in another article, but for your first excursions you should grasp the basics. Always carry your Xeno-Basher; later you can craft the Rebar Gun and use it for ranged attacks.
If you’d rather not deal with creatures at all, use the options. Under “Gameplay” you can set “Creature Hostility”. “Passive” means they won’t attack. “Retaliate” means they only attack if you strike first. On “Default” they behave normally. For all arachnophobes, we recommend turning on Arachnophobia Mode. You don’t want to run into Stingers — with the mode enabled, they’re replaced by cute cat PNGs. Much better!
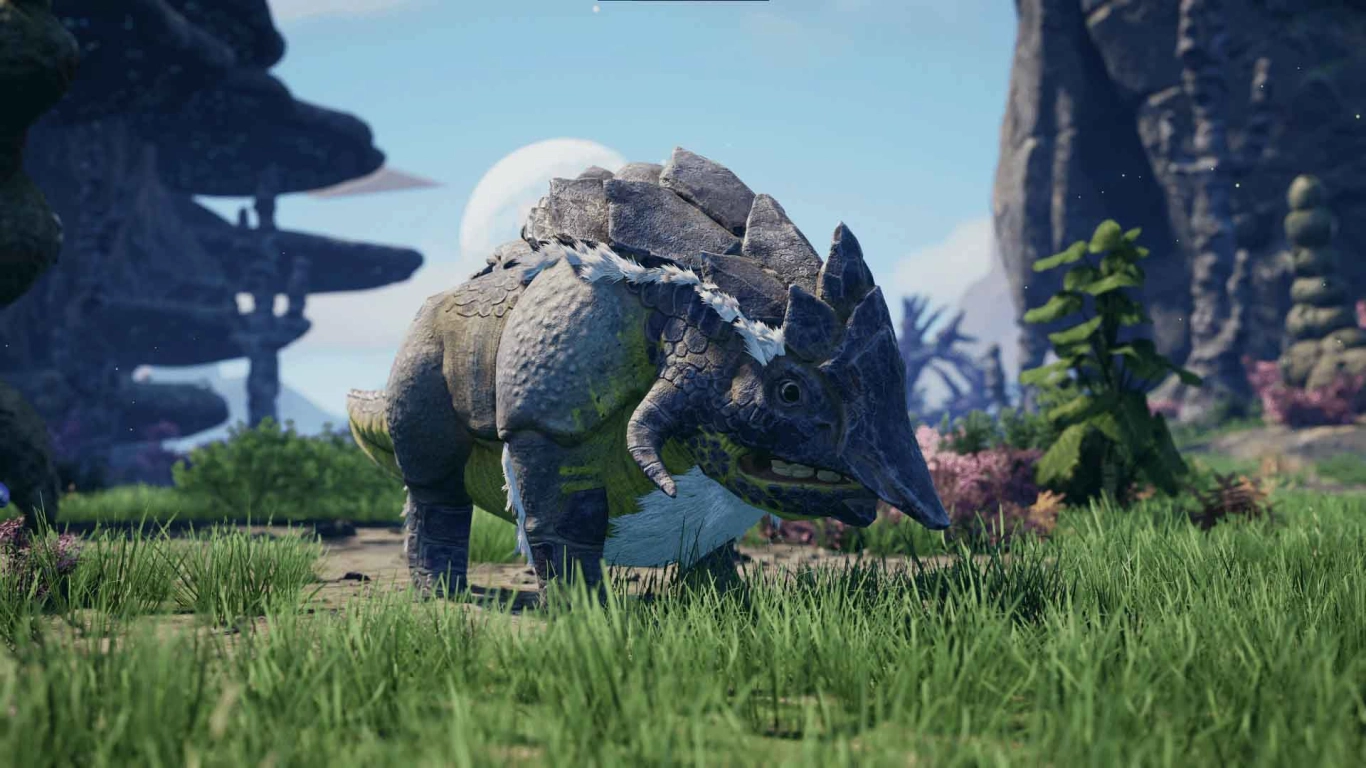
Hogs and Spitters will be your first encounters. Hogs charge you, while Spitters attack from range with globs. The Xeno-Basher should dispatch them fairly quickly.
When you die, you’ll be sent back to your HUB. Depending on your options, you may keep your inventory (“Keep Inventory”) or lose it. For beginners, we recommend starting on the easier side to avoid frustration.
Combat tip: Strafe to dodge, use height differences, and take cover against Spitters to avoid projectiles. With Blade Runners, dodging becomes much easier.
Key resources and finds while exploring in Satisfactory
Now you know the basics — but what should you actually look for? That’s up to you, but here are some important pointers to unlock the items from the first section. Focus especially on MAM research to equip yourself better. That’s your primary path to unlocking new aspects of Satisfactory.
Pick up these items while exploring:
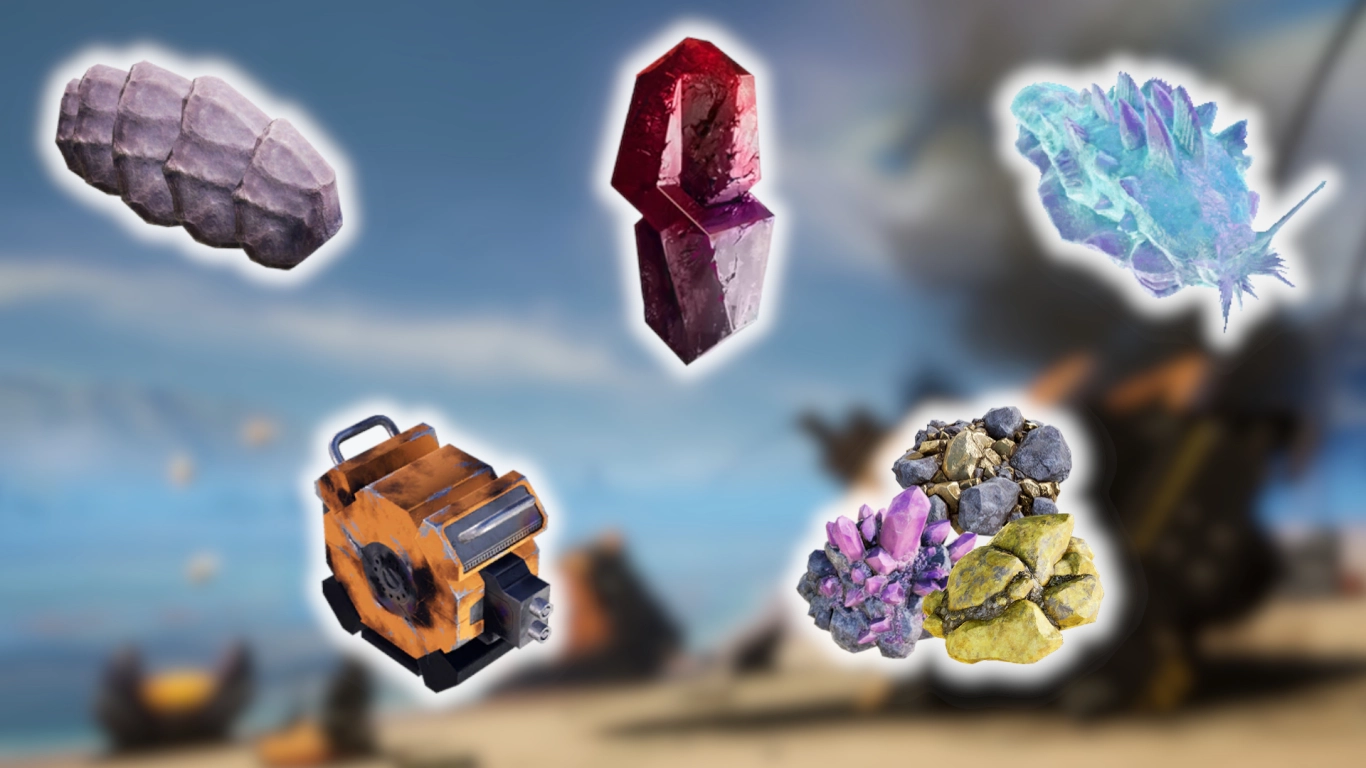
- Alien remains: Used for Alien Megafauna in the MAM. Dropped when a creature dies.
- Power Slugs: Also used for their respective research. Found on walls and cliffs; they can be blue, yellow or purple.
- Crash sites (Crash Sites): There are 118 scattered around the world. They’re vital for finding Hard Drives to research alternate recipes. Crash sites open only under certain conditions, such as supplying power or having specific items. Research in the MAM takes ten minutes.
- Somersloop: A strange pink crystal you can find. Needed for Alien Technology in the MAM. Hard to miss.
- Raw Quartz: Becomes very important for later factories, but early on you should mainly use it for the MAM.
- Caterium Ore: Also largely a late-game resource, great for research that unlocks important things in the MAM (e.g. Smart Splitter or Zipline).
- Sulfur Ore: Not heavily used until much later, but it’s worth grabbing early for research into explosives.
- Mycelia: Gathered from large and small mushrooms; required for its corresponding research.
Orientation tip: Use the Object Scanner actively for Power Slugs, Bauxite/Quartz/Caterium, and mark notable spots with Beacons. An Explorer massively shortens long journeys.
Conclusion: exploration, MAM research and multiplayer servers
Exploration is part of Satisfactory and is essential for your MAM research. The more you look around, the better items you can craft. Combat isn’t particularly hard if you prepare well and later unlock other weapons and ammunition. Exploring with friends is even more fun, so rent one of our Satisfactory servers to roam the huge map together and hunt for valuable resources.
More interesting articles
Satisfactory Combat System: Weapons, Monsters & Tips
Satisfactory Tier 1 Guide: Expanding your factory, power & logistics
Satisfactory MAM Guide: Research, Hard Drives & Best Recipes
Satisfactory guide: best starting area for beginners and veterans