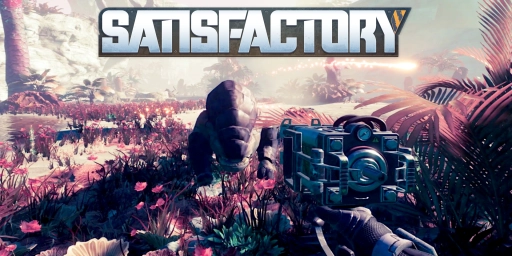
The planet you’ve landed on in Satisfactory isn’t always friendly. There are some nasty creatures out there simply defending their own territory. At the same time, you want to expand your factories and research, which inevitably brings you into conflict with the local wildlife. The question is how best to proceed and what options you have. You should also know exactly which creatures you’ll encounter, how they fight, and what they might drop that can help your research. Today we’re taking a closer look at the Satisfactory combat system and how to get the most out of it!
Satisfactory weapons guide: All craftable weapons and ammunition
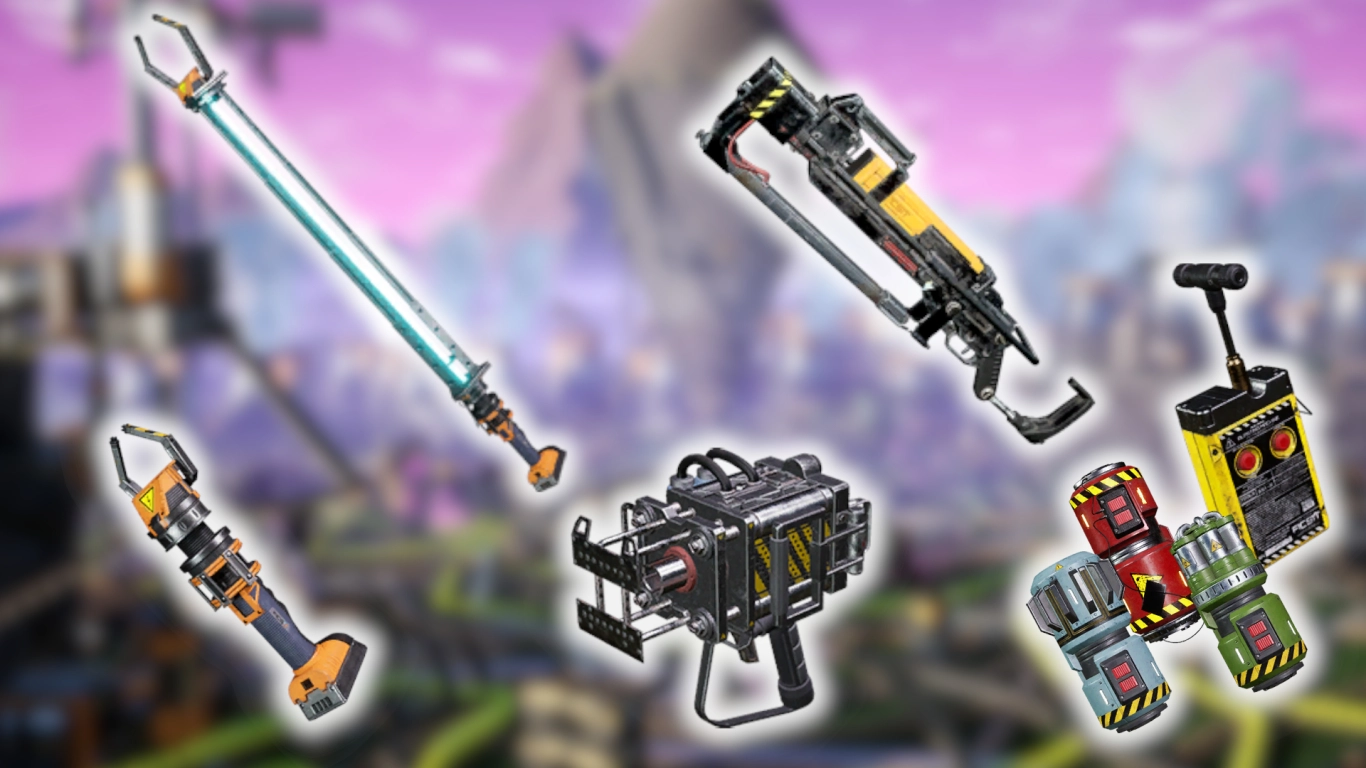
You have a total of five weapons at your disposal to defend yourself against the planet’s creatures. It’s a colourful mix of ranged and melee options, along with some explosive choices. With these you should cope just fine and hold your own against the wildlife.
Xeno-Zapper: This weapon is given to you right at the start of the game and deals only 5 damage. It’s not great, but it’s something you can defend yourself with during your first few hours. Most small creatures can be handled with it. Later, you’ll need the Zapper to craft the Xeno-Basher and the Zipline.
Xeno-Basher: The Xeno-Basher is the second weapon you’ll come across. You unlock it in Tier 3 – Defensive Measures and it deals 9 damage, almost twice as much as the Zapper. You also need a Zapper to craft it. It’s another melee weapon that you can swing like a sword.
Rebar Gun: The Rebar Gun will be your primary ranged weapon. You can unlock it in the MAM via Alien Megafauna and should do so fairly quickly. The gun supports four different ammo types: Iron, Stun, Shatter and Explosive. Iron Rebar is your standard round; the others are situational. Base damage is 15.
Rifle: In the MAM under Sulfur Research you’ll eventually unlock the Rifle. It holds more ammo than the Rebar Gun, but individual rounds deal only 3–5 damage. There are three ammo types: standard, homing and turbo. In total, magazines can dish out 60 to 300 damage — super handy later on.
Nobelisk Detonator: Finally, you can use the Nobelisk Detonator, a remote trigger for various bombs. These can deal normal damage, release gas, emit electric shocks, explode in clusters, or set off a small nuclear blast. They’re primarily worthwhile against larger groups of enemies. Damage ranges from 50 to 150 points, plus additional effects depending on the type.
Satisfactory monster guide: Enemy types and the best counters
Now you know your weapons — but what exactly are you up against? The alien planet where you want to build your mega-factory teems with unknown wildlife. Some soar peacefully in the sky, others won’t attack you, but a few are decidedly aggressive. If this annoys you in the early game, you can set creatures to “Passive” or “Retaliate” in the Options to get some peace at first.
Creatures fall into three categories: passive, aggressive, and non-interactable. We’ll look closely at the first two; the third exists purely to enrich the setting. You can’t interact with them, they take no damage, and drop no loot. This includes most flying animals and some land dwellers.
Passive creatures in Satisfactory

These are friendly towards you and won’t attack. Some are even quite useful, so keep an eye out and try to interact with them.
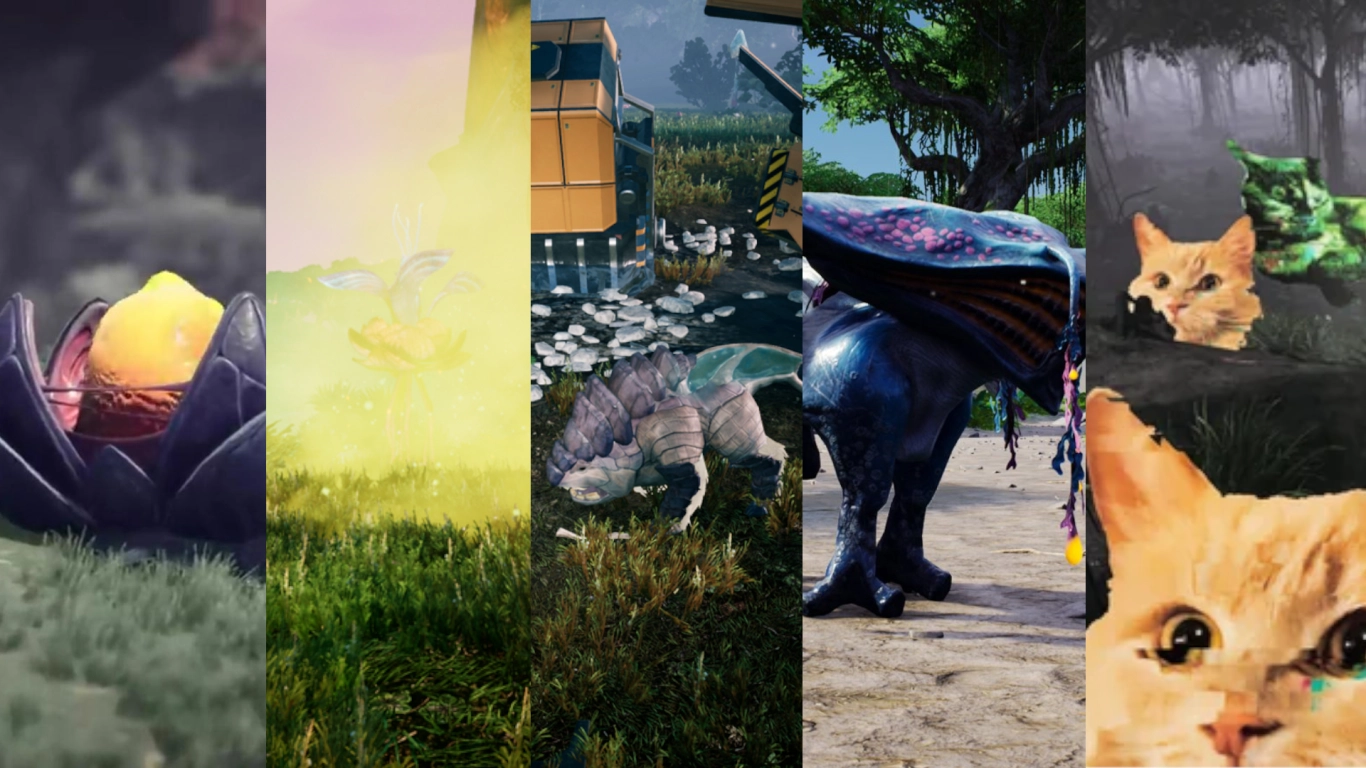
Lizard Doggo: Adorable creatures that behave like dogs — hence the nickname. They’re orange and can be tamed with Paleberries. Approach slowly and calmly so you don’t scare them. Once befriended, they can follow you or gather items.
Bird: A small green bird that does nothing to you.
Power Slug: Found in three colours around the world and important for MAM research. They won’t attack and deal no damage.
“Bean”: A strange land creature with a large body and thin legs. It can fling you into the air but is otherwise peaceful. Many players love it for its quirky looks.
Flying manta ray: Graceful animals that glide through the air … or do they swim? Later on, you can ride them if you get high enough to jump on.
Beetle: Long-legged insects that look dangerous but aren’t. Sometimes they emit a kind of gas cloud that doesn’t deal damage.
Aggressive enemies in Satisfactory
On the other hand, there are aggressive creatures that definitely want to hurt you. Watch out for them. There are a handful of these, often in different variants. Alpha versions are stronger, while other mutations lean into elements such as radioactivity or gas.
Flying Crab: Small flyers that hatch from egg-like pods. Destroy the egg so they can’t keep spawning.
Spore Flower: A stationary plant that emits poison clouds. It can only be killed with the Detonator.
Hog: Dinosaur-like beasts that primarily attack with charging rams. Found almost everywhere, sometimes in stronger variants.
Spitter: Adaptable enemies found across many biomes. As the name suggests, they spit and hit you with fireballs. We recommend taking them out at range as well.
Stinger: Nasty spider-like monsters that behave accordingly. For arachnophobes, enable the relevant mode in the menu to replace them with cute cat images. They scuttle quickly and can leap or climb. Be cautious.
Combat tips, gear and status effects
- Prepare protective gear: Use a Gas Mask against gas, and a Hazmat Suit against radioactivity. This lets you explore areas with Spore Flowers or Uranium more safely.
- Boost mobility: Blade Runners make you faster and let you jump higher. Jetpack or Hover Pack give you more control in fights and when dodging. A Parachute saves you from long falls.
- Healing & supplies: Bring Medical Inhalers and put them on your hotbar to heal quickly after taking hits.
- Plan your ammo: Carry enough Rebar and Rifle ammo. Use Stun or Shatter Rebar for groups, Explosive for stationary targets such as Spore Flowers.
- Positioning & kiting: Against Hogs, side-step and counter in melee with the Xeno-Basher. Take out Spitters safely from cover at range. Use high ground and terrain cover.
- Prioritise targets: Destroy crab eggs first to prevent endless spawns. For groups, the Nobelisk Detonator is great — mind the blast radius.
- Make use of loot: Collect Alien Carapace and Alien Organs for MAM research and new tech (e.g., better ammo, equipment, remedies).
Conclusion: Master Satisfactory combat and farm efficiently
While factory building takes centre stage, it’s worth getting to know the planet’s vibrant fauna. From cute critters to terrifying monsters, there’s a lot to discover. Sooner or later you’ll have to confront them to find valuable items and resources on your expeditions.
We recommend renting one of our Satisfactory multiplayer servers to take on the fight together with friends. You’ll fare much better against nasty creatures and secure that valuable loot.
More interesting articles
Exploring Satisfactory: Gear, combat system and resources
Satisfactory: The best tips for beginners – hotbar, power & automation
Satisfactory: Plan the perfect factory – pro tips
Satisfactory guide: best starting area for beginners and veterans
Satisfactory MAM Guide: Research, Hard Drives & Best Recipes