Satisfactory: Decor, Lighting, and Building Methods for a Beautiful Factory
Build a beautiful factory in Satisfactory with decor, colors, depth, lighting, Nudge, and the AWESOME Shop. Get tips and transform your base.
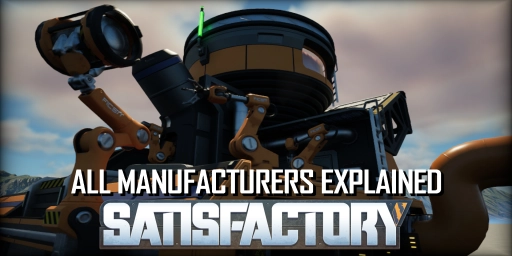
Satisfactory Machines & Production: All Recipes at a Glance
Discover every machine in Satisfactory, their key recipes, and production chains. Plan efficiently and build faster, from oil to Dark Matter.
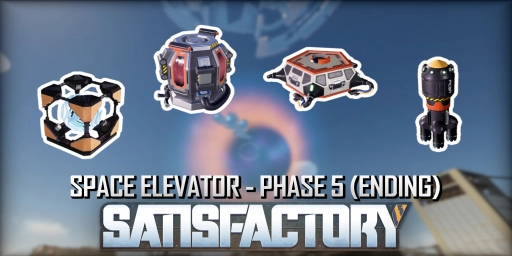
Satisfactory Space Elevator Phase 5 Guide: Recipes, Production, and Tips
Complete Space Elevator Phase 5 in Satisfactory: recipes for Nuclear Pasta, Biochemical Sculptor, AI Expansion Server, and Ballistic Warp Drive, plus power, MAM, and building tips.
Satisfactory Guide: Best Starting Area for Beginners and Pros
Want to start Satisfactory optimally? Compare all starting areas by resources, terrain, and neighboring regions, and choose your perfect starting biome.
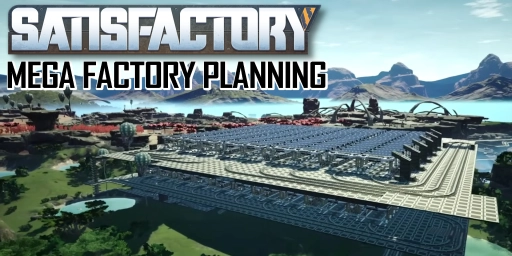
Satisfactory Endgame: Plan Your Mega Factory and Optimal Layout
Plan your Satisfactory endgame mega factory. Use vertical layouts, color coding, blueprints, smart logistics, and combined lines to keep everything under control.
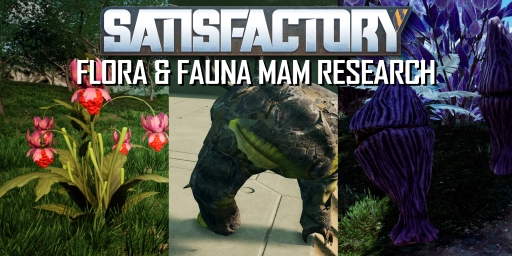
Satisfactory MAM: Explore flora and fauna, healing, protective gear, and new weapons
Explore flora and fauna in Satisfactory’s MAM: Unlock the Inhaler, Rebar Gun, Gas Mask, Parachute, and DNA Capsules, heal faster, and farm points in the AWESOME Sink.
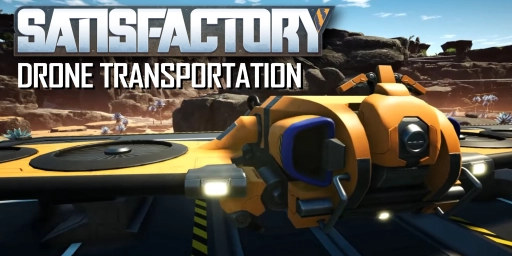
Satisfactory Drone Guide: Transport, Speed, and Fuel
Learn how to set up drones in Satisfactory, choose the best fuel, and move items quickly over long distances. Includes tips and comparisons.
Satisfactory Tier 9 Guide: Converter, Conveyor Belts Mk. 6, Portals, and more
Master Tier 9 in Satisfactory: Unlock the Converter, Quantum Encoder, Portals, Conveyor Belts Mk. 6, and Ficsonium. All recipes and tips at a glance.
Satisfactory Space Elevator Phase 4 Guide: Unlock Tier 9
Unlock Tier 9 in Satisfactory via Space Elevator Phase 4. Learn how to efficiently produce Assembly Director System, Magnetic Field Generator, Thermal Propulsion Rocket, and Nuclear Pasta.
Explore SAM, Somersloops, and Mercer Spheres in Satisfactory. Unlock Energy Amplifiers and the Dimensional Depot in the MAM to optimize power and storage.
Satisfactory Nuclear Power Guide: Reactors, Fuel Rods & 0% Waste
Learn how to run nuclear power in Satisfactory efficiently: from uranium to plutonium to ficsonium, water needs, recipes, and a step‑by‑step path to 0% waste.
Satisfactory Tier 8 Guide: Nuclear Power, Drones, and Mk.3 Miners
Master Tier 8 in Satisfactory: deploy drones, start nuclear power, optimize aluminum and nitrogen, use Mk.3 miners, and leverage the Particle Accelerator.
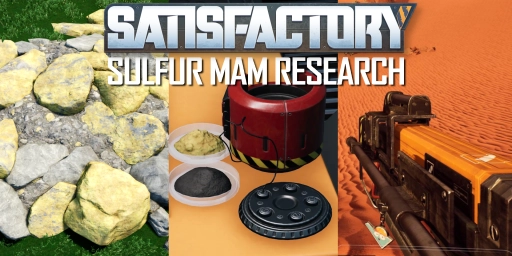
Satisfactory Sulfur Research: Locations, Nobelisk, Fuel, and Weapons
Find Sulfur quickly in Satisfactory and unlock Nobelisk, Black Powder, and powerful fuels like Turbo and Rocket Fuel in the MAM. Tips on weapons and inventory.
Find quartz, start MAM research, and unlock the Exoskeleton, Explorer, Radar Tower, and scanner. Includes locations, recipes, and tips for faster exploration.
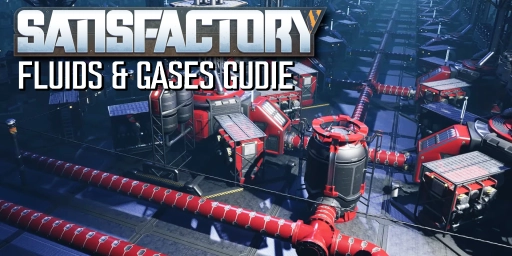
Satisfactory: Transporting fluids and gases efficiently
Learn how to move fluids and gases in Satisfactory efficiently using pipes, pumps, and packaging. Tips on pressure, gravity, tanks, and valves.