Trading is one of the most useful features in Minecraft and can help you obtain very valuable items quickly and easily. That’s why many players look for a village early on and move the villagers into their own trading hall (How to Build a Villager Trading Post: Obtain Valuable Items through Trading) .
But what if you could do even more with villagers? Some offers are probably too expensive for you as well – and you want discounts. Thanks to several game mechanics, that’s possible. In this guide, we’ll show you how to use zombified villagers and a curing station to secure permanently better deals.
Villager-trading discounts in Minecraft: how they work
Villager trades are tied to several factors. First, offers are randomly selected from a pool of trades. You won’t always get the ones you want. When rolling a new villager, use the correct job site block (e.g., lectern for a librarian, composter for a farmer), break it and place it again to reroll their trades. Even at this stage, you can get different prices or better options.
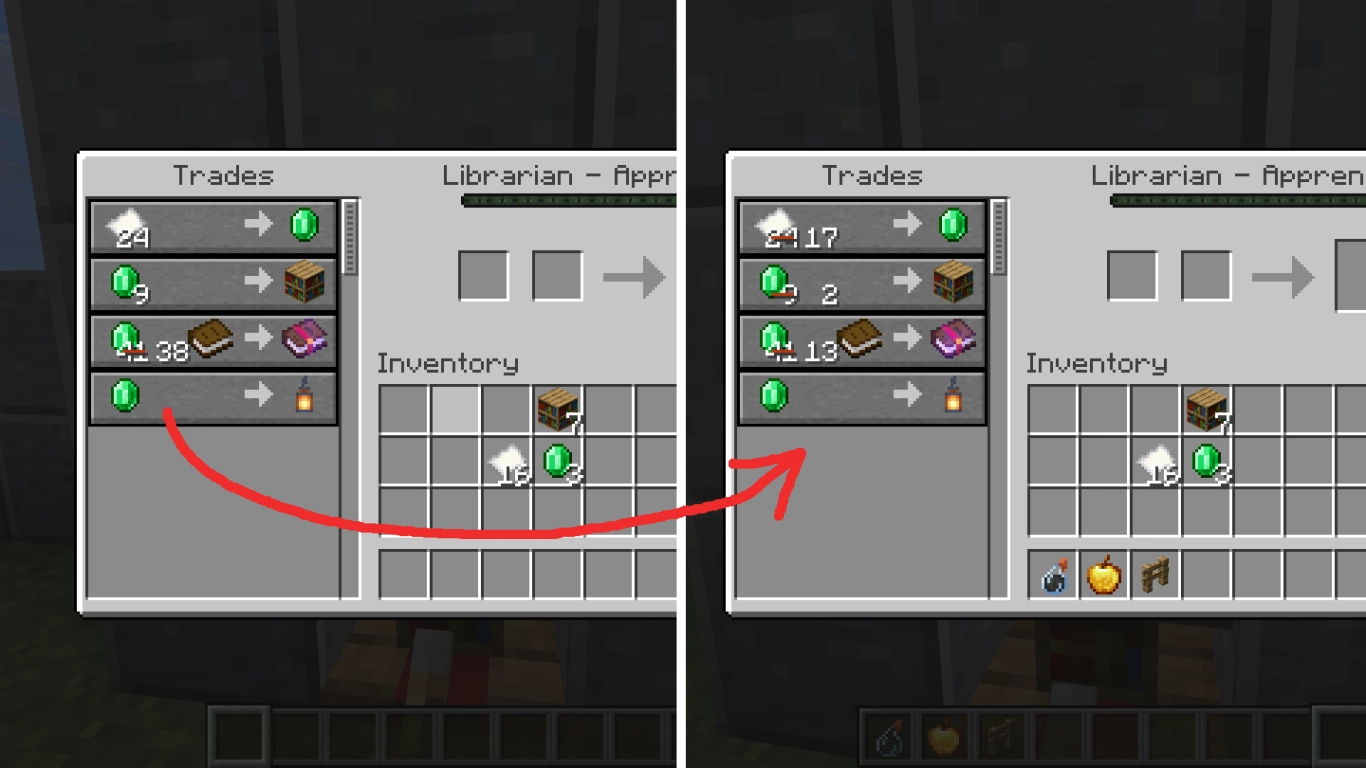
Once you’ve traded with a villager at least once, you can unlock additional discounts. There are three mechanics that influence prices. Important: only the required item is discounted – you won’t get more emeralds; you pay less.
Three ways to better villager prices: gossip, raid buff and zombie curing
Gossip (gossip system): In a village, residents can “gossip”. If you’ve already traded with some and you always treat them well, they’ll share their positive opinion of you with others. If you hit or kill villagers, this can lead to more expensive trades. They need line of sight to gossip – you can enable that in a trading hall.
Raid bonus (Hero of the Village): After successfully fending off a raid, you receive the Hero of the Village effect for about 40 minutes. The level varies by the raid’s difficulty. The effect applies to all villager trades, not just in the village you defended. If you want to use the temporary discount and farm items at the same time, our guide will help: (Building a Minecraft Raid Farm: Farm Infinite Totems & Emeralds) .
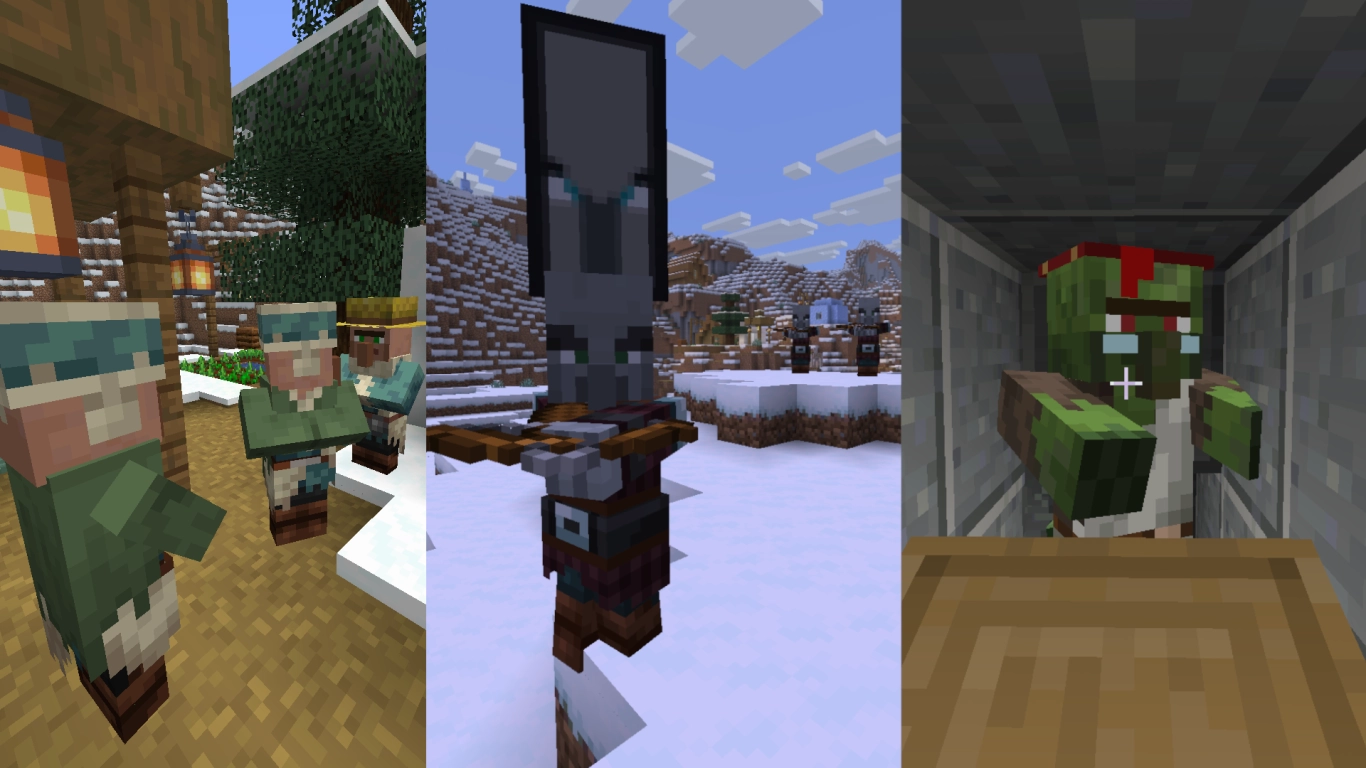
Cure zombie villagers (permanent discounts): The only reliably permanent method is to cure a zombie villager. You can learn the mechanic in an igloo with a hidden basement: cure with a Potion of Weakness and a golden apple. Zombie villagers spawn naturally, or you can let a zombie attack a villager to convert them – then cure them afterwards. This is exactly where an automatic curing station helps.
Build a curing station for zombie villagers: lock in permanent discounts
Letting villagers be zombified on purpose and then curing them sounds macabre – but it works brilliantly for large, permanent discounts. You can run the process with new villagers or with ones whose trades you’ve already rolled (the latter is ideal, as you can make their good trades cheaper on purpose). You can also repeat the curing multiple times to achieve higher discounts.
Pro tip: Play on Hard difficulty. Only there is there a 100% chance that a villager becomes a zombie villager from a zombie attack. On lower difficulties, there’s a higher risk the zombie will simply kill the villager – which you definitely want to avoid.
Step-by-step guide: build a curing station in Minecraft
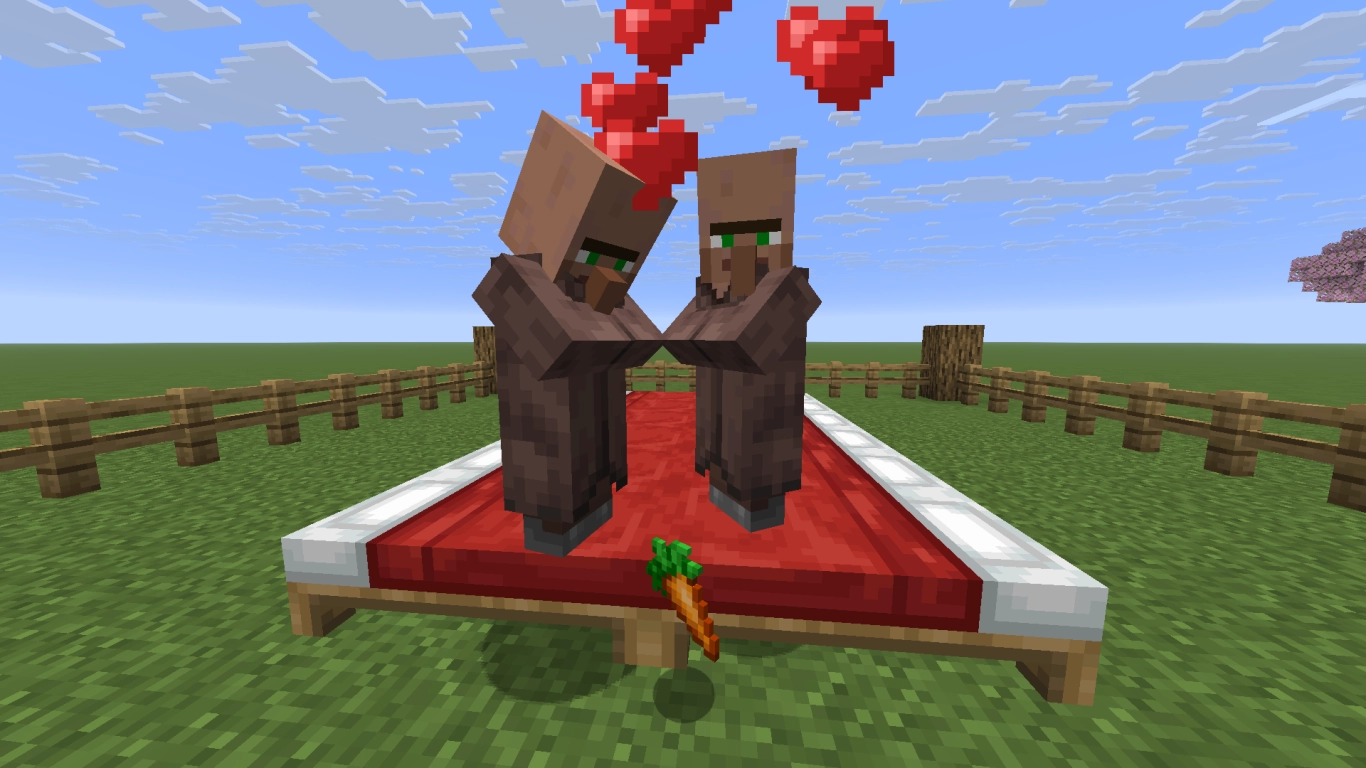
- Ensure a steady supply: build a villager breeder To always have enough villagers, use a nearby village or build a small villager breeder. The foundation: there must be enough beds. Use two villagers, give them food (e.g., bread) and place more than two beds nearby. If you need a new resident elsewhere, transport them by rails about 48 blocks away to free up their bed again.
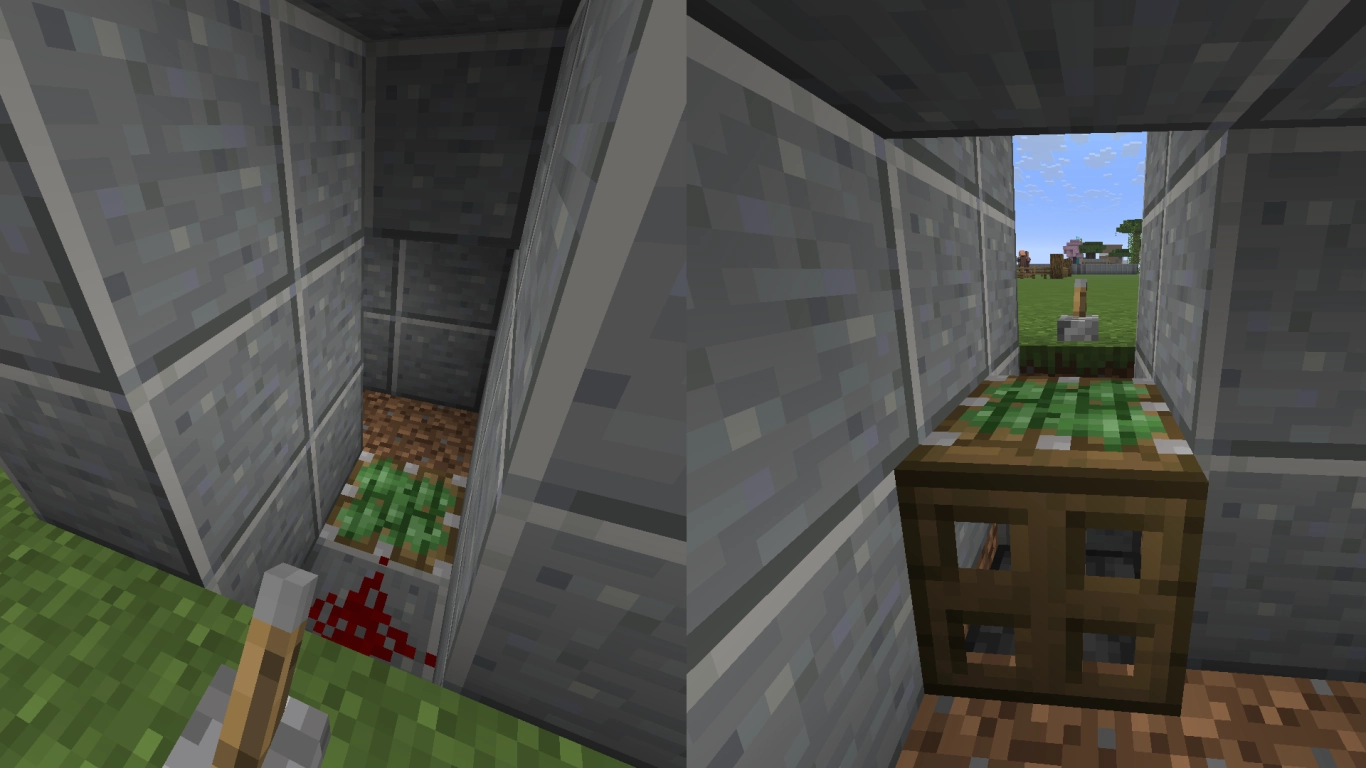
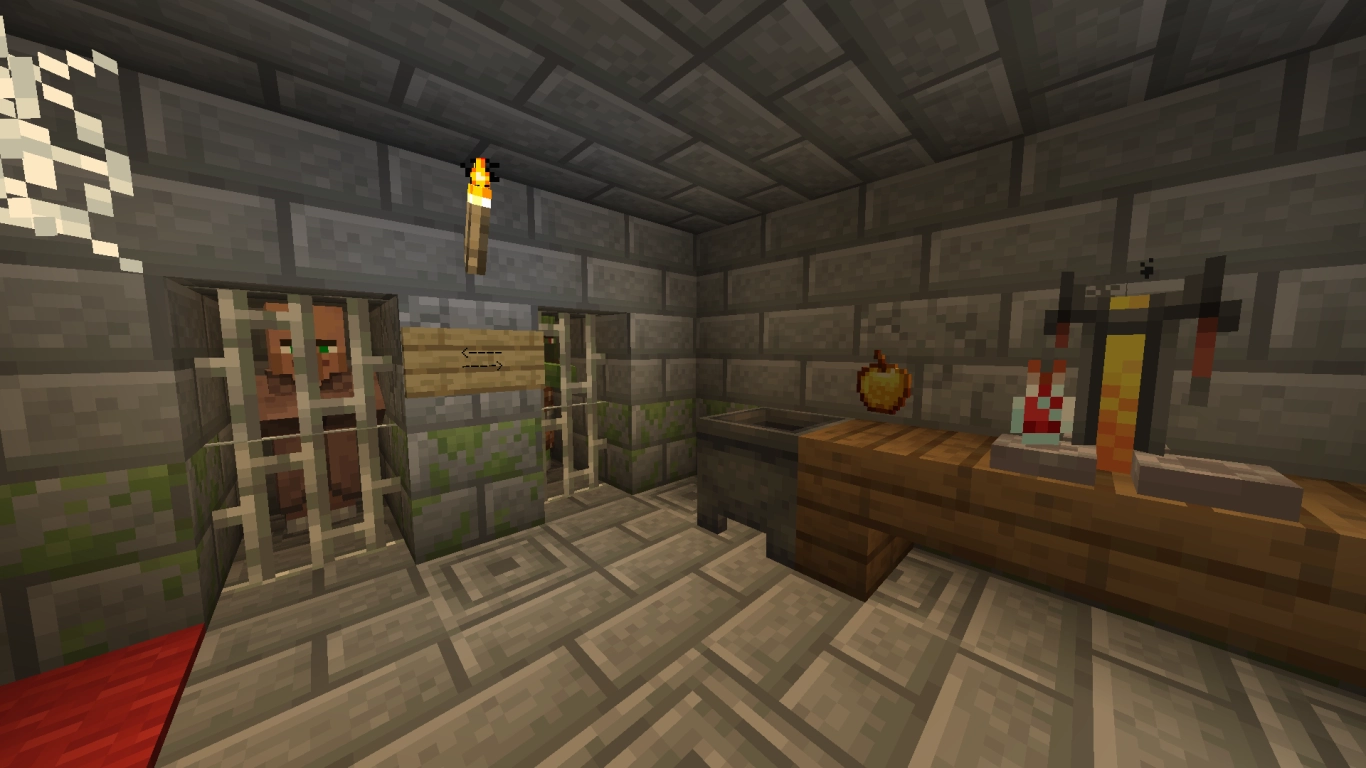
- Set up the work area: piston mechanism for safe conversion Build the workstation for one villager (later expandable). Dig a trench for the zombie corridor; a 2‑block side branch serves as the villager’s chamber. Place a piston in the floor, with redstone in front so you can raise and lower the villager. Place a trapdoor behind the piston and before the zombie corridor, with a solid block above it. Set the villager onto the piston via minecart, raise it and place the job site block on the redstone.
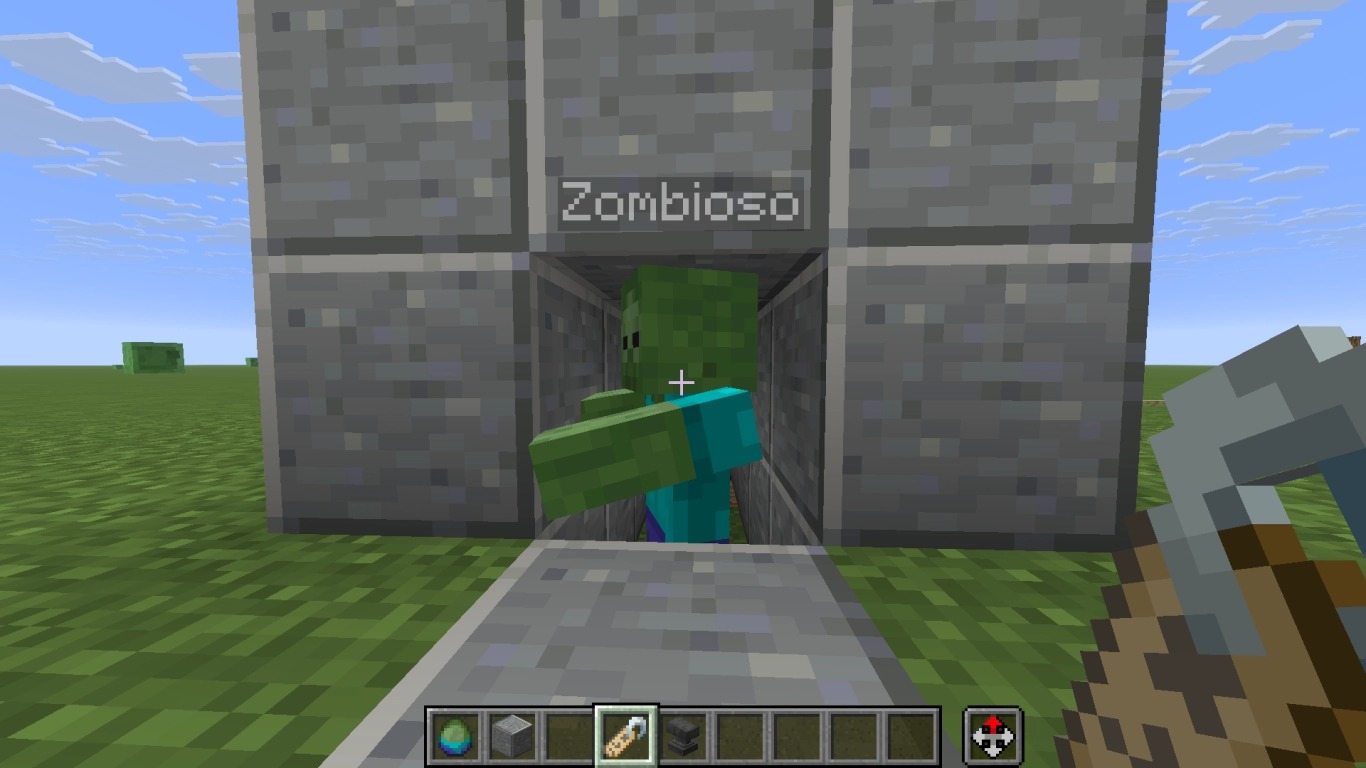
- Secure the zombie: prevent despawn, add sun protection Catch a zombie and guide it into the corridor behind the workstations. Ideally find a zombie that can hold items, or give it a name tag – that way it won’t despawn. Make sure there’s a roof so it doesn’t burn in daylight.
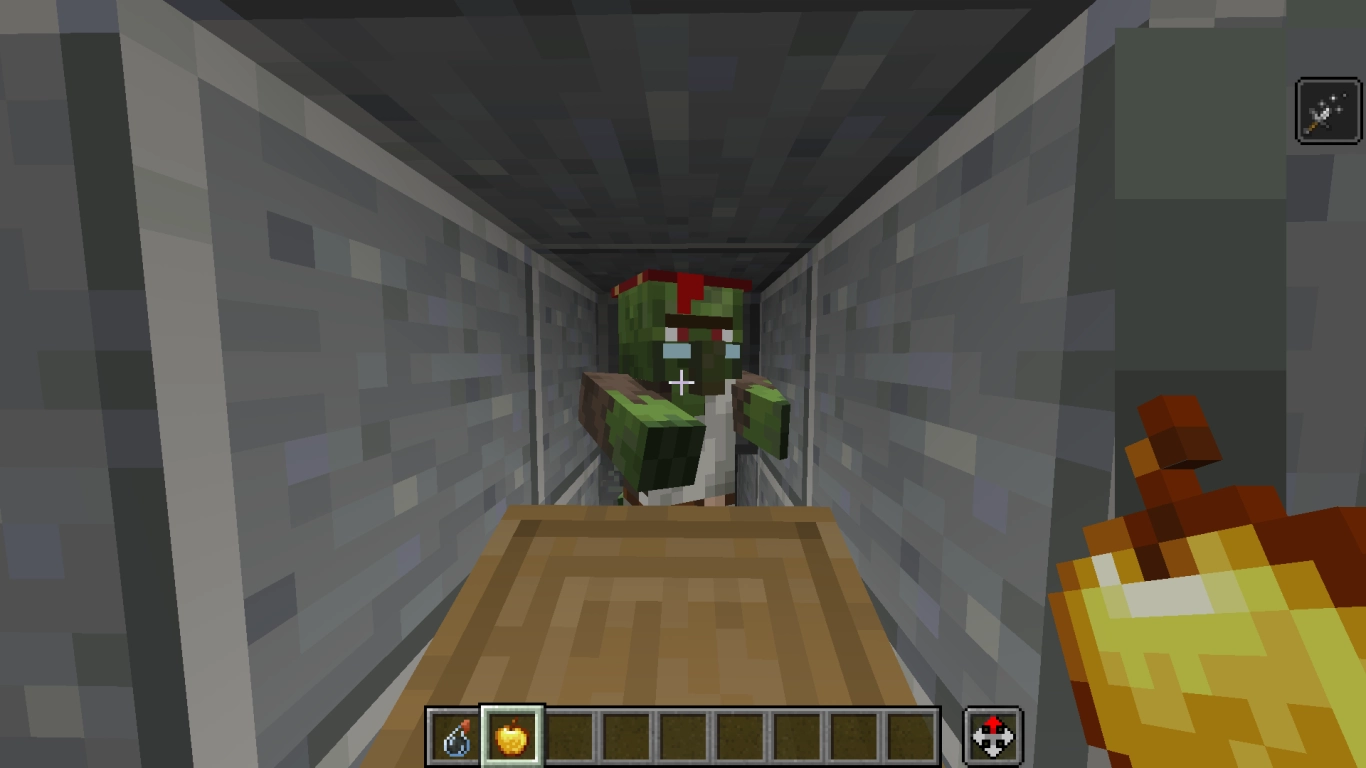
- Convert and cure: Potion of Weakness + golden apple Set the difficulty to Hard, lower the villager with the piston and let the zombie hit them. As soon as they become a zombie villager, raise the piston again and cure them with a Potion of Weakness and a golden apple. After a few minutes the cure is complete – now you benefit from the discounts!
Extra tips for top prices:
- Cure the same villager multiple times to increase the discounts further.
- Isolate villagers individually so gossip doesn’t unintentionally lead to higher or inconsistent prices.
- Combine curing with Hero of the Village for maximum (temporary + permanent) price advantages.
Conclusion: cheaper villager trades thanks to zombie curing
Trading with villagers is extremely powerful – and even more lucrative by curing zombified villagers. With a simple curing station, you automate the process and secure permanent discounts on your favourite trades. Integrate the station into your trading hall and benefit long-term from lower prices and more emeralds.
Want to optimise the whole setup as a team? Rent a Minecraft server and build a massive villager area together – that way everyone profits from the low prices and can trade essential resources: Rent a Minecraft server now.
More interesting articles
How to Build a Villager Trading Post: Obtain Valuable Items through Trading
Minecraft Villager: Your Ultimate Guide to Villagers
Minecraft villager trading: The best trades for emeralds, enchantments and armour