Back in the day, a small beach hut might have been enough for your Minecraft world. These days you need far larger builds to house everything important. Thanks to YouTube, it’s the megabases that are especially popular. They don’t just look impressive; they also contain all the essentials you need for your world. But putting up something this large can be exhausting. Many players give up before they even really start. So today we’ll take a closer look at the building process to make it easier to stick with it — and finish your base in the end.
Minecraft megabase: definition, scale and structure
In Minecraft, a megabase is an oversized build that serves as the main anchor point of your world. It brings together all key functions: storage, farms, portals, villager trading and transport routes. “Mega” can be defined in different ways, but generally it refers to structures that are significantly larger than usual — vertically, horizontally, or both.
A megabase can be a single, self‑contained structure or a campus of multiple themed builds that form a cohesive whole. What matters is that it feels complete, follows clear design lines and remains functional.
Choosing a Minecraft location: the best biome for your megabase
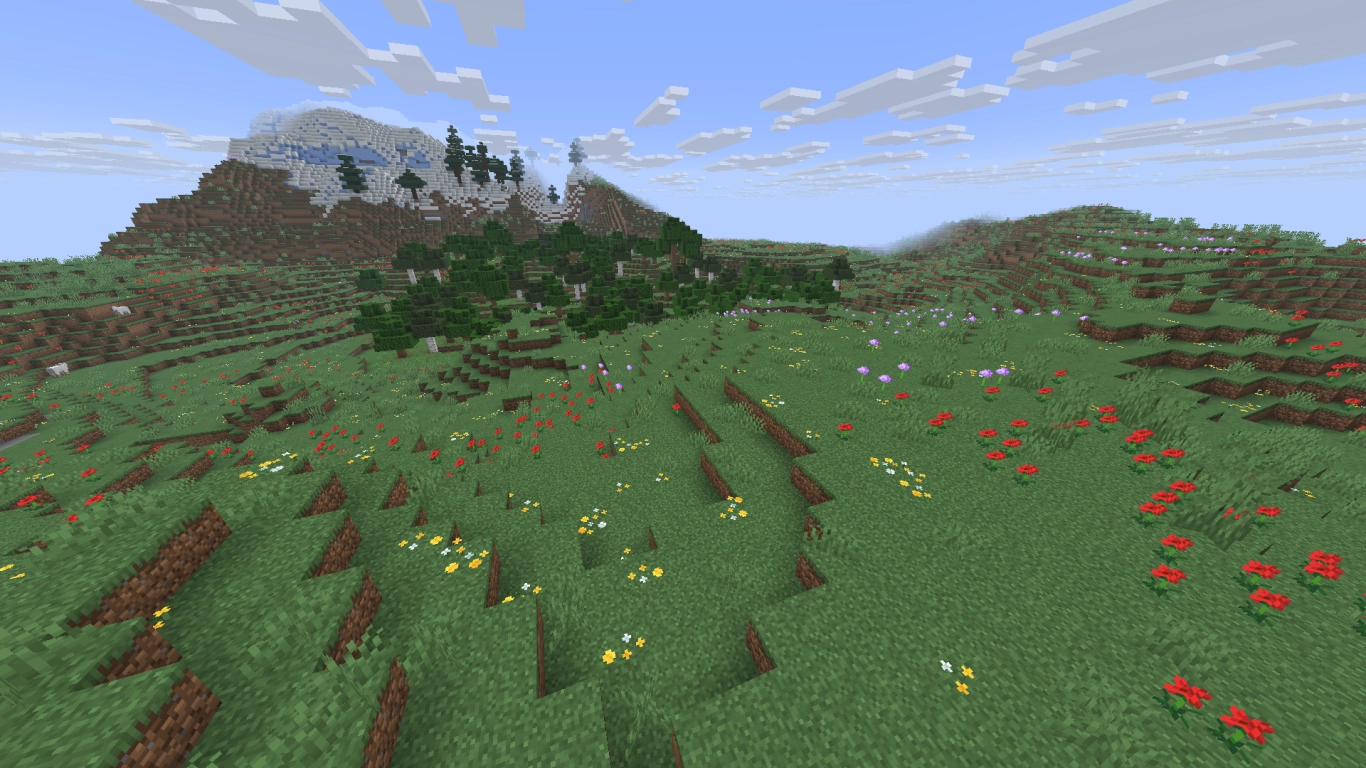
If you’re building in Survival, location is crucial. You’ll be there for a long time and want to play efficiently. The build can be themed to suit the biome. A pyramid looks out of place in snowy mountains, but perfect in the desert.
Consider these points when choosing your spot:
- Which blocks do I need for the build, and are they available nearby?
- Which resources are around me (wood, stone, sand, clay, iron ore, coral, etc.)?
- Do I like the view, and does the biome fit the theme?
- Do I have enough space for expansion, paths and decoration?
- How much terraforming is needed, and is it worth it?
- Chunk alignment: Plan large Redstone farms to be chunk‑aligned where possible.
- Nether connection: Short routes via a Nether hub save a huge amount of time.
- Spawn protection: Think about spawn‑proofing (e.g., carpets, slabs, buttons).
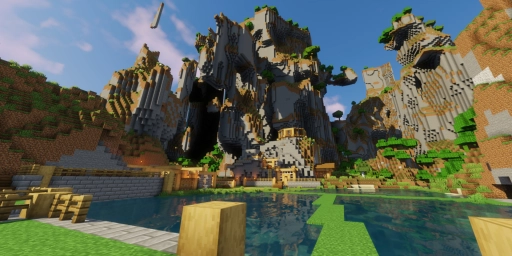
A very practical place for a megabase is a mushroom island: lots of space, no hostile mobs. However, terraforming there can be demanding. It also helps to create your world with Large Biomes to get more uniform landscapes for big concepts.
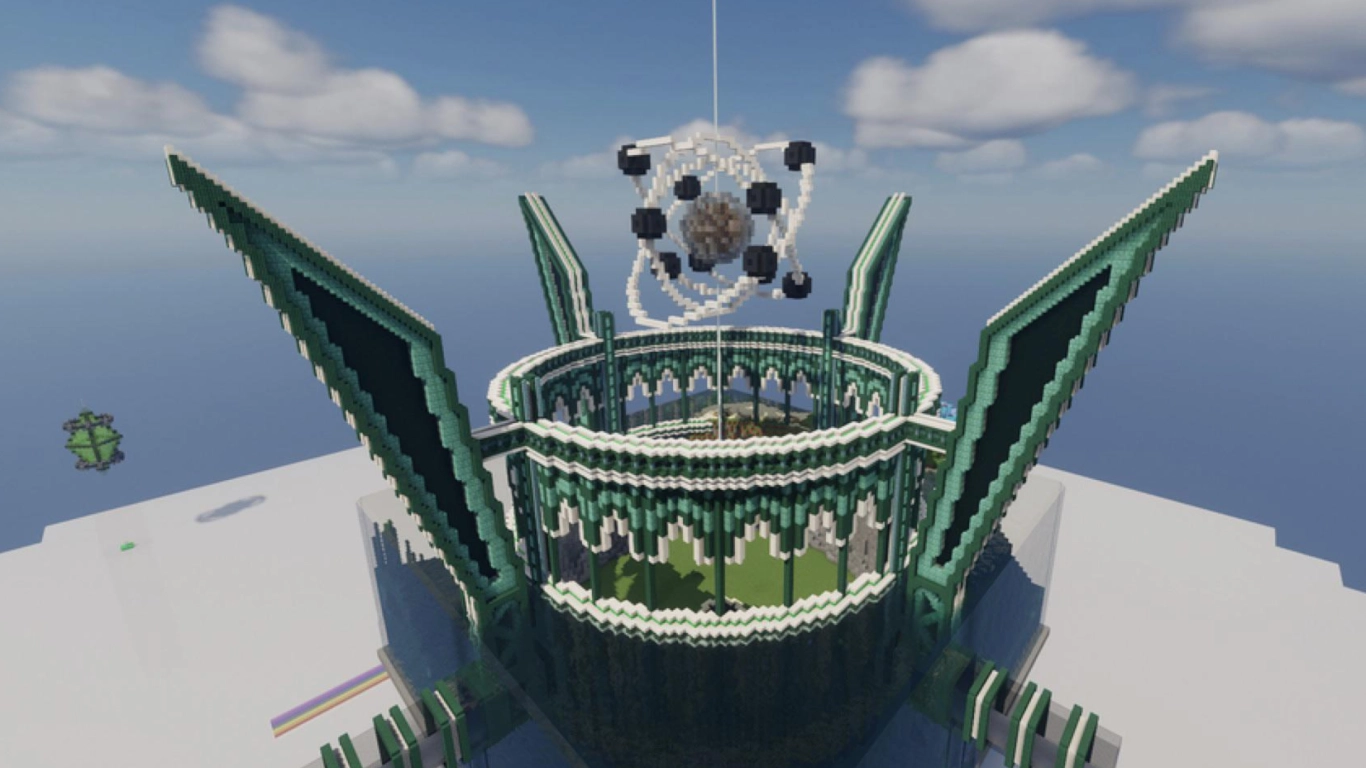
Design and build styles: how to plan your megabase
Inspirations: real world, games and series
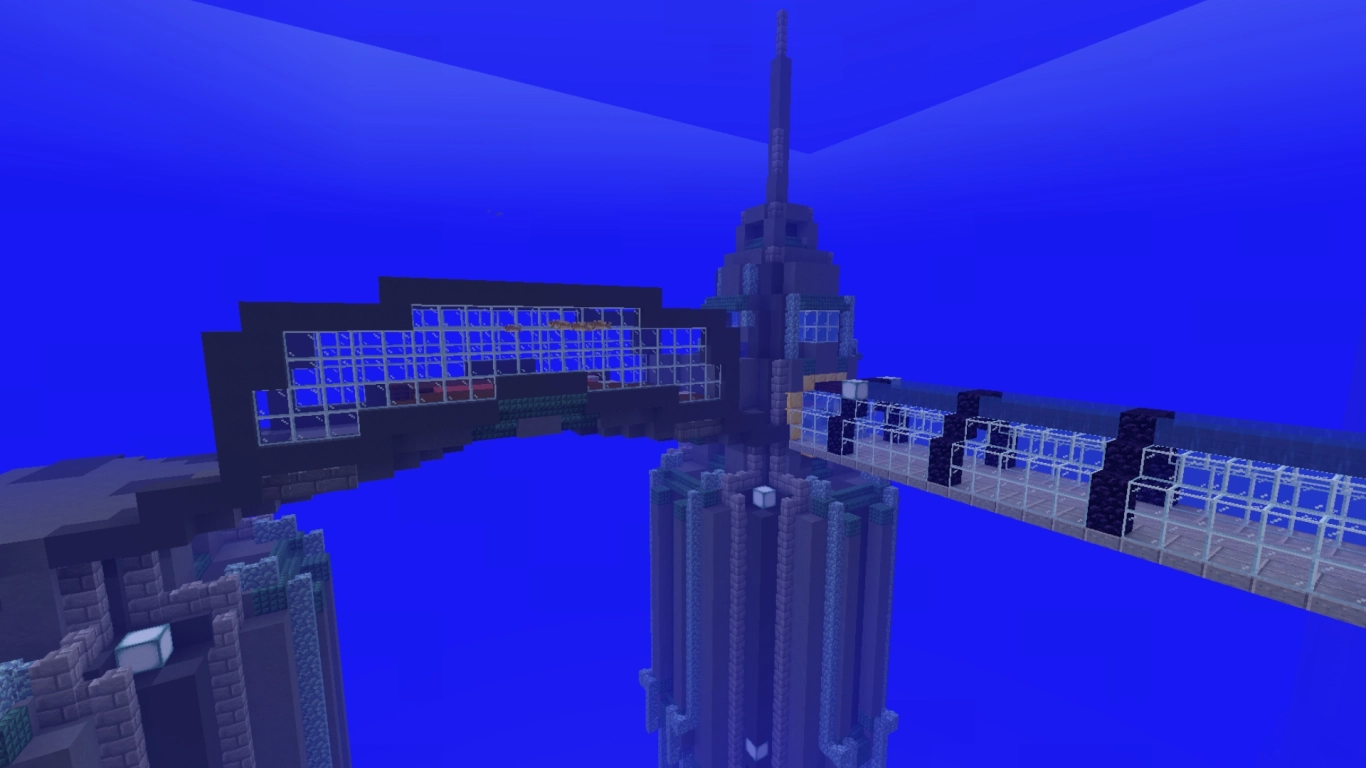
Inspiration can come from many sources: real architecture, games, series or your own ideas. Examples of megabases include:
- Underground cave base
- Large walled city (e.g., inspired by Attack on Titan)
- Space station in the End
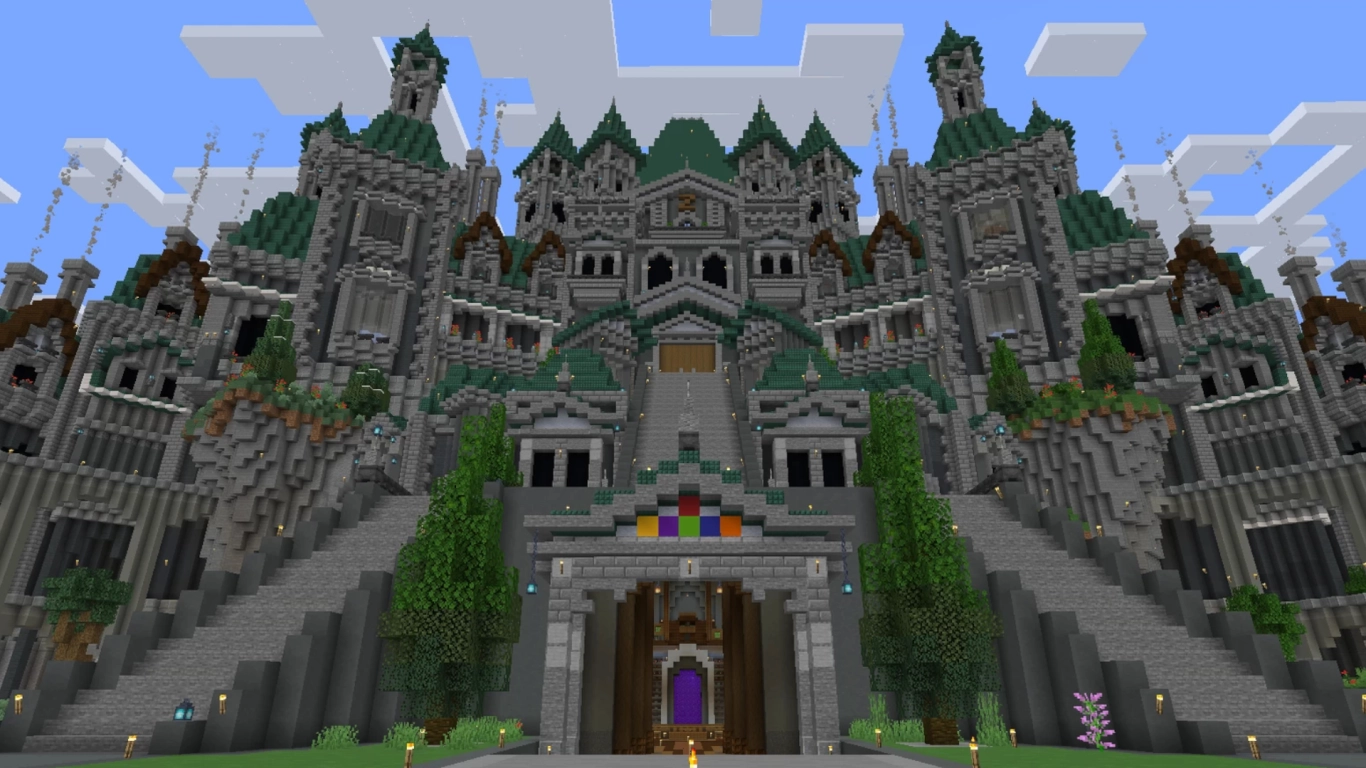
- Massive castle (e.g., Hogwarts)
- Underwater base (e.g., Rapture from BioShock)
- Giant pirate ship or tanker
- Pyramid or temple complex
Define a clear style and stick to it, such as medieval, steampunk, sci‑fi or organic forms.
Planning in Creative: block palette, layout and testing
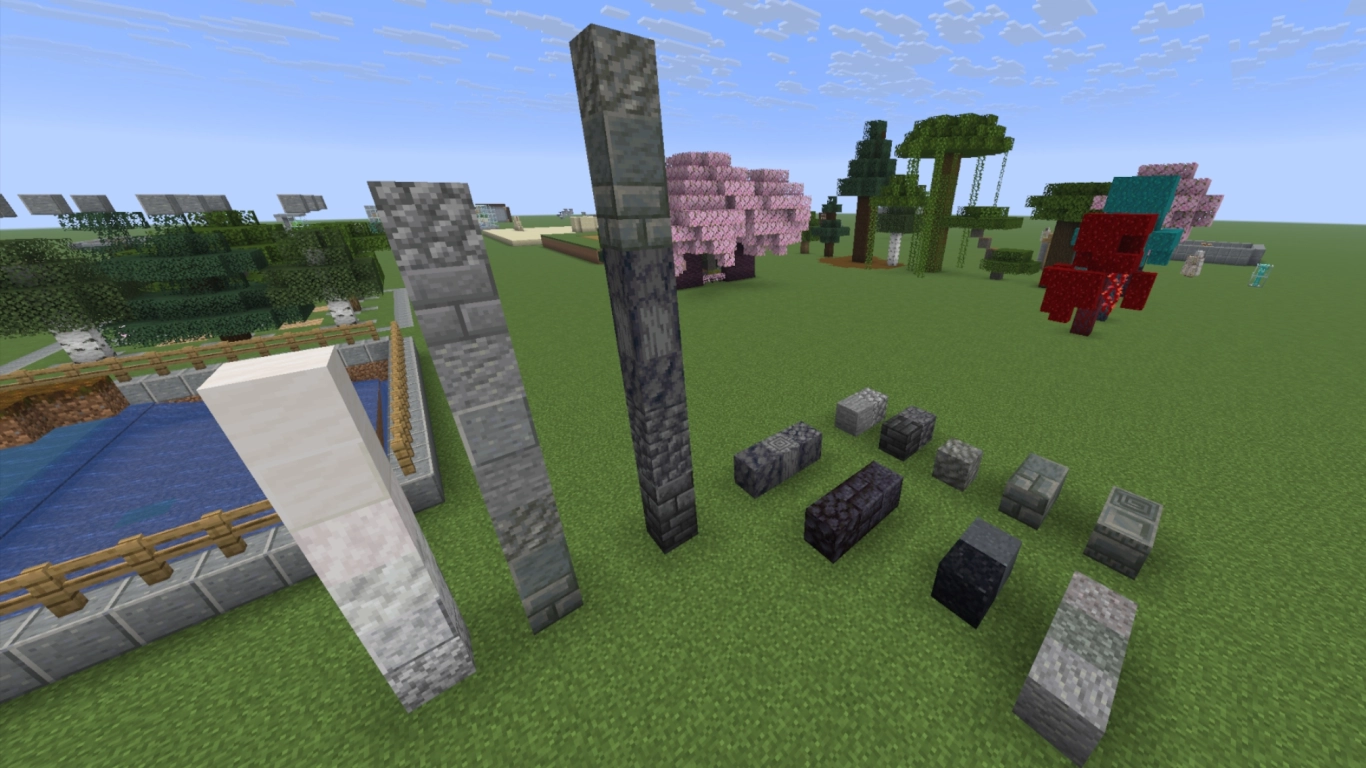
Before you start in Survival, test ideas in Creative. You’ll avoid frustration and tear‑downs. You don’t have to finalise everything, but a clear block palette, design language and a rough layout are essential.
Plan in Creative:
- Block palette and materials (contrast, depth, light sources)
- Size and proportions (scale, sightlines, pathing)
- Style and techniques (level of detail, facades, roof shapes, lighting)
- Footprint and site plan (courtyards, modules, farm zones, portals)
- Best location in a copy of your world
- Optional tools: schematics and overlays (e.g., with Litematica), WorldEdit on test servers
Tip: Test early material‑gathering routes and set up a beacon as soon as possible to speed up mining. Shulker Boxes accelerate logistics and switching sites.
Aesthetics vs function: uniting layout, farms and tech
As with many projects, order matters. With a megabase, the art is combining looks and function. Make a list for both, set priorities and work step by step.
- Aesthetics: recurring shapes, supports, cornices, lighting, vegetation
- Function: farms (iron, food, mobs, wood, villager trading), transport, safety
- Routing: short walks, clear signs, fast travel via elytra or ice tracks with boats
- Performance: place farms close together, keep them chunk‑aligned, efficient Redstone, avoid unnecessary entity stacks
- Safety: sufficient lighting, spawn‑proofing, safe Nether routes
Storage hall and item sorting: the heart of your megabase
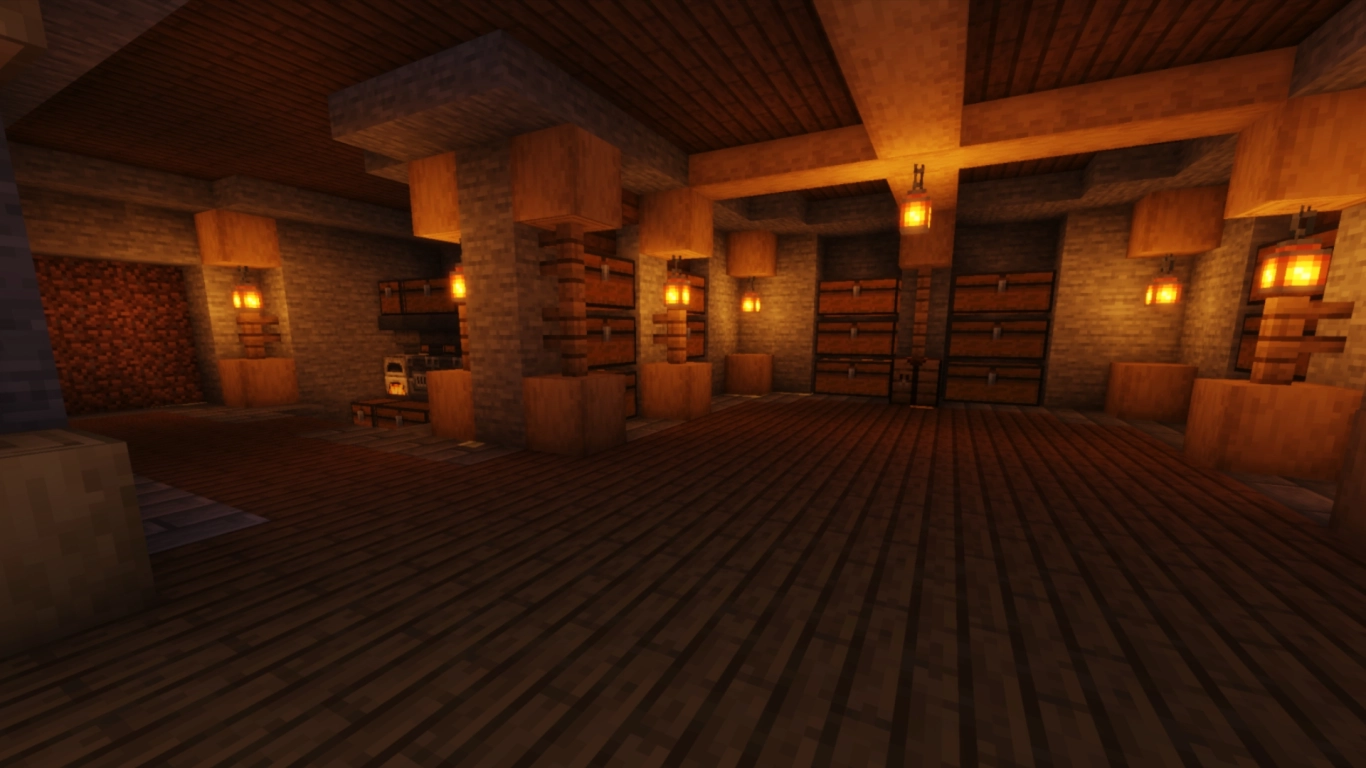
Start with a large storage hall — often the most important part of your megabase. Plan for more chests and modules than you need at first, so the storage looks imposing and can grow with you. Consider:
- Automatic item sorters using hoppers, observers and water streams
- A bulk input for materials and a quick drop‑off for loot runs
- Categories (blocks, decor, Redstone, food, mobs, Nether/End, dyes, wood types)
- Expandability via extra wings or lower levels
- Central workshop: anvil, crafting tables, enchanting, brewing stand, ender chest, bed, map room
Long-term motivation: completing a big Minecraft project
Big projects take time — motivation is key. Many players build their megabase modularly and let it grow organically.
These points help you stay motivated:
- Break the project into small milestones (e.g., storage done, north facade, villager hall)
- Work on several areas in parallel for variety
- Celebrate wins: screenshots, map updates, timelapses
- Use new updates as inspiration and integrate features
- Stay flexible: accept mistakes, rework parts that don’t fit
- Take breaks and return with fresh eyes
Conclusion: build a successful Minecraft megabase
Megabases are striking builds that unite aesthetics and function. With solid planning, tidy logistics, sensible farms and a well‑thought‑out storage system, you’ll master even very large undertakings. Split the project into manageable steps and combine creativity with efficiency.
Our recommendation: rent a Minecraft server to build together. It’s more fun as a team, you can split tasks, and your different styles will spark new ideas.
More interesting articles
Minecraft Interior Design: 8 Pro Tips for Décor & Design
Build a modern Minecraft house: materials, tips, ideas
Minecraft mega projects: 12 building ideas for your world
Minecraft shelves: storage, Redstone tricks and hotbar switching