There’s a moment in 7 Days to Die when you realize: running around and sleeping wherever no longer cuts it. You need a home. A place to dump your loot, patch your wounds, and prep for the next Blood Moon. But “home” in the zombie apocalypse doesn’t mean “cozy cabin with flower boxes.” It means a functional fortress, cleverly built, as hard to break as possible — and planned so you weather the onslaught without your heart pounding out of your chest.
Why base-building matters in 7 Days to Die 2.0
With Update 2.0, 7 Days to Die made noticeable changes to building and zombie pathing.
- The stability system is harsher: pieces without sufficient supports collapse faster. Keep horizontal spans and load-bearing pillars in mind.
- Zombies identify weak points better and choose the cheapest path — preferably through doors, thin blocks, or poorly supported sections.
- They attack purposefully instead of randomly scratching at walls.
What that means for you: previously you could muddle through with wooden walls — now you need thoughtful construction, or the Blood Moon will ruthlessly expose your mistakes.
Choosing a location for your 7 Days to Die base
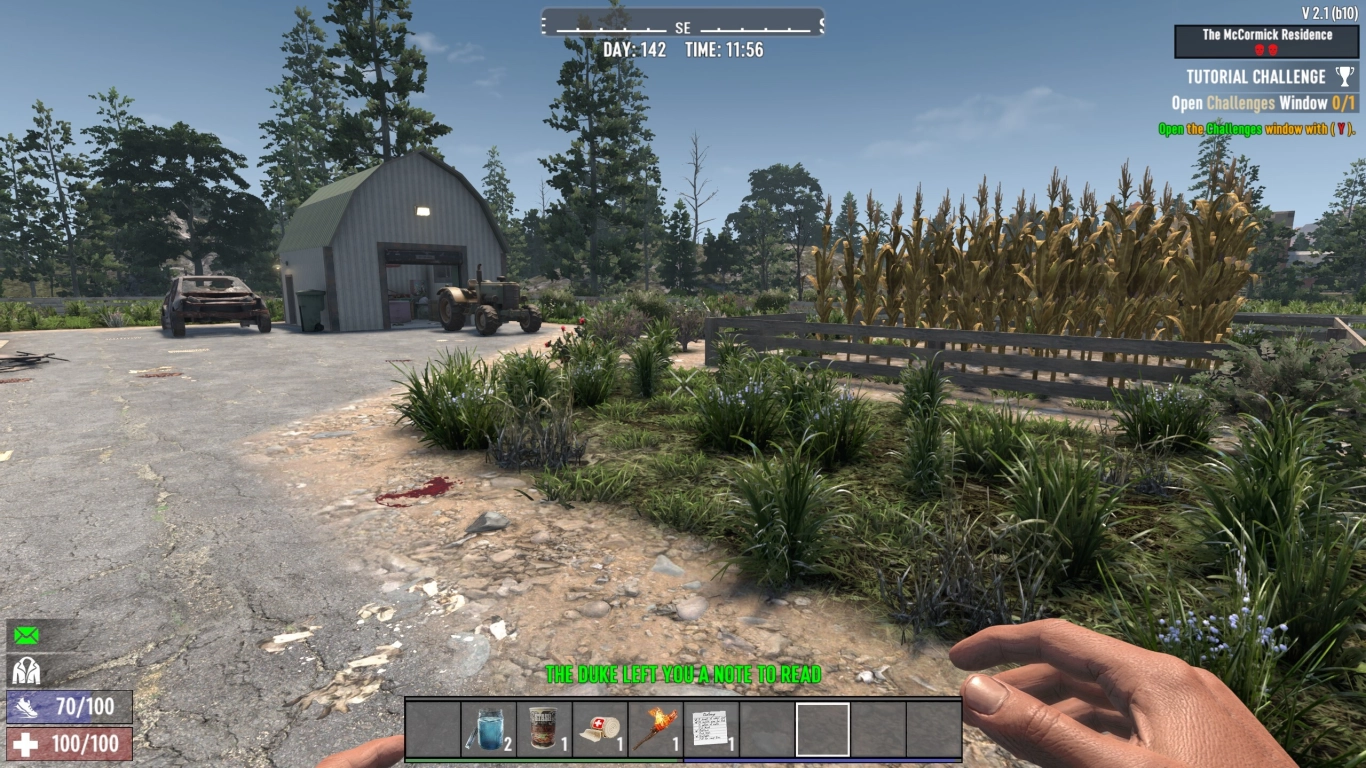 Before you build, pick a spot with clear sight lines, resource proximity, and escape options.
- Take over an existing structure (POI)
Ideal early on: fewer resources, faster protection. Downside: floor plans are often suboptimal, and walls/ceilings need reinforcement. - Use elevated terrain
Hills, cliffs, or water towers buy you time because zombies have to climb first. - Build from scratch
Maximum control, but costly and time-consuming.
Pro tip: Being near traders and resource deposits (e.g., iron) is invaluable. Don’t build right on narrow streets so you keep clear lines of fire.
Materials and stability: From wood to steel
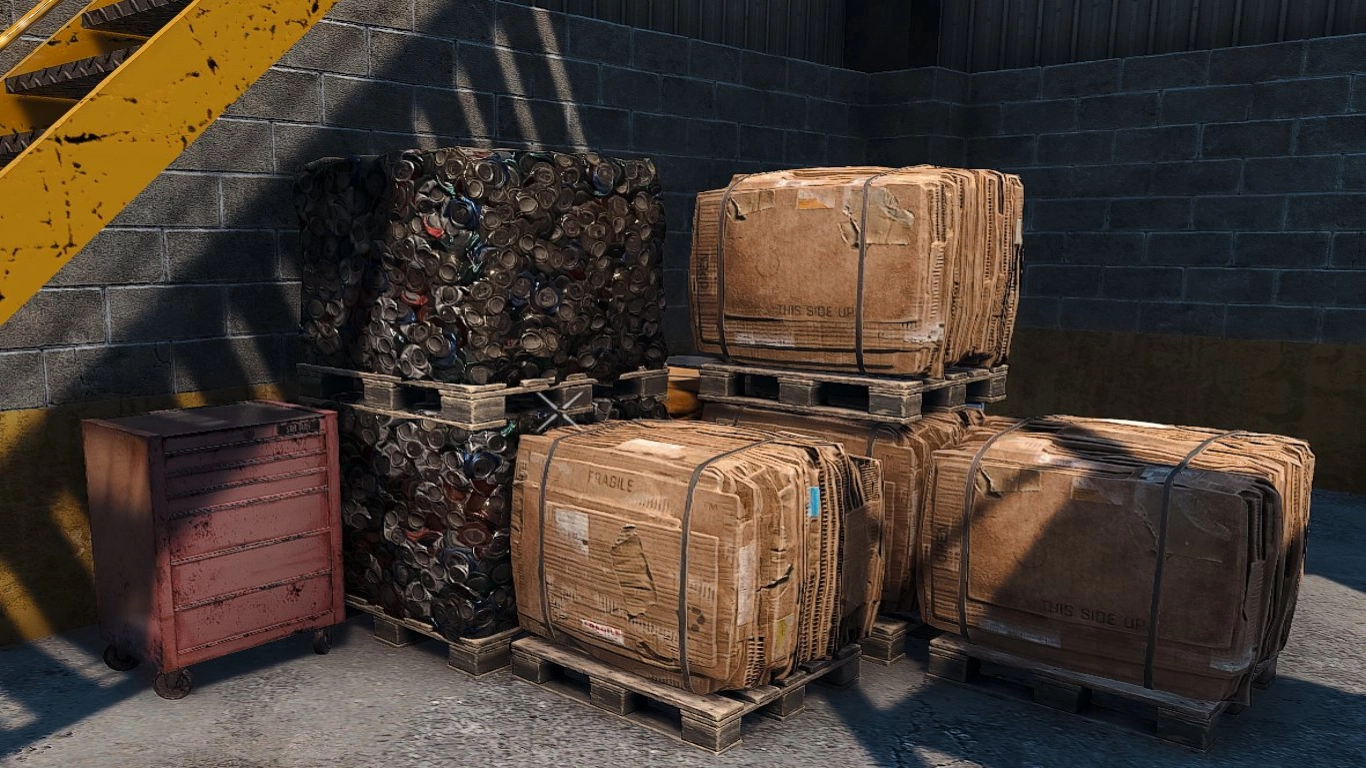 In 7 Days to Die, your choice of materials determines your chances of survival.
- Wood: Fast and cheap, but weak. Use only as an early solution.
- Stone/cobblestone: The first big safety jump. Sturdy and easy to repair.
- Concrete: Strong, but requires curing time. It’s weaker while curing — plan around that.
- Steel: Top tier for late hordes. Expensive but extremely durable.
Pro tip: Build in layers: hard on the outside (concrete/steel), cheaper inside (stone/wood). Place support pillars on a grid and avoid long spans — stability is calculated per block.
Base design and architecture: Kill tunnel, elevation, escape routes
A good base is a tool to control zombies.
- Kill tunnel
Narrow, guided paths with spikes, hatches, and choke points. Zombies remain pathing “willing” if you offer them a seemingly viable but deadly route.
Tip: 2 blocks wide, 2–3 blocks high, with a hatch setup as the barrier so melee can land hits easily. - Elevation
Raised platforms give you visibility and protect against melee zombies. Ensure sturdy supports and ladders/ramps you can pull up or remove in a pinch. - Escape routes
Always plan at least one secondary exit (e.g., a tunnel exit). - Clear lines of fire
Avoid unnecessary corners. Build firing ports and keep the area in front of the entrance clear.
Traps and defense: Spikes, electric traps, blade traps
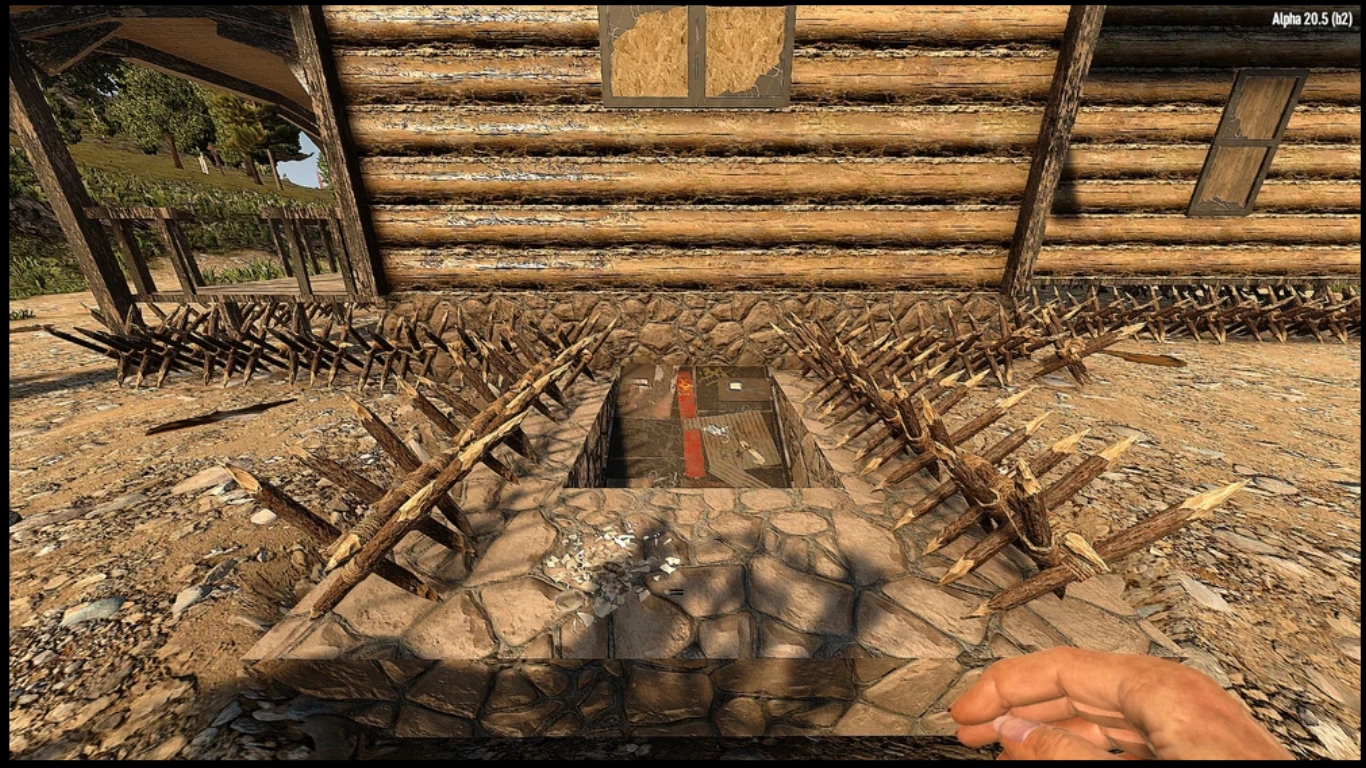 Combine traps to waste enemy time, stack damage, and maintain control.
- Wood/iron spikes: Cheap and great for slowing enemies. Place them along the zombies’ intended path.
- Electric fence posts (Fence Posts): Slow and interrupt attacks — perfect for pinning enemies inside your fire corridor. Use a generator, relays, and switches for control.
- Blade traps: High damage at head/chest height. Maintain them and protect with grates/shapes.
- Molotov zones: Ignite tight groups efficiently. Mark throwing points and secure escape paths.
Pro tip: Wire in loops with an emergency switch. Keep repair kits and materials ready, and repair between waves when it’s safe.
Interior organization: Storage, workshop, kitchen, medical
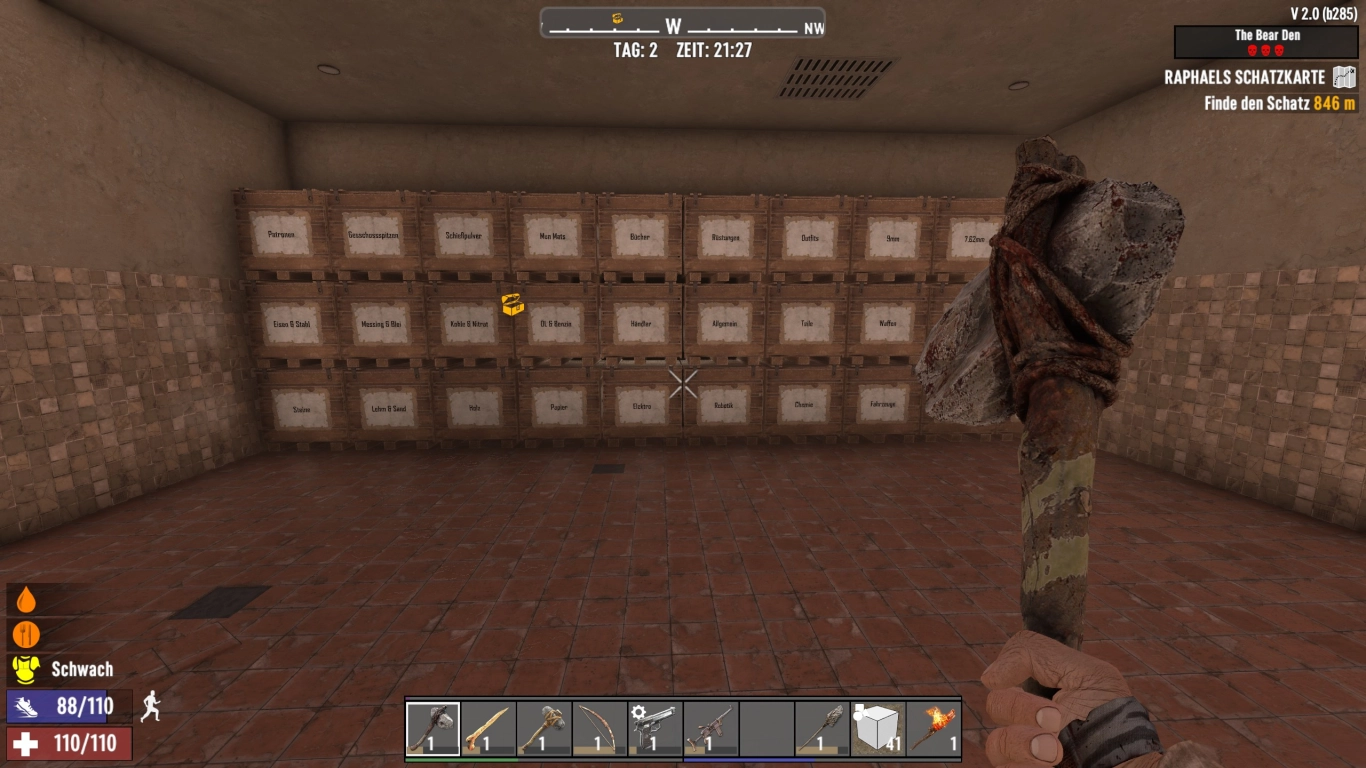 A functional interior saves time and nerves — build smart.
- Storage: Clearly label chests (Food, Ammo/Weapons, Building, Medical, Mods). Set up a drop chest near the entrance.
- Workshop: Forge, workbench, and chemistry station close together. Keep resource chests next to them.
- Kitchen: Cooking grill, cooking pot, and a water source/jars. Eat well = fight better.
- Medical: Keep bandages, painkillers, and antibiotics within reach by the door.
Multiplayer base-building and dedicated servers
With friends, split roles: one gathers, one builds, one loots. Complex structures grow faster that way. On a dedicated server — for example with 4Netplayers — the world keeps running 24/7 (crops, crafting, smelting). That’s ideal for large-scale builds and steady progression.
From start to endgame fortress: Upgrade phases
Your path might look like this:
- Makeshift shelter: Wood frames, a door, a roof — get safe quickly.
- Stone/cobblestone upgrade: Reinforce outer walls, place your first spikes.
- Checkpoint: Raised platform with a kill tunnel.
- Power & automation: Generator, spotlights, electric fence posts, blade traps.
- Endgame fortress: Concrete/steel, redundant lines of defense, multiple levels, clear fields of fire.
Remember Game Stage scaling: the further you progress, the tougher the hordes. Plan upgrades in time.
Conclusion: Base-building in 7 Days to Die 2.0
There’s no perfect base — every horde tests your creativity and planning. With version 2.0, it’s more worthwhile than ever to invest in your base: for safety, efficiency, and your style. Build with a team if you like, but design it so it can be defended solo — and the best way to do that is on your own server. Rent your 7 Days to Die server and jump right in.
More interesting articles
7 Days to Die Endgame Guide: Gear, Weapons & Builds