As your factory grows, the distances between different sections get larger, too. That’s also because you won’t find every resource everywhere, so you’ll need to decide how to transport them to a central location. Both your own mobility and the movement of the materials you produce and extract are core topics in Satisfactory. And of course, the game offers many ways to integrate transport into your builds. Over time, you can expand, tweak, or even completely change your setup. The more milestones you unlock, the better the features at your disposal.
Satisfactory Conveyor Belts: Optimize Resource Transport and Production Lines

Conveyor belts are likely familiar to every Satisfactory player. You unlock them almost right at the start, and they’ll remain one of your most reliable building elements all the way to the end. They can move resources from one location to another along routes you define in advance. This lets you connect machines and create automated production lines. Basically, you can run belts straight from the source—usually an ore—through to the end of a given material chain.
As you progress, you’ll unlock improved versions of conveyor belts. These not only move more items but are also useful for your personal travel. You can run on belts to get from A to B faster. That makes them doubly practical.
| Version | Unlocks | Items per min | km/h |
|---|---|---|---|
| Mk. 1 | Tier 0 | 60 | 4.32 |
| Mk. 2 | Tier 2 | 120 | 8.64 |
| Mk. 3 | Tier 4 | 270 | 19.44 |
| Mk. 4 | Tier 5 | 480 | 34.56 |
| Mk. 5 | Tier 7 | 780 | 56.16 |
| Mk. 6 | Tier 9 | 1,200 | 86.4 |
There are also many conveyor add-ons that make your factory even more efficient:
- Lifts: Move materials between different vertical levels.
- Stackable Poles: Stack multiple belts on top of each other.
- Wall Mounts: Attach belts to foundations or walls.
- Ceiling Mounts: Run belts along the ceiling.
Conveyor belts are recommended for anyone who wants to specialize in something and perfect it. Belts offer pretty much every essential function you need for transport. They also scale well and can be expanded with different features, which is extremely handy.
You may want to avoid belts if, for example, your PC is too weak to render all the items, or if you simply find it boring to rely only on belts. After all, Satisfactory offers several other ways to transport materials—and yourself.
Satisfactory Vehicles: Program Routes and Automate Transport
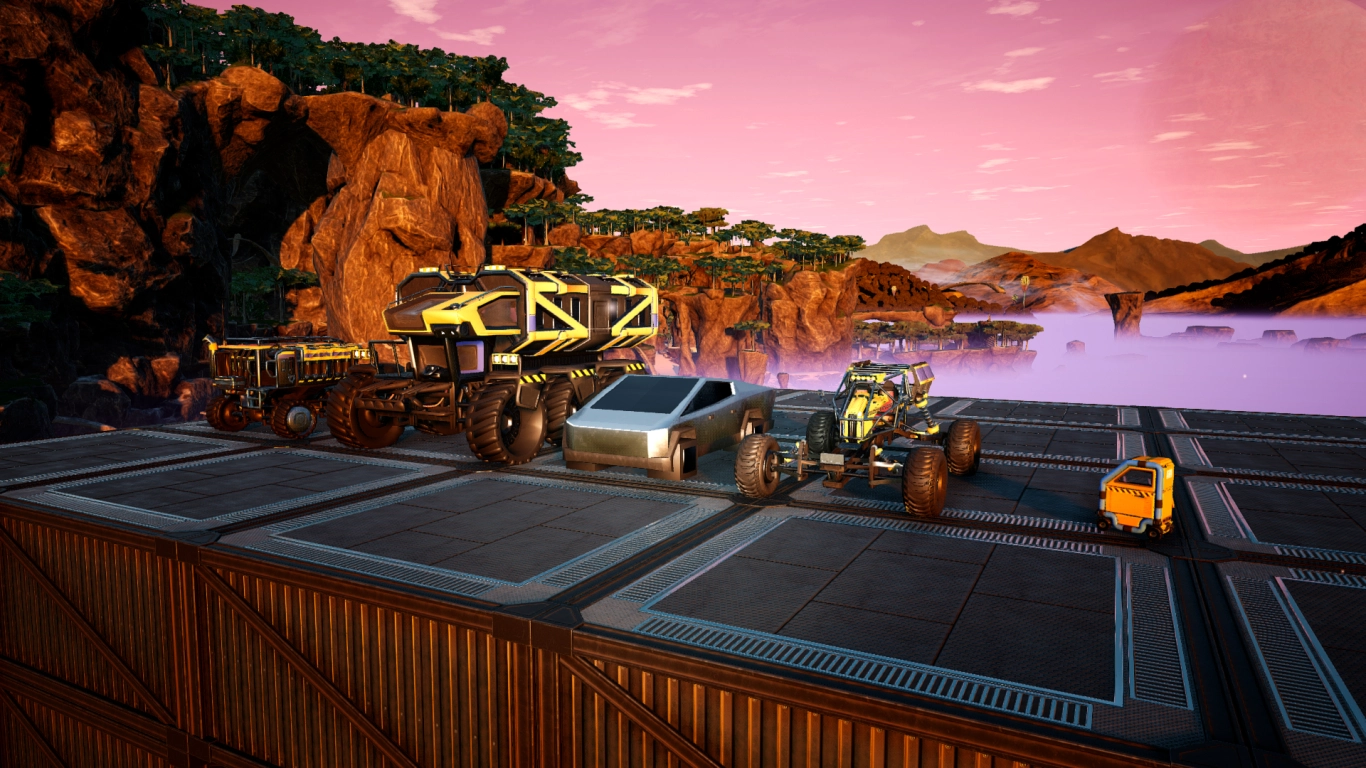
Your second option is vehicles, which you can drive yourself and also use to transport resources. Satisfactory features a range of cars and trucks, each with its own use cases. By Tier 3, once you unlock trucks, you should dig into them, because the entire process can be automated (Satisfactory Tier 3 Guide: Coal Power, Truck Transport, and Steel Production) .
| Vehicle | Unlocks | MW | Item slots | km/h |
|---|---|---|---|---|
| Tractor | Tier 3 | 55 | 25 | 69 |
| Truck | Tier 5 | 75 | 48 | 89 |
| Cyber Wagon | AWESOME Shop | 150 | 1 | 164 |
| Explorer | MAM Quartz | 90 | 12 | 107 |
| Factory Cart | AWESOME Shop | – | – | 50 |
| Drone | Tier 8 | (Batteries) | 9 | 252 |
When using vehicles for transport, you always have to weigh their efficiency. Almost all of them consume fuel, which you’ll need to supply. However, it doesn’t matter which type of fuel you use—you can start with biofuel and later switch to more advanced options, even radioactive fuel rods.
In general, trucks and tractors are best for moving materials, while the Cyber Wagon, Explorer, and Factory Cart are more suited to your personal travel. With Truck Stations, you can assign routes to most vehicles and have them run automatically. At the stations, they can load and unload and be refueled at the same time.
Drones are a special case and a more advanced method for transporting resources over long distances. They also require their own station for takeoff and landing.
Satisfactory Trains: Rail Transport, Freight Stations, and Signals
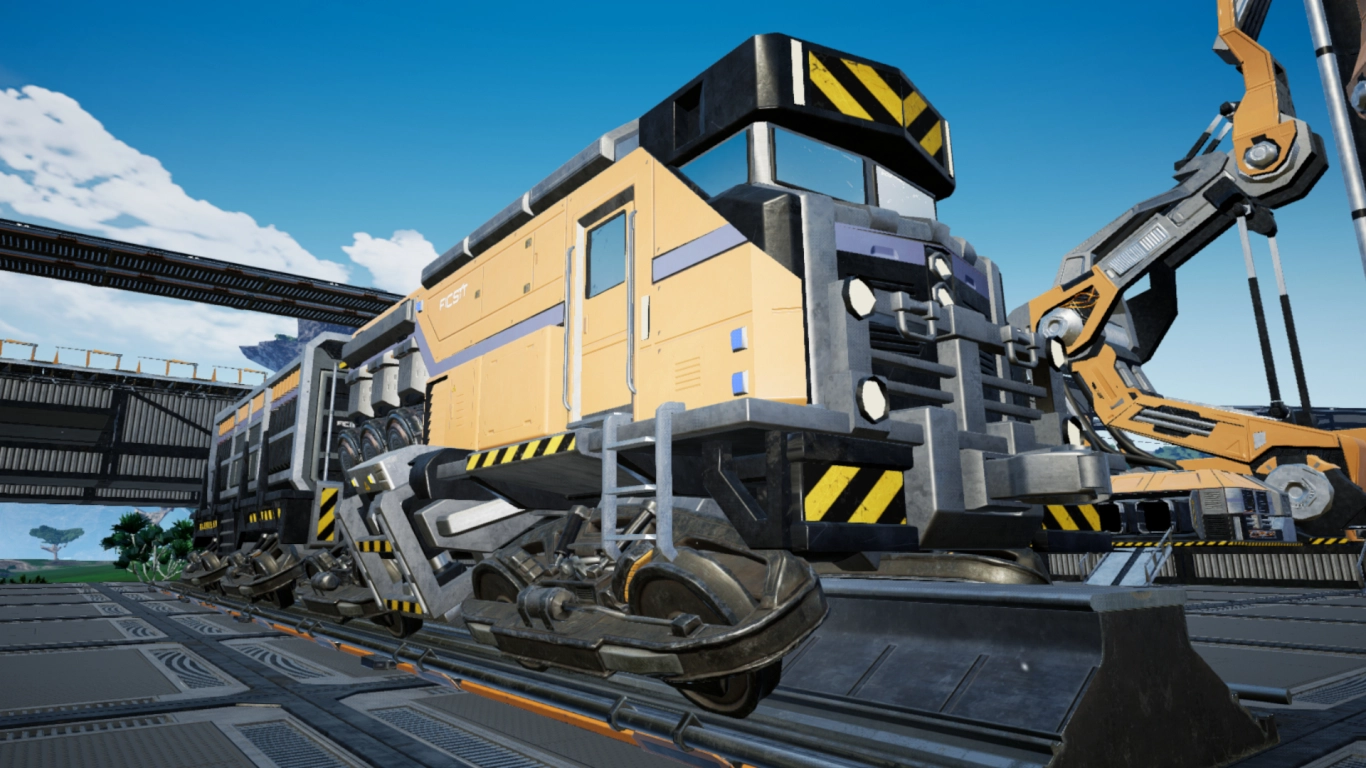
You unlock trains and rail systems at Tier 6. From then on, you can cover the map with your own rail network and traverse very long distances quickly and efficiently. Trains are highly customizable and scale well. You’ll start with a station and an electric locomotive that can pull freight cars. The maximum train speed is 120 km/h.
Each freight car can carry up to 32 item slots or 1,600 m³ of fluids. And of course, you can use multiple cars. Most players recommend attaching three to four cars to a locomotive. The more you haul, the slower the train will run. Power consumption also depends on speed and load, ranging from 25 MW under light use up to around 440 MW with, for example, four cars.
From the map and at the various freight stations, you can set up routes and have trains run automatically. That only becomes necessary later in the game. You can also work with signals and stops to create more complex routes.
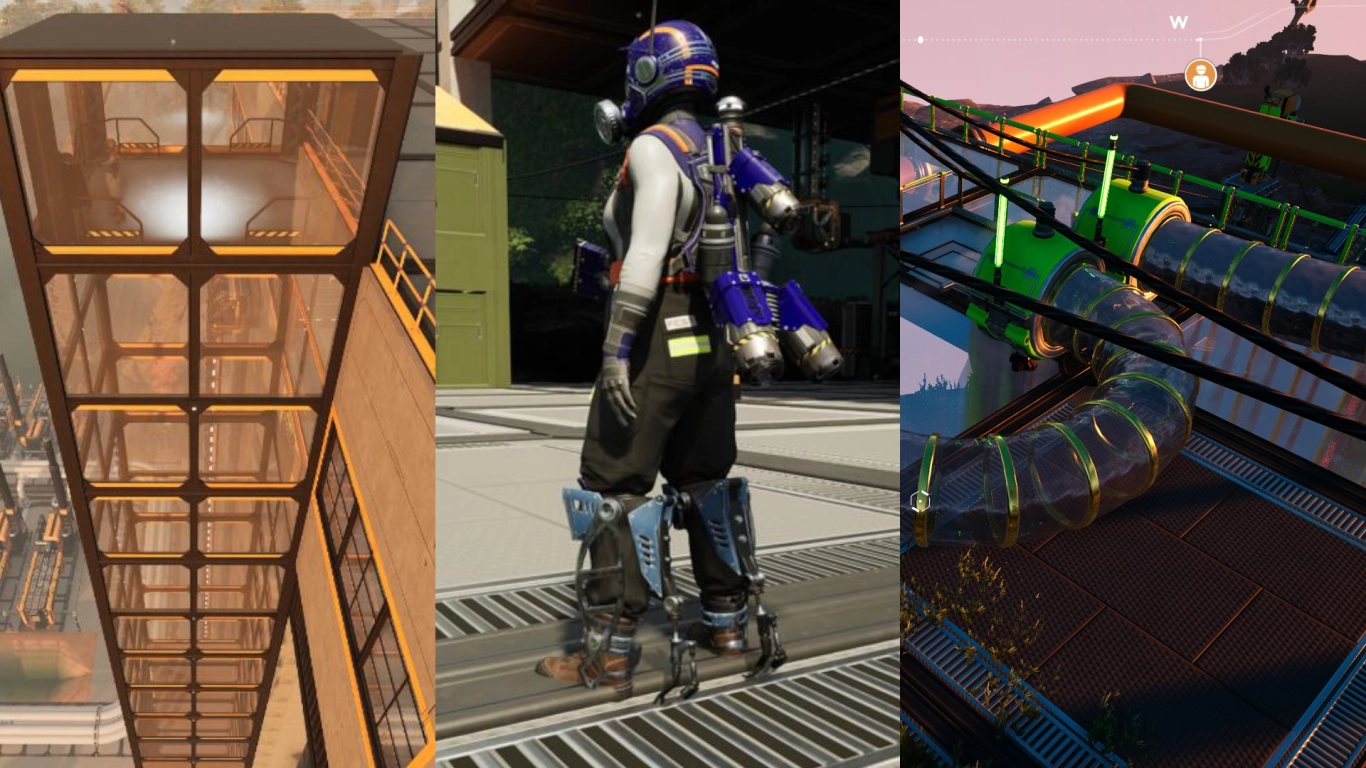
Satisfactory Player Movement: Hypertubes, Jetpack, and More
Finally, let’s look at how you can move yourself around the map faster. You can of course use the options above, but some tools are made specifically for player movement.
- Zipline: Glide along power lines.
- Blade Runners: Run faster, jump higher, and take reduced fall damage.
- Jetpack: Aerial mobility; requires fuel.
- Hover Pack: A better jetpack alternative that draws power from nearby power poles.
- Hypertubes: Tube systems you can glide through; can also be used as a launch cannon.
- Jump Pads: Bounce to different elevations.
- Elevator: Best for vertical factories to access different floors.
Conclusion on Satisfactory Transport: Move Resources—and Yourself—Efficiently
In Satisfactory, it’s important to integrate your transport options effectively into your factories. From classic conveyor belts to various vehicles and on to trains, you can let your creativity run wild. And there are plenty of ways to make your personal movement much more comfortable, too.
Rent your own Satisfactory server from us and try out some of these options with your friends. Everyone can focus on the transport method they like best—and in the end, you can link them together to build the perfect factory!