Tier 6 is a major milestone in Satisfactory, giving you new recipes and upgrades that prepare your factories for the next stage of the Space Elevator. This is also where trains come into play—one of the most important long-distance transport options. In another article, we’ve already covered where to find resources (Satisfactory map: Best locations for every resource) . Trains help you bring those production lines together. That’s why Tier 6 is essential for scaling your various building blocks in Satisfactory. We’ll look at the items you need to complete each category and exactly what you unlock.
Satisfactory Tier 6 Industrial Manufacturing: Build the Manufacturer and craft Computers
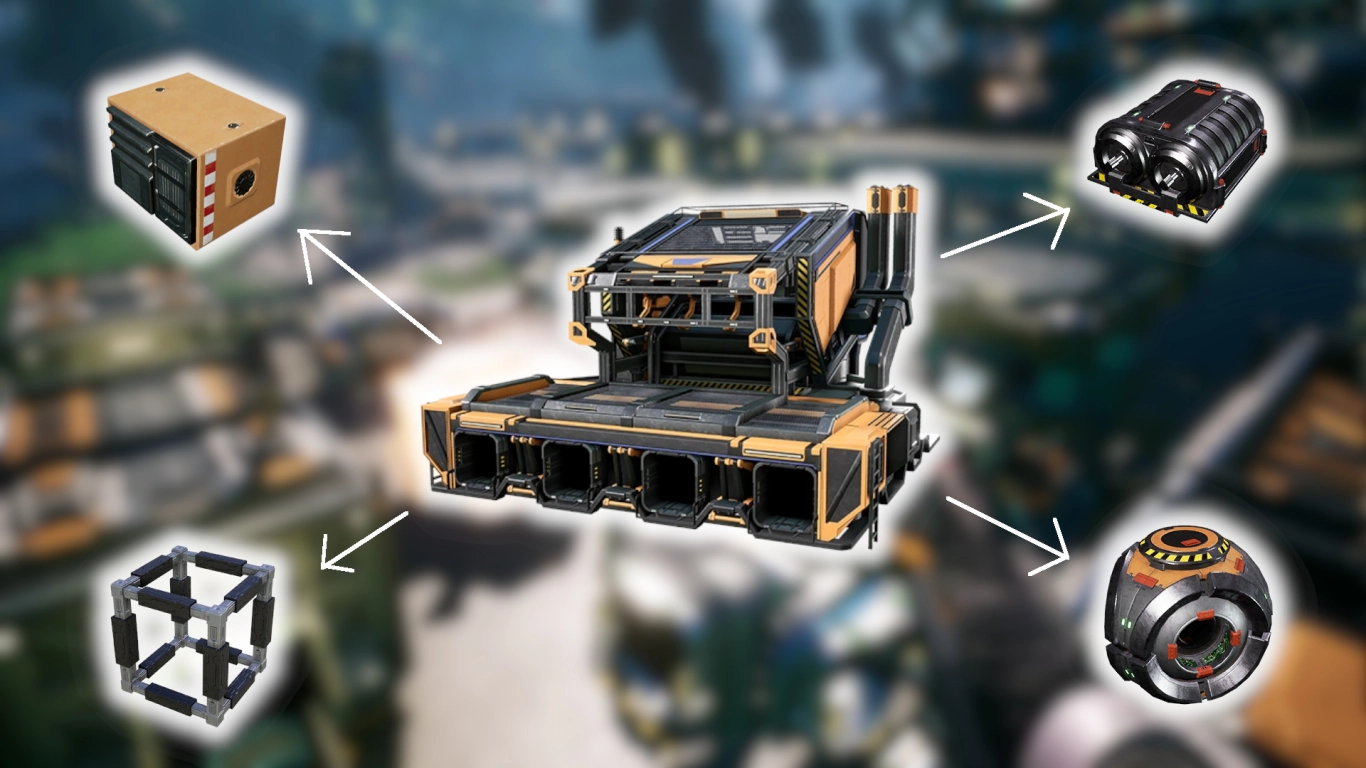
Industrial Manufacturing is one of the most important milestones here, as it unlocks the ability to combine three or four components. This becomes especially important for the remaining modules of the Space Elevator, which you’ll continue to expand after Tier 6.
Complete with:
200x Motor
200x Modular Frame
400x Plastic
1000x Cable
Completing this unlocks the Manufacturer, a machine that can now use up to four inputs at the same time and craft them into other parts. This enables more complex production lines, which you’ll soon be building.
You’ll also unlock matching recipes that matter in Satisfactory’s mid and late game. For example, you can now craft Computers, one of the key components in later recipes. You’ll need Plastic, Cable, and Circuit Boards, which are made from Plastic and Copper Sheet. For the Space Elevator, you’ll unlock two additional recipes for Modular Engines and Adaptive Control Units, both of which must be produced in the Manufacturer. The latter requires Heavy Modular Frames.
All in all, this section is crucial and sets new challenges for the productions ahead. You’ll also need some of these recipes for other categories in this tier.
Satisfactory Trains and Monorail: Optimize long-distance transport
Alongside the new recipes from the first section, unlocking Monorail Train Technology should be your next focus. You can even complete it earlier since it doesn’t require new materials. Trains are a highly complex aspect of Satisfactory, and it’s worth getting familiar with them early.
Complete with:
250x Motor
500x Encased Industrial Beam
1000x Steel Beam
1000x Steel Pipe
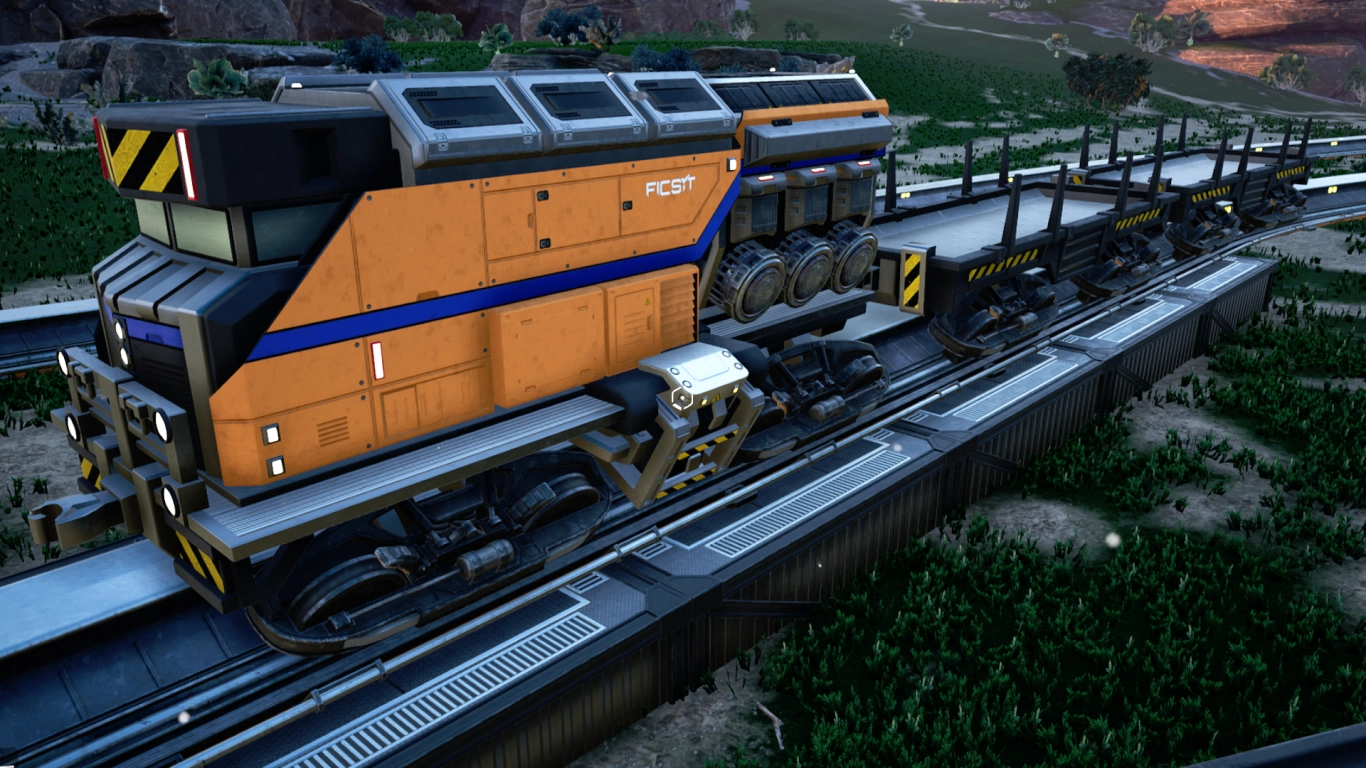
After sending these parts, you’ll unlock most of what you need for your rail network: Train Stations, Railway (tracks), and of course Trains themselves. At first glance, it can be overwhelming if you’ve only used conveyor belts or trucks so far. But trains and freight cars become increasingly important as your production scales, and they can cover long distances quickly and efficiently.
We’ll dive deeper into trains in another article, but fundamentally they can transport all solid items. For fluids, you’ll need to wait until Tier 8, where the Fluid Freight Car becomes available. Everything else can be moved across the map from Tier 6 onward using trains. You can auto-load and dispatch trains, which is incredibly convenient.
Satisfactory Rail Signals: Set up Block Signals and Path Signals
To make your rail system even more complex and efficient, you should use signals. They’re unlocked separately but are essential for anyone who likes working with trains in Satisfactory. You’ll need Industrial Manufacturing to craft Computers.
Complete with:
50x Computer
400x Steel Pipe
1000x Copper Sheet
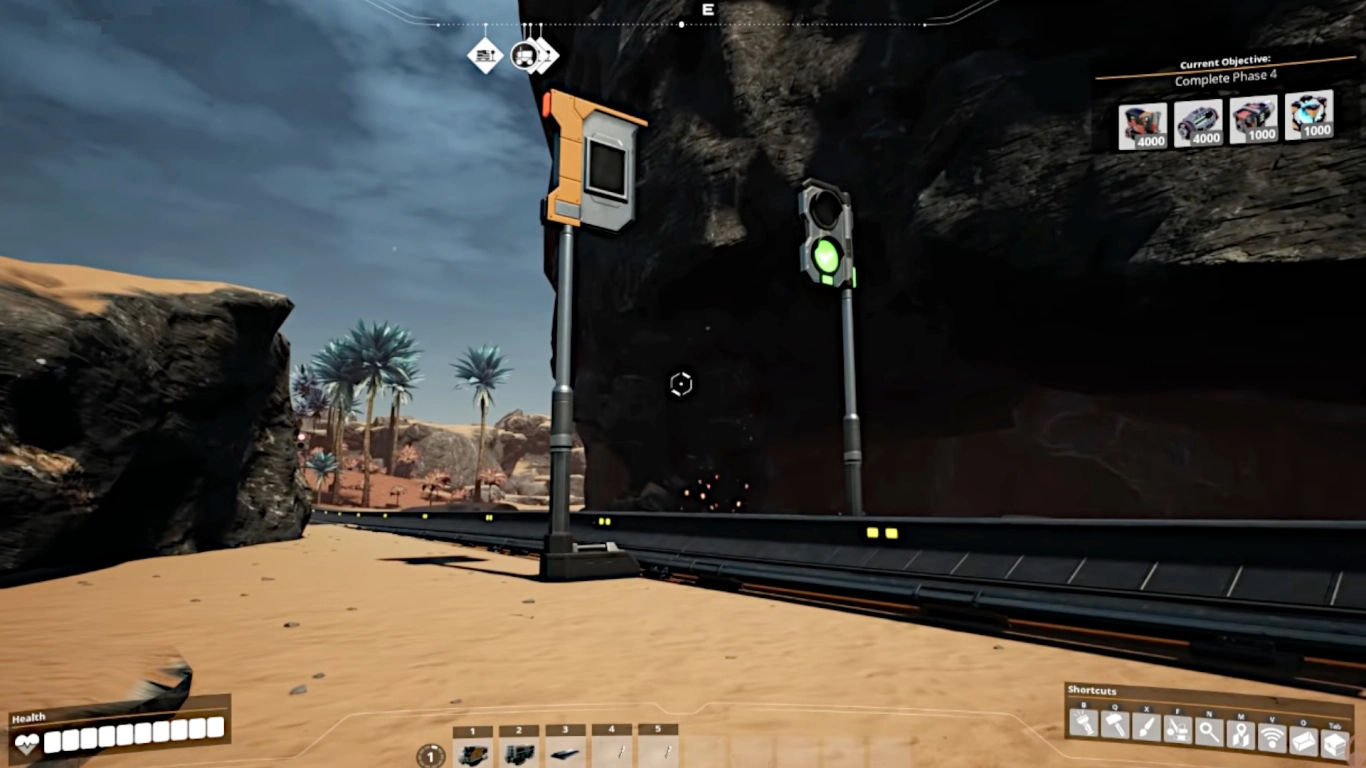
The Block Signals and Path Signals you unlock here are key components for expanding and organizing your rail network logically. Block Signals are the simpler option and ensure that only one train travels within a given block at a time. This lets you, for example, stop cars to load them. Path Signals are more complex and control bidirectional traffic and routes through junctions. You’ll need fewer tracks overall, but you’ll have to plan your signaling properly.
Signals become important on large rail networks that cross or have multiple routes split by switches/junctions. They let you control where and how trains move so they don’t block each other. For simple lines they aren’t strictly necessary, but they can still be helpful.
Satisfactory Pipeline Mk. 2: Higher throughput pipes and stronger pumps
With the new options from Tier 5 and producing Fuel from Oil, laying pipelines has become far more important. Now you can expand that system and improve efficiency.
Complete with:
50x Heavy Modular Frame
1000x Plastic
1000x Rubber
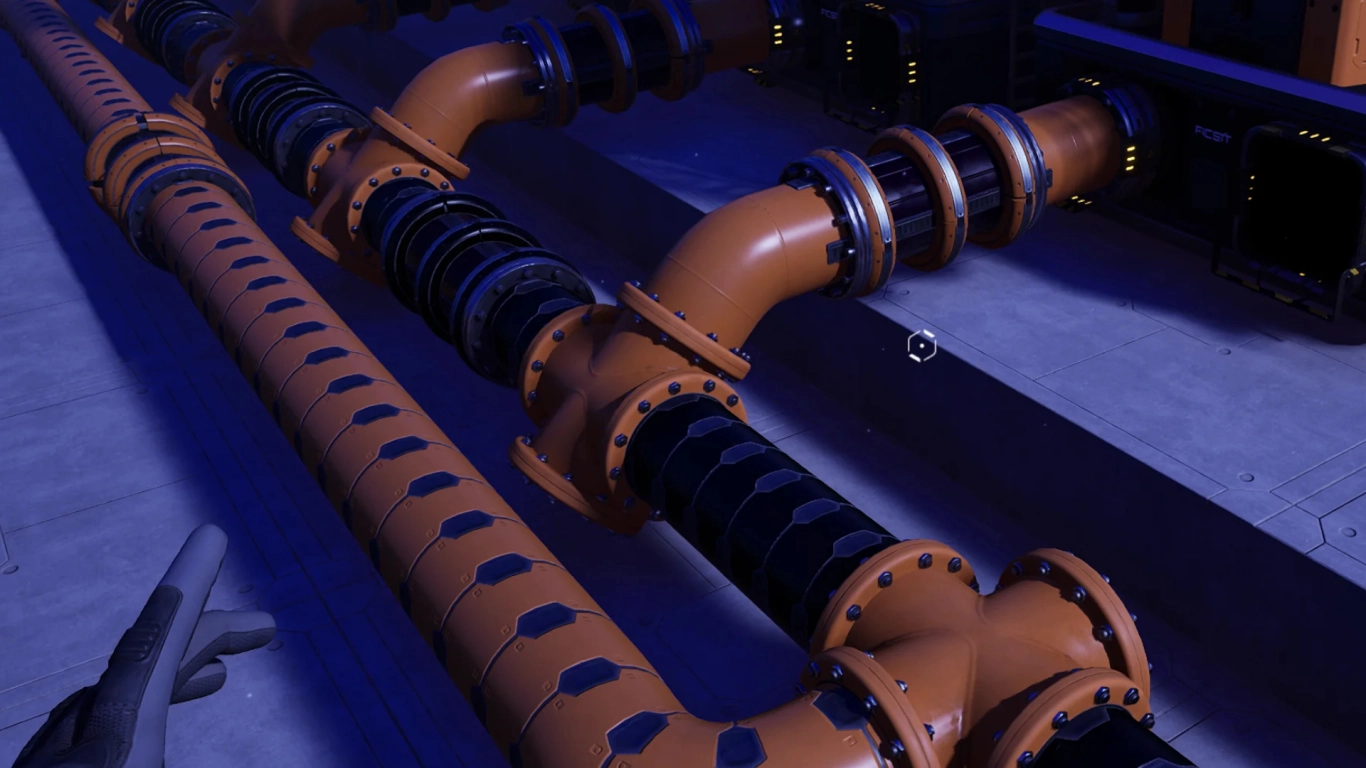
At first glance, this part of Tier 6 may not seem exciting, but the new pipes are extremely helpful for all future projects, especially regarding Fuel production. It’s also the only upgrade your pipelines get. Throughput increases from 300 to 600 m³/min, effectively doubling efficiency. And you can now use stronger pumps to move fluids uphill more effectively.
FICSIT Blueprints Mk. 2: Use larger blueprints in the mid-game
Lastly, Tier 6 unlocks an improved version of Blueprints. These give you even more space to save and replicate your designs.
Complete with:
100x Heavy Modular Frame
100x Computer
400x Rubber
1500x Concrete
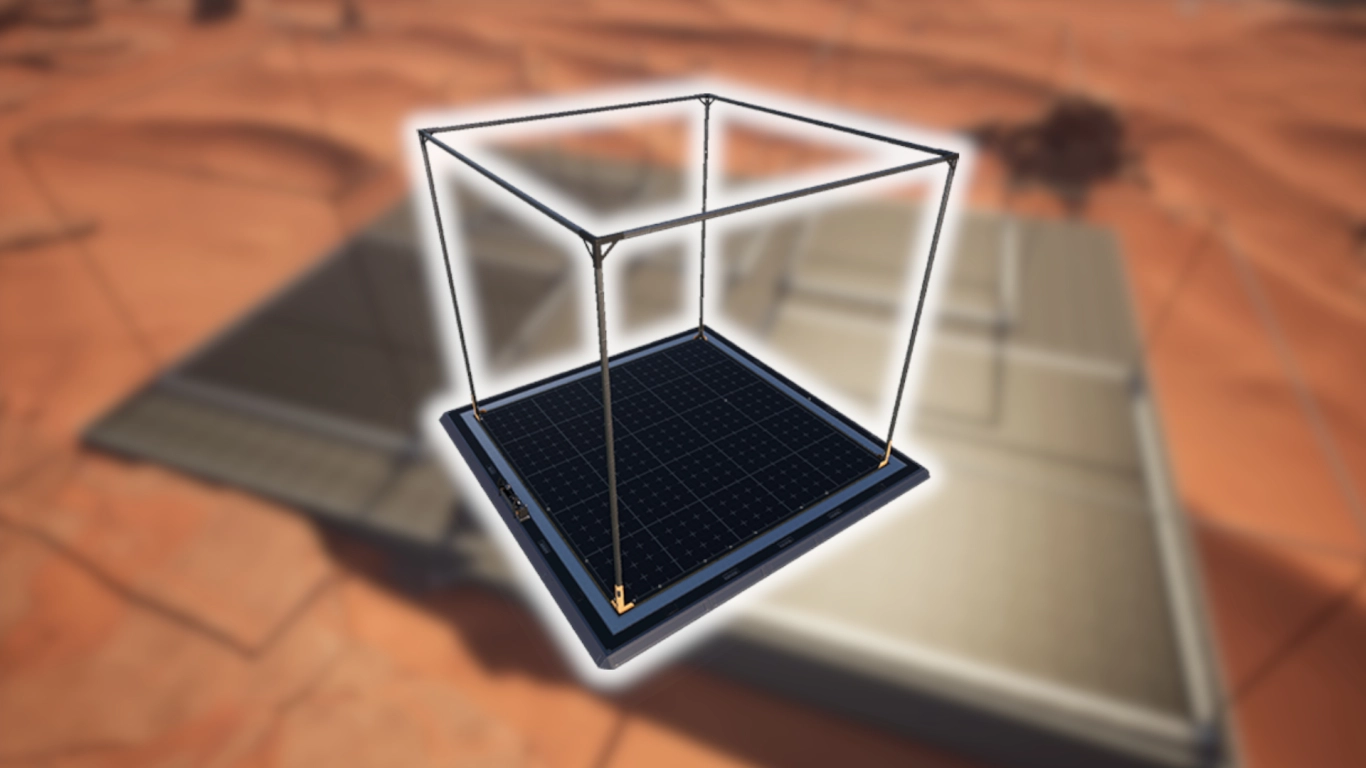
Since you need both Heavy Modular Frames and Computers, this category will likely be one of the last things you unlock. They aren’t necessary for everyone, but if you enjoy working with Blueprints, the larger area is a lifesaver. You now have 40 meters in every direction instead of just 32 meters with Mk. 1 to lay out your prefabricated designs.
Conclusion on Satisfactory Tier 6: Trains, pipelines, and blueprints in focus
Whether it’s the new trains or crucial components for the upcoming Space Elevator upgrade, Tier 6 brings many changes that can reshape your Satisfactory gameplay. There are also two great upgrades: one for pipelines and another for blueprints. Once you’ve mastered Tier 6, you’ve reached the mid-game and can focus on larger factories.
If you rent one of our Satisfactory servers, you can breeze through Tier 6 and immediately implement the improved features in your factories. Or play with friends and experiment together with trains and new blueprints.