After getting comfortable with many of the new Tier 2 features like the Assembler, the AWESOME Sink, and the Chainsaw, you’re ready for your next project. For Tier 3 and 4, you first need to start building the Space Elevator and at least complete Phase 1. That’s all that’s possible at this point anyway. Build the basic structure and finish the first phase—then you can dive into Tier 3! Here, everything revolves around coal, better materials, your first real exploration runs, and faster transport options across the map.
Coal power in Satisfactory: Efficient energy with water and Miners
Coal will become one of your most important resources because it lets you produce far more power to expand your factory. Once your Coal Generators are connected to the grid, you can significantly ramp up production compared to your earlier Biomass Burners.
Unlock cost:
- 150x Reinforced Iron Plates
- 50x Rotors
- 500x Cable
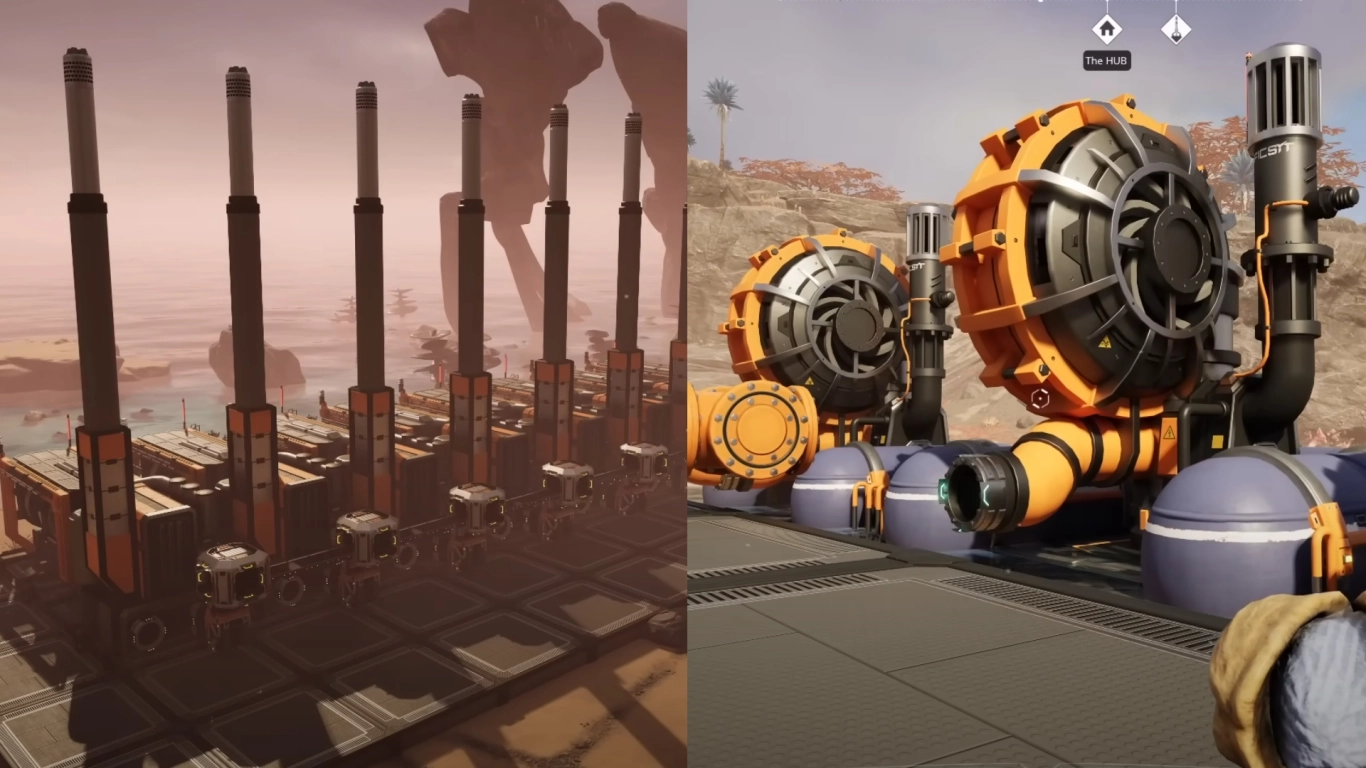
For your first coal power setup, pick the right location. We recommend building on the coast or near a deep water source, since burning coal requires not only the resource from underground but also water. Look for a spot with access to at least two coal nodes and water nearby. That will set you up nicely to expand your power network.
You’ll want to mine coal with a Miner Mk.2 to supply enough resources—this system should be familiar by now. Water is a bit trickier. You’ll need to build Water Extractors, which can only be placed in deep water. They float on large pontoons and can push water through pipelines over long distances.
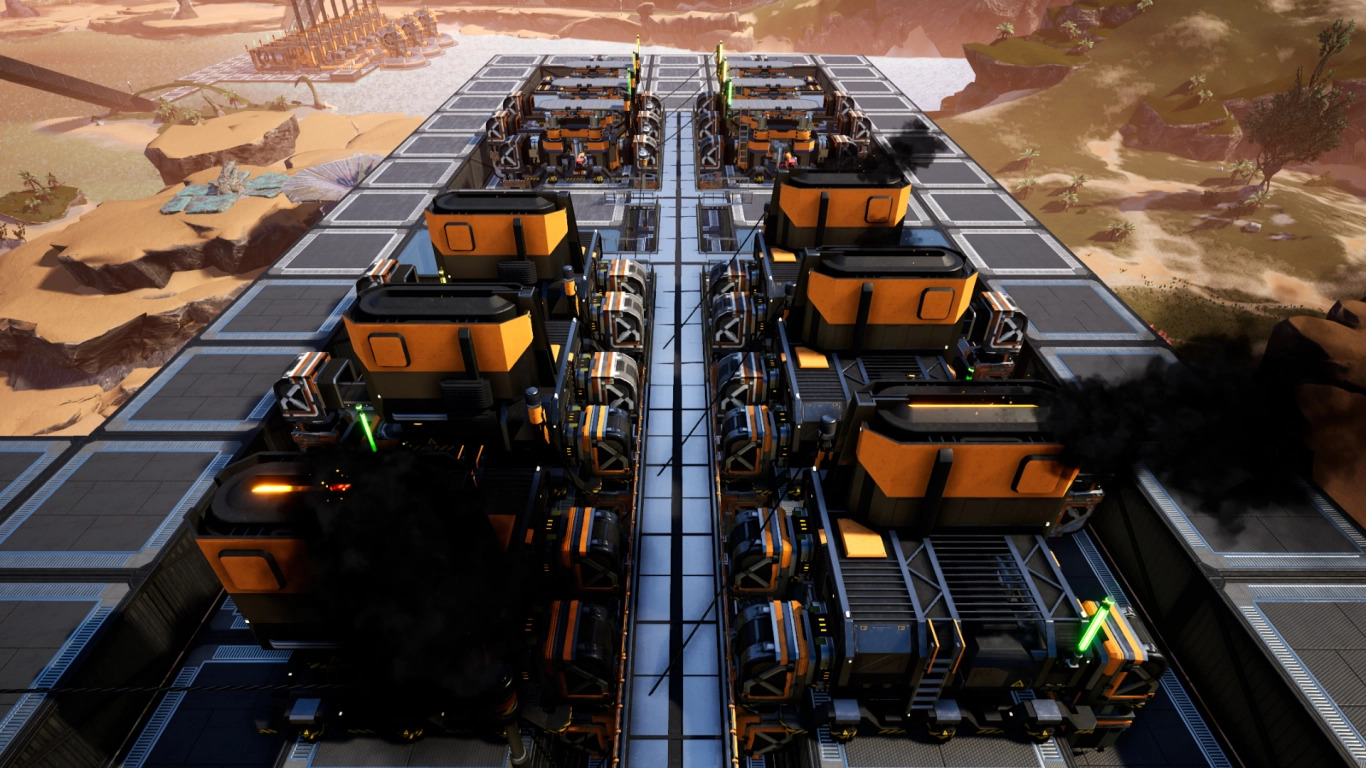
To start, build around five generators, depending on your needs. Each one produces 75 MW, more than double the 30 MW from Biomass Burners. You can dismantle those or repurpose them elsewhere.
Pro tips for stable coal power:
- Plan for water demand: Each Coal Generator needs a steady water supply. Use multiple Water Extractors and distribute water to the generators.
- Watch elevation changes: Place Pipeline Pumps on inclines to keep flow stable.
- Use split supply lines and separate power circuits with their own breakers to prevent total outages if coal or water runs short.
- A Miner Mk.2 on a normal coal node provides plenty for multiple generators—scale logistics cleanly with Conveyor Belts and Smart Splitters.
Automating truck transport: Routes, stations, and fuel management
In this milestone, you unlock the Truck, which helps you move resources over long distances. You also get a few extra inventory slots!
Unlock cost:
- 25x Modular Frames
- 100x Rotors
- 200x Cable
- 400x Iron Plates
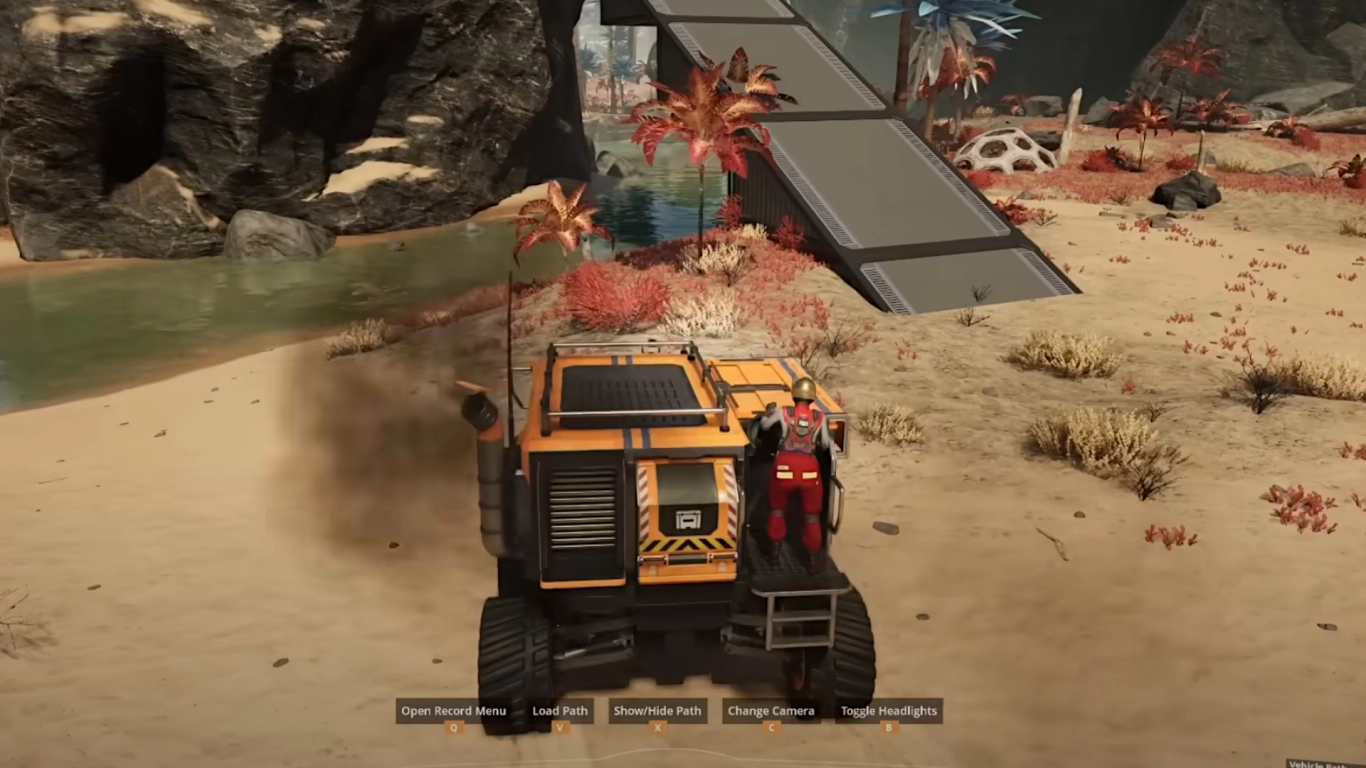
With trucks unlocked, you can drive them yourself or run them automatically. Both are handy for connecting distant outposts or while scouting for resources.
Using the Truck Station, you can link stations and create routes. Stations can load and unload trucks when transporting specific materials. Record the route once by driving it yourself and stopping at each station, then switch the truck to Autopilot.
Keep in mind trucks consume fuel, so they aren’t completely free to run. Weigh whether an endless chain of Conveyor Belts is costlier than a truck doing the job. Both are valid transport methods, and trucks are often underrated! Stations can refuel your truck automatically—just ensure there’s enough fuel available.
Starting steel production: Foundry, steel beams, and steel pipes
Steel is one of the most important resources for the mid- to late-game and unlocks with Tier 3. It’s a new foundational material that can be processed into many other items.
Unlock cost:
- 50x Modular Frames
- 150x Rotors
- 500x Concrete
- 1000x Wire
At this Tier 3 step, you unlock the Foundry, a new building that improves on the Smelter. It lets you produce alloys by combining two ores into a new material. For steel, that’s a combination of coal and iron ore.
From the resulting Steel Ingots, you can craft various items, but the two most important are Steel Beams and Steel Pipes. We recommend a setup with two Foundries and two Constructors producing these parts directly. You’ll need both beams and pipes for a ton of recipes in upcoming milestones. Use a Smart Splitter to divide Steel Ingots—beams require slightly more ingots than pipes. You can then craft Versatile Frameworks from Steel Beams, though you’ll also need Modular Frames.
Practical tips for clean steel setups:
- Keep input balance (iron + coal) steady so Foundries don’t stall.
- Plan enough conveyor capacity and use buffer storage (Containers) to smooth out fluctuations.
- Later, consider Alternate Recipes (e.g., using Petroleum Coke) to relieve bottlenecks and improve efficiency.
Safety and exploration: Xeno-Basher and inventory upgrade
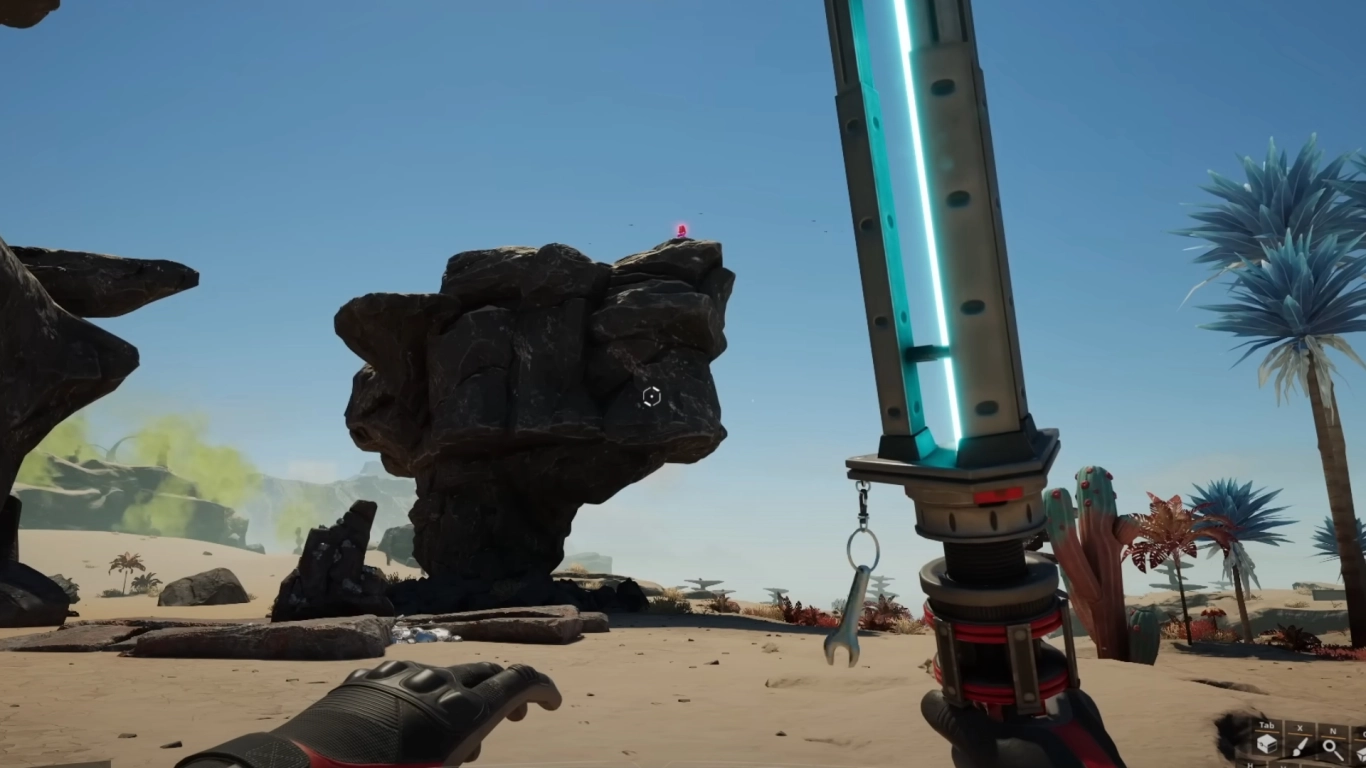
The final Tier 3 step focuses on defense and is perfect for your first serious exploration of Satisfactory’s world. You’ll unlock the Xeno-Basher, your first real weapon! Plus, you get a few more inventory slots, which are always welcome.
Unlock cost:
- 100x Reinforced Iron Plates
- 600x Iron Rods
- 1500x Wire
The Xeno-Basher is used for defense against hostile creatures. The planet’s fauna isn’t exactly friendly to newcomers—you may have been attacked already. You can set creatures to Passive in the options, though that’s not the intended experience.
Crafting:
- Xeno-Basher: 5x Modular Frames, 25x Iron Rods, 500x Wire, 2x Xeno-Zapper
- Xeno-Zapper (each): 10x Iron Rods, 2x Reinforced Iron Plates, 15x Cable, 50x Wire
Craft the Xeno-Basher at a HUB Craft Bench—now you’ve got a reliable weapon for self-defense. For longer trips, bring medkits and later protective gear (e.g., Gas Mask) when available.
Conclusion: Mastering the Tier 3 milestones
With the first Space Elevator phase complete, you can move into Tier 3, where the focus shifts to deeper automation and new resources. Generate more power than ever with Coal Generators and kick off steel production! You can cover long distances with trucks and take on the wilds with the Xeno-Basher.
All in all, Tier 3 is a key milestone that’s especially fun with friends. Rent one of our Satisfactory servers and dive into the game’s coal age together!
More interesting articles
Satisfactory Tier 2 Guide: Assembler, Chainsaw & Logistics
Satisfactory Tier 1 Guide: Expand Your Factory, Power & Logistics
Satisfactory Tier 4 Guide: Blueprints & Logistics Mk. 3