The further you progress in Satisfactory, the more important it becomes to keep your resources organized—both the ones you gather and the ones you manufacture. At the same time, you unlock more buildings and features that help you do exactly that. Satisfactory offers many flexible storage systems that adapt to your playstyle. In the end, you’ll choose what works best for you—what matters is understanding all the mechanics. So let’s look at your options and how to integrate them smoothly into your playthrough.
Satisfactory storage organization: General tips & best practices
First, a look at foundational strategies everyone should use. Decide early what kind of storage setup you want to build. The sooner you commit, the easier it is to sort out all factories and production lines later.
The key decision is whether to build a central storage room or pull the key items directly from your factory’s production sections. Both methods are valid, but they emphasize different systems. A central storage is very tidy but time-intensive to set up. Decentralized lines are integrated right where you need them, but your travel time can be longer. There’s no right or wrong—use the system you enjoy most. You can also combine both approaches.
More general storage tips:
- The entire map was divided into an invisible grid with version 1.0. Hold Ctrl to snap buildings magnetically and keep a perfect alignment.
- The AWESOME Sink unlocks signs. Use different sizes, colors, and icons to label areas and read item flows faster.
- With Tier 4 you unlock Blueprints. Save built storage segments and duplicate them for consistent, scalable factories.
- Plan for access and maintenance routes: rooms, corridors, lifts, and labeled junctions save time.
- Watch your throughput: Conveyors must match your production rate (e.g., Mk.1 ≈ 60/min, Mk.2 ≈ 120/min, Mk.3 ≈ 270/min, Mk.4 ≈ 480/min, Mk.5 ≈ 780/min). Align container outputs accordingly.
Satisfactory storage types: An overview of storage solutions
Satisfactory gives you many ways to organize items the way you want. Know every system and look for upgrades that can improve your logistics.
Inventory management in Satisfactory: Slots, favorites, hotbar
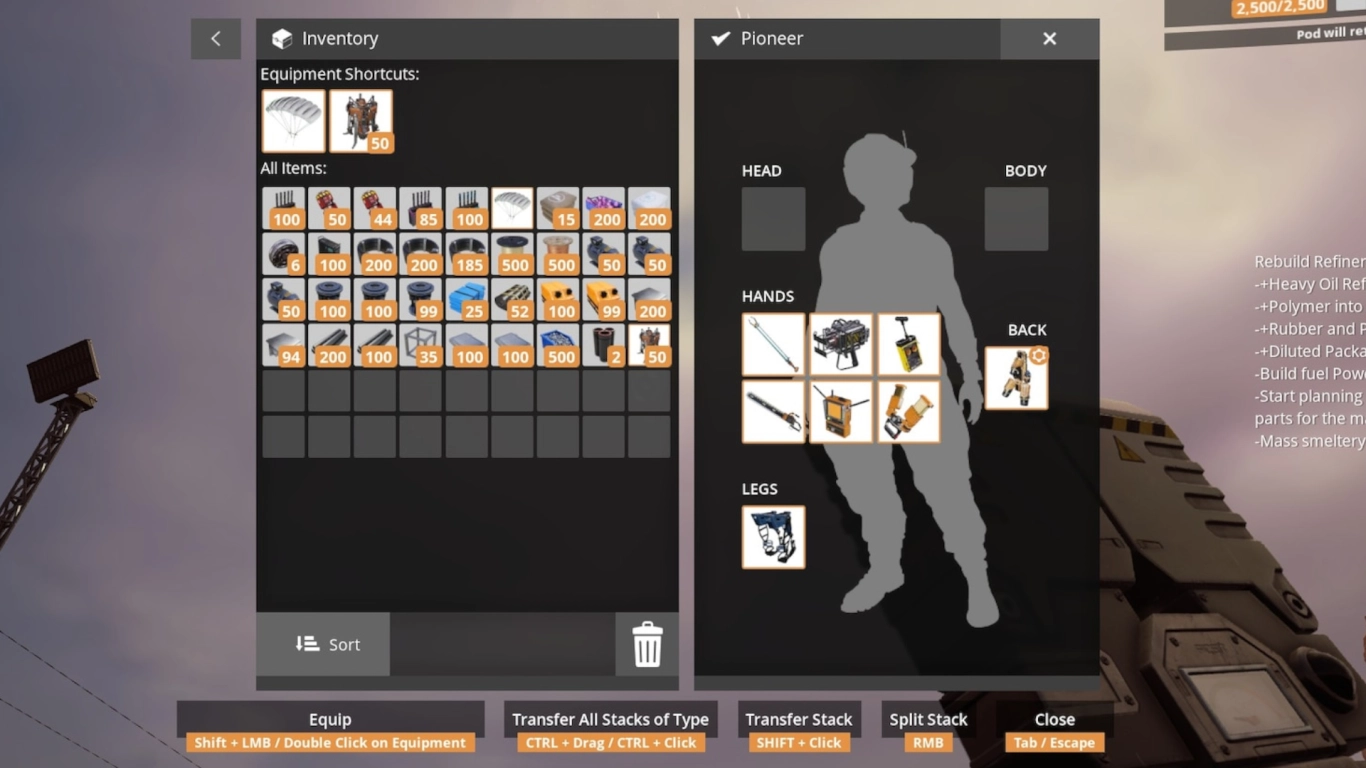
Your inventory is always with you. At first, slots are tight, but as you progress you unlock more space—from 18 up to 78 slots. Keep an eye on upgrades via milestones (tiers), in the MAM, or through hard drives.
Useful functions to keep your inventory tidy:
- Favorite: Flag important items so they stand out in a quick-access strip at the top.
- Quick access (1–0): Put tools and frequently used items on the hotbar (usable outside the build menu).
- Sort & stack: Use auto-sort and carry only building materials and survival gear to avoid clutter.
Personal storage box in the HUB: Efficient early-game storage
With Tier 1 “Field Research,” you unlock personal storage boxes. In Tier 0, you already get a stationary box at the HUB. Later you can build more boxes and stack them on shelves. They offer 25 slots and are ideal for exploration finds and rarely used items that don’t feed directly into production lines.
Pro tips:
- Label boxes with signs (via AWESOME Sink/Shop). Use clear names and colors, e.g., raw materials (blue), components (yellow), finished goods (green).
- Keep emergency sets in your HUB box: healing items, fuel, building materials, and spare tools.
Find more details on signs, shop items, and coupons here: (Satisfactory AWESOME Sink & Shop: How to farm coupons fast) .
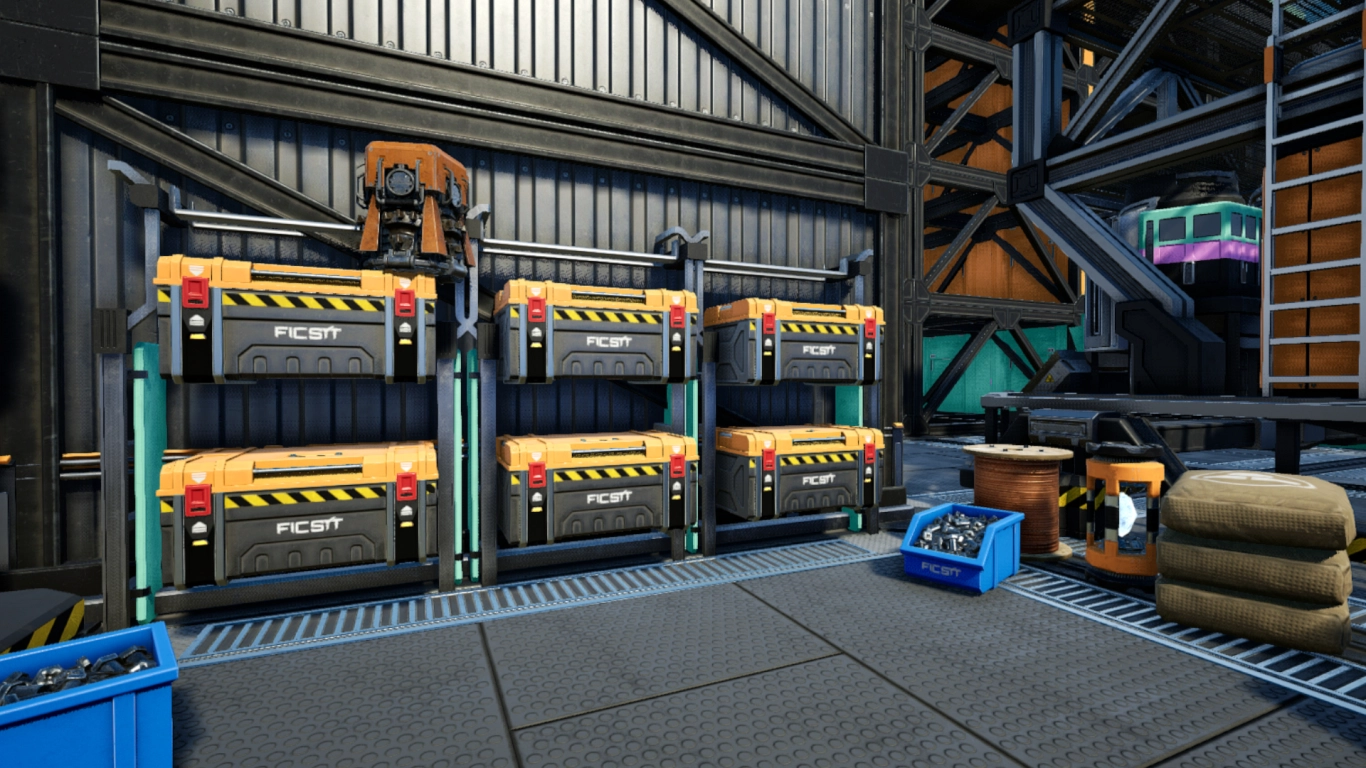
Storage Containers & Industrial Storage Containers: Efficiently storing finished goods
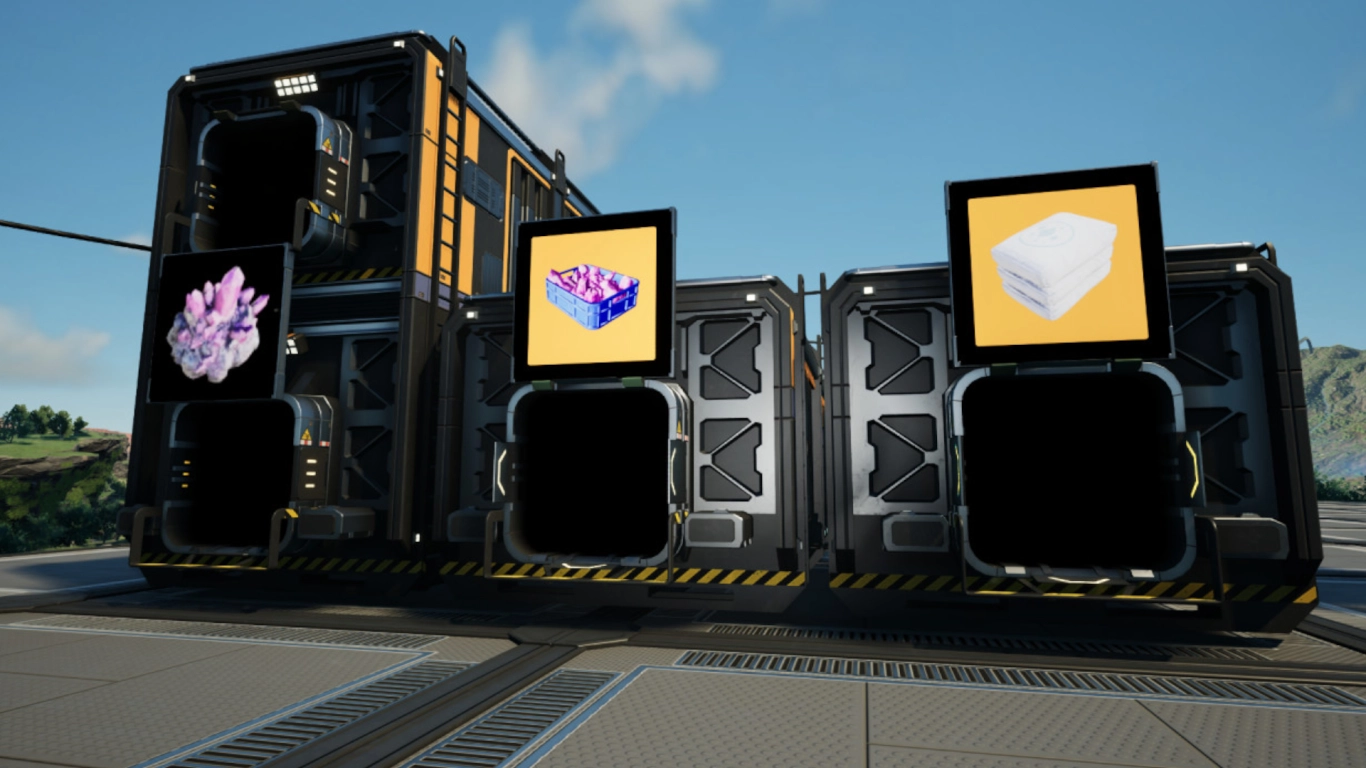
Storage Containers are the most efficient way to buffer and collect manufactured items. You unlock them in Tier 0. Place them at the end of a production line so finished goods converge at a central point. A standard Storage Container has 24 slots; stacking creates vertical storage.
With Tier 4 “Logistics Mk. 3,” Industrial Storage Containers become available. They’re twice as large, offer more capacity, and feature two inputs/outputs to move goods faster. Use them for mass products or resources you need constantly.
Best practices:
- Use Smart Splitters and Programmable Splitters to automatically divide surplus (e.g., Storage A, Storage B, Sink).
- Keep an overflow channel to the AWESOME Sink to prevent belt jams.
- Color-code conveyor belts and container rows to visualize material flows faster.
Fluid Buffers (pipelines): Storing water, oil, and fuel
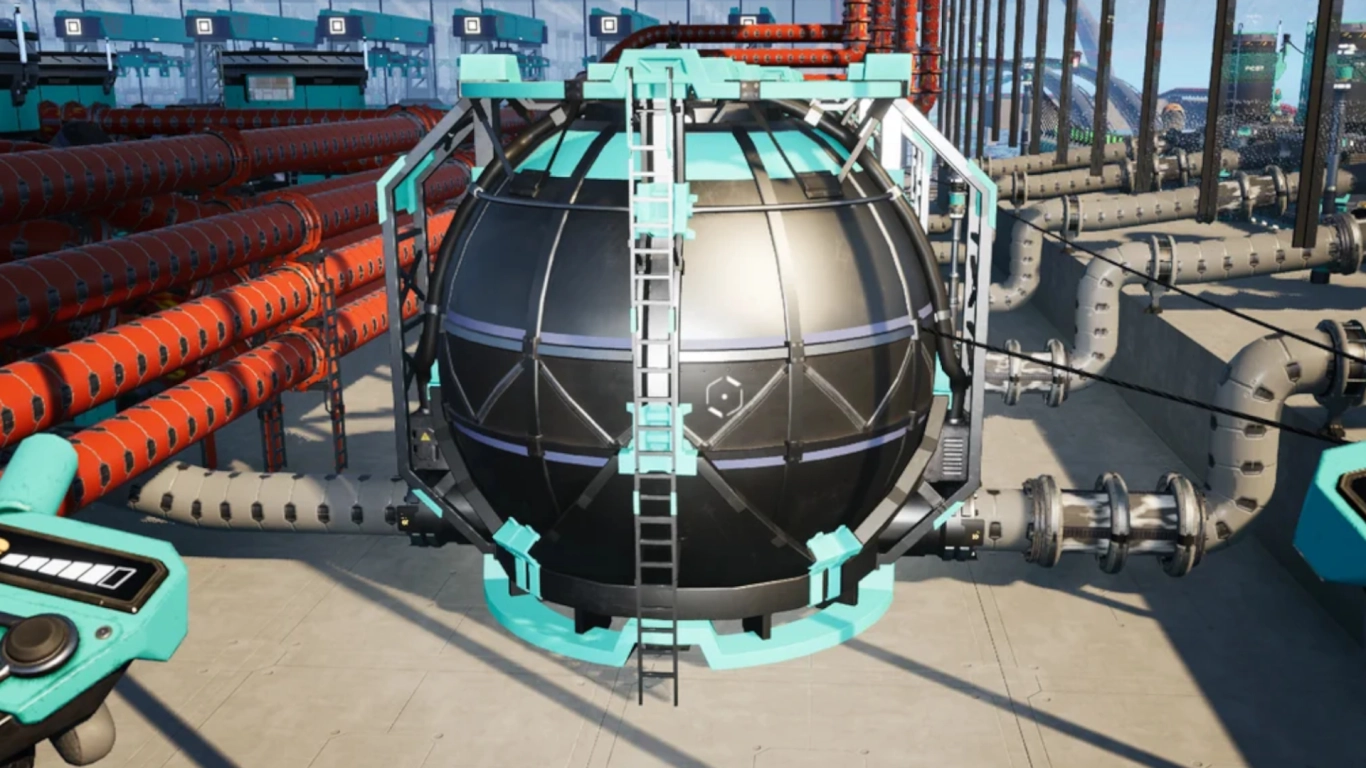
For fluids, there are Buffers (tanks), unlocked in Tier 3. You can temporarily store water, crude oil, heavy oil residue, fuel, gaseous products, and more. The standard Fluid Buffer holds about 400 m³, the Industrial Fluid Buffer about 2400 m³.
Tips for stable fluid networks:
- Use Valves and Pipeline Flow Indicators to control directions and rates.
- Add Pumps for elevation changes and ensure sufficient throughput with the pipeline Mk tiers.
- Use Fluid Buffers as shock absorbers so production spikes don’t stall your entire line.
Dimensional Depot (cloud storage): Access resources anywhere
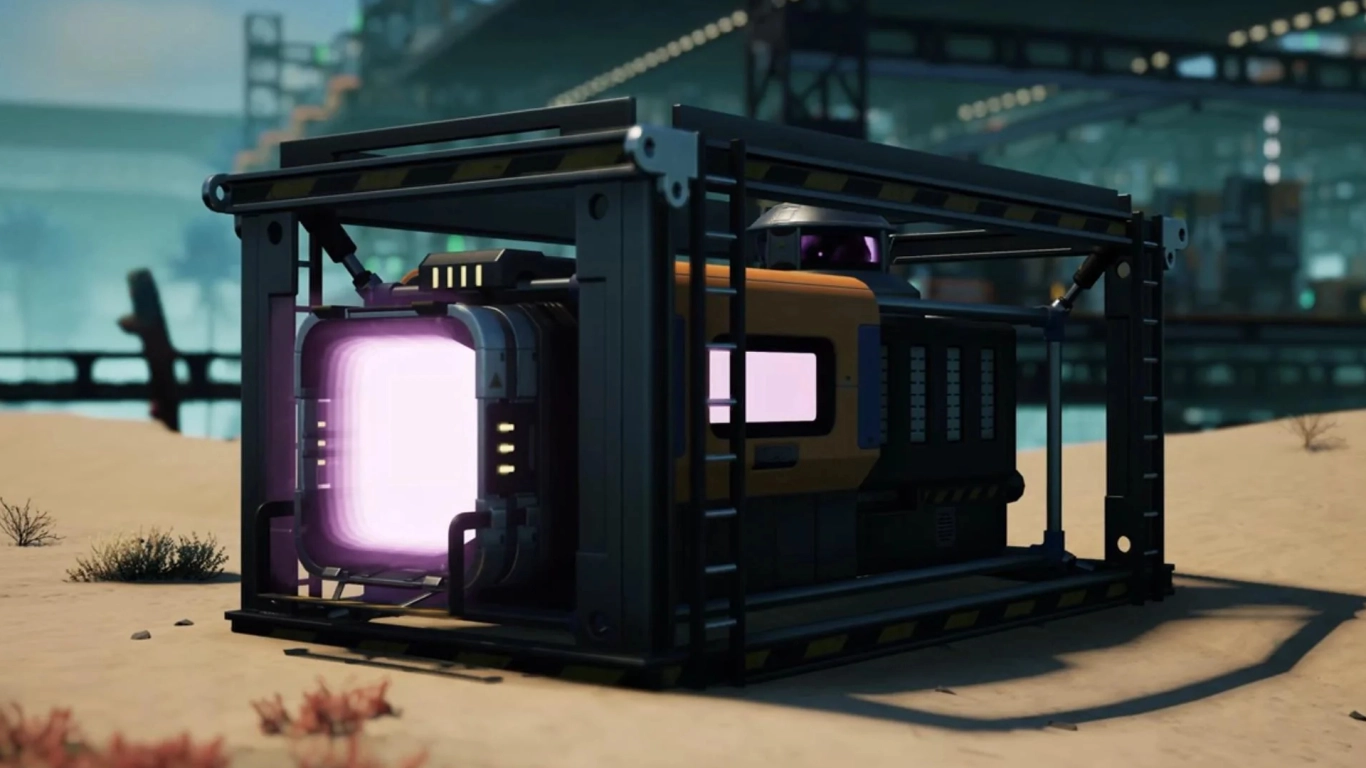
The Dimensional Depot (Update 1.0) is one of the strongest storage options. Think of it as cloud storage: once uploaded, resources can be accessed from your inventory at any time.
Unlocks and upgrades:
- Research Alien Technology in the MAM. You’ll need Mercer Spheres (rare, look like tiny black holes) and SAM (“Strange Alien Matter”) found in the world.
- Improve storage capacity and upload speed via MAM upgrades.

How to use the depot efficiently:
- Build the depot like a container; anything that flows in gets uploaded to the cloud.
- Unlock the manual uploader to send items directly from your inventory.
- Choose whether building pulls resources from your inventory or the depot.
- Combine the depot with Containers and Smart Splitters to auto-send excess to the cloud while keeping a physical buffer on-site.
Pro tip: Flag critical components (e.g., Rotors, Motors, Computers) for cloud upload so you can kick off build projects anywhere without hauling materials first.
Conclusion: The best storage system for Satisfactory
In Satisfactory, having constant access to key resources is crucial. Set up a clearly structured storage system early—so you always know where to find what. With signs, blueprints, containers, fluid buffers, and the Dimensional Depot, you’ll stay organized and scale production cleanly. The Dimensional Depot in particular is extremely handy. Work toward it as early as you can.
You can also play on one of our Satisfactory servers and explore the world with friends. A well-organized storage setup ensures everyone works from the same baseline and can collaborate efficiently: https://www.4netplayers.com/en-us/gameserver-hosting/satisfactory/
More interesting articles
Satisfactory Tips: 8 Pro Tricks for Organization, Planning, and Shortcuts
Satisfactory Transport Guide: Conveyor Belts, Vehicles, Trains, and Hypertubes
Satisfactory Tier 4 Guide: Blueprints & Logistics Mk. 3
Satisfactory: Decor, Lighting, and Building Methods for a Beautiful Factory
Satisfactory Guide: Best Starting Area for Beginners and Veterans