Back in the day, a small beach hut might have been enough for your Minecraft world. Today, you need much larger builds to house everything that matters. Thanks to YouTube, it’s the mega bases that are especially popular. They don’t just look impressive — they bundle all the essentials your world needs. But putting up something this big can be exhausting. Many players give up before they’ve truly started. So let’s take a closer look at the build process to make it easier to stay on track and actually finish your base.
Minecraft Mega Base: Definition, scale, and structure
In Minecraft, a mega base is an oversized build that serves as the main anchor point of your world. It brings together all key functions: storage, farms, portals, villager trading, and transportation. “Mega” is flexible, but generally refers to builds that are significantly larger than typical projects — taller, wider, or both.
A mega base can be a single self-contained structure or a collection of themed builds that form a cohesive whole. What matters is that it feels internally consistent, follows clear design lines, and remains functional.
Choosing a location: The best biome for your mega base
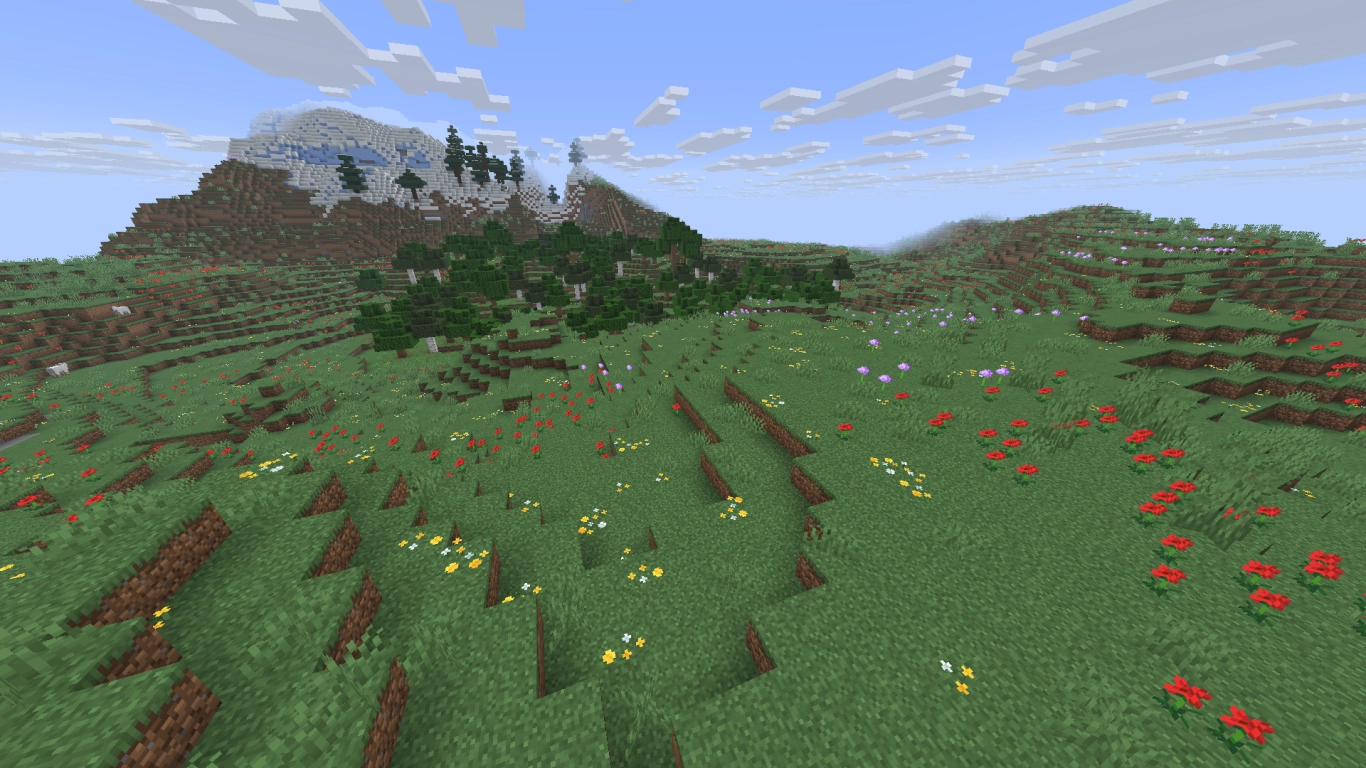
If you’re building in Survival, location is crucial. You’ll be spending a lot of time there, and efficiency matters. The build can also reflect the biome theme. A pyramid looks out of place in snowy mountains, but perfect in the desert.
Keep these points in mind when picking a spot:
- Which blocks do I need, and are they nearby?
- What resources surround me (wood, stone, sand, clay, iron ore, coral, etc.)?
- Do I like the view, and does the biome match the theme?
- Do I have enough space for expansion, paths, and decoration?
- How much terraforming will it take, and is it worth it?
- Chunk alignment: Plan large Redstone farms to be chunk-safe.
- Nether access: Short routes via a Nether hub save tons of time.
- Spawn-proofing: Prevent mob spawns (e.g., with carpets, slabs, buttons).
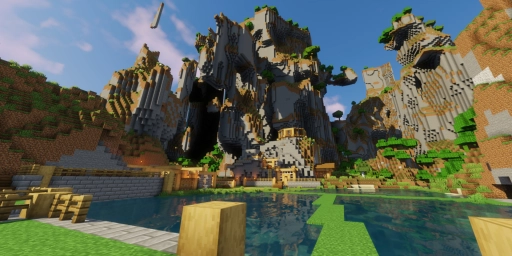
A very practical spot is a mushroom island: lots of space and no hostile mobs. However, terraforming can be demanding there. It also helps to enable Large Biomes when creating your world to get more uniform landscapes for big themes.
Design and build styles: How to plan your mega base
Inspiration: Real-world, games, and shows
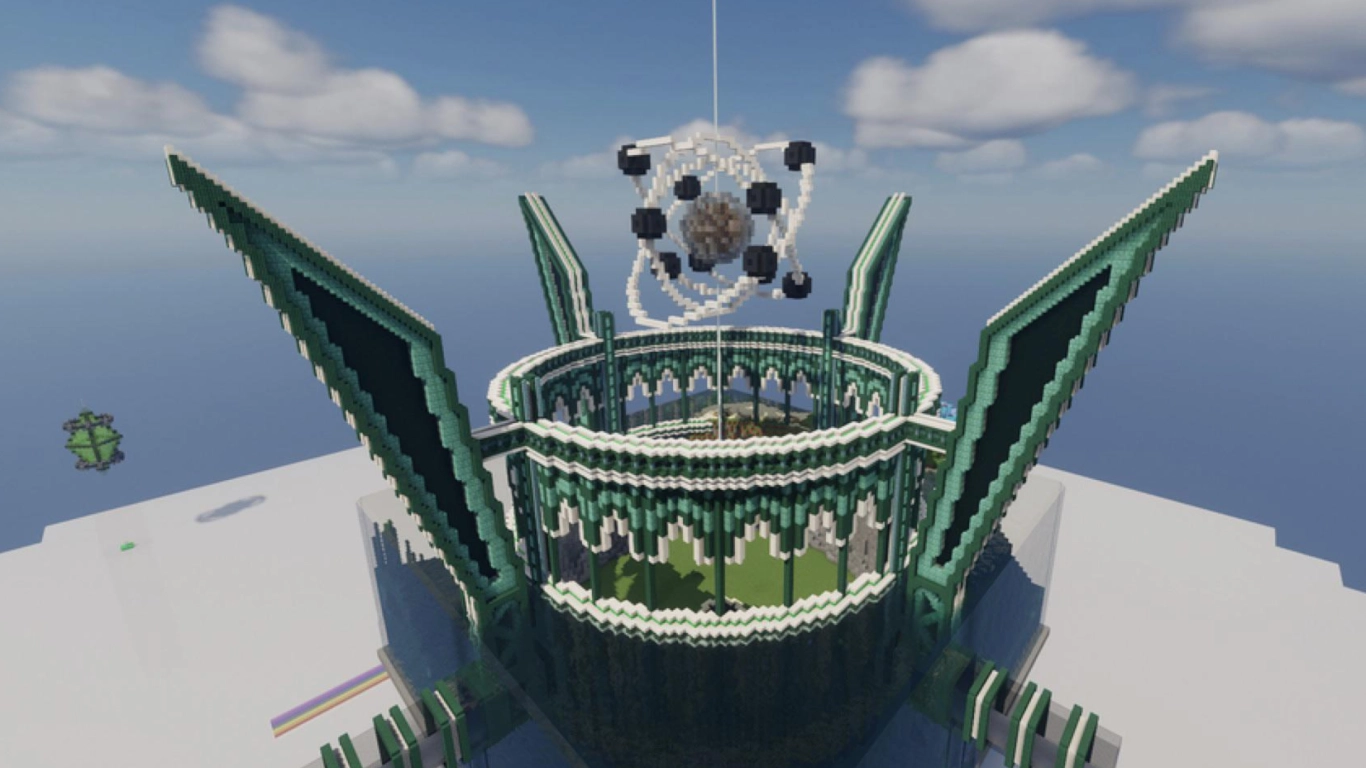
Ideas can come from anywhere: real architecture, games, shows, or your own imagination. Example mega bases:
- Underground cave base
- Large walled city (e.g., inspired by Attack on Titan)
- Space station in the End
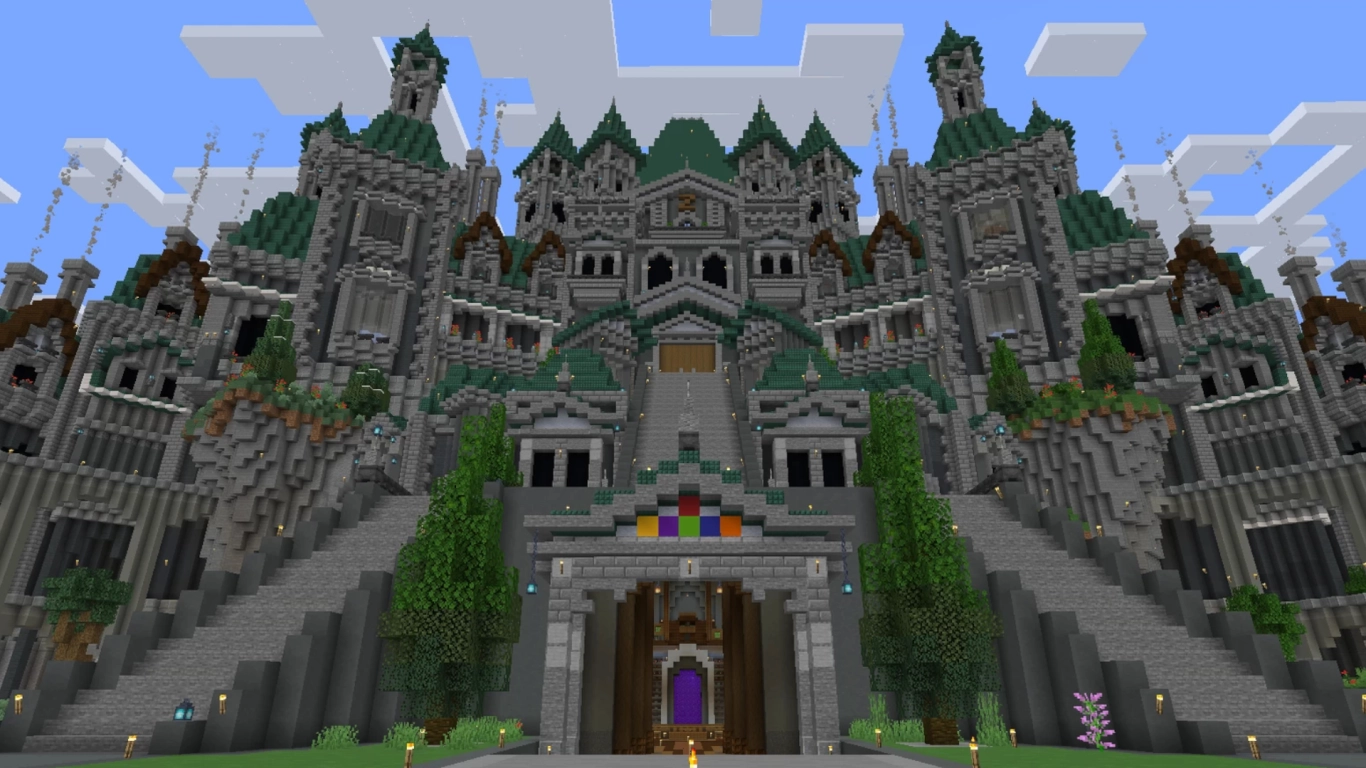
- Massive castle (e.g., Hogwarts)
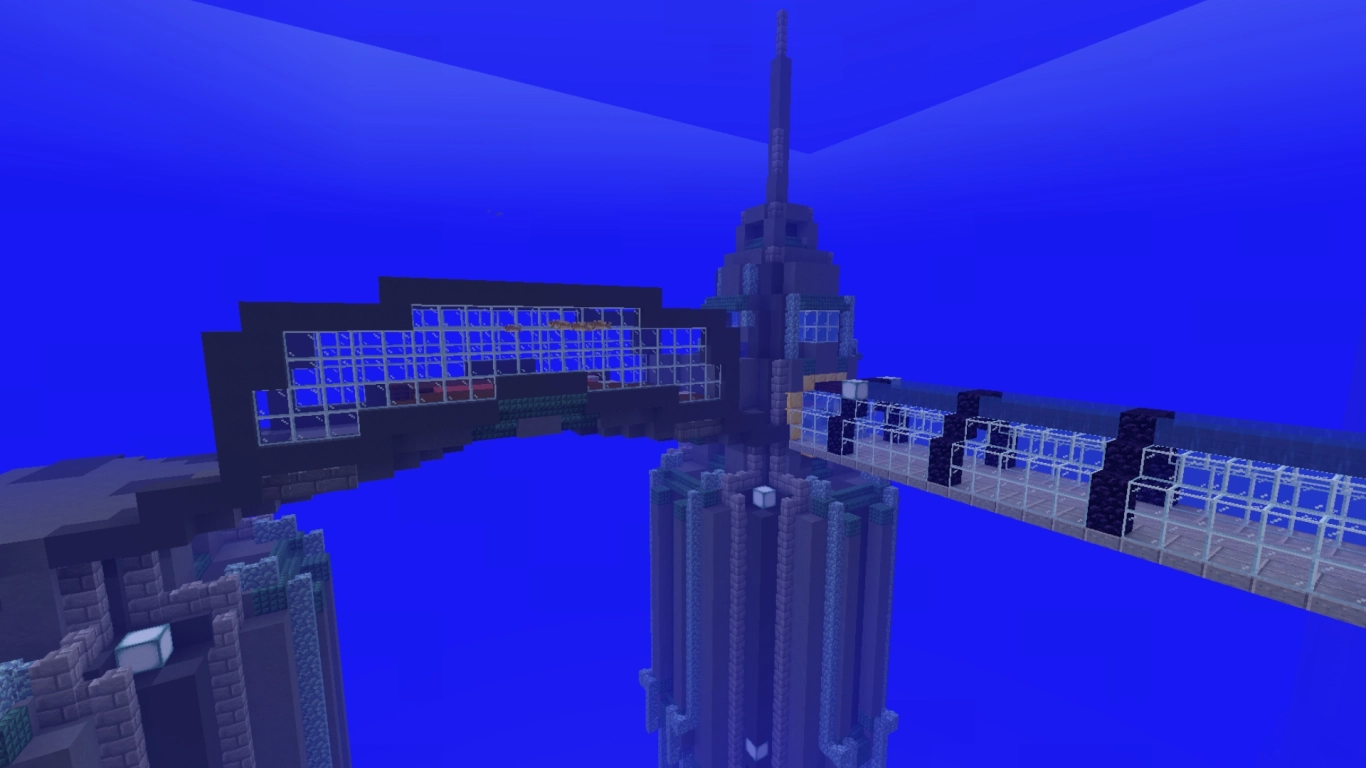
- Underwater base (e.g., BioShock’s Rapture)
- Giant pirate ship or tanker
- Pyramid or temple complex
Define and stick to a clear style, such as medieval, steampunk, sci‑fi, or organic forms.
Planning in Creative: Block palette, layout, and tests
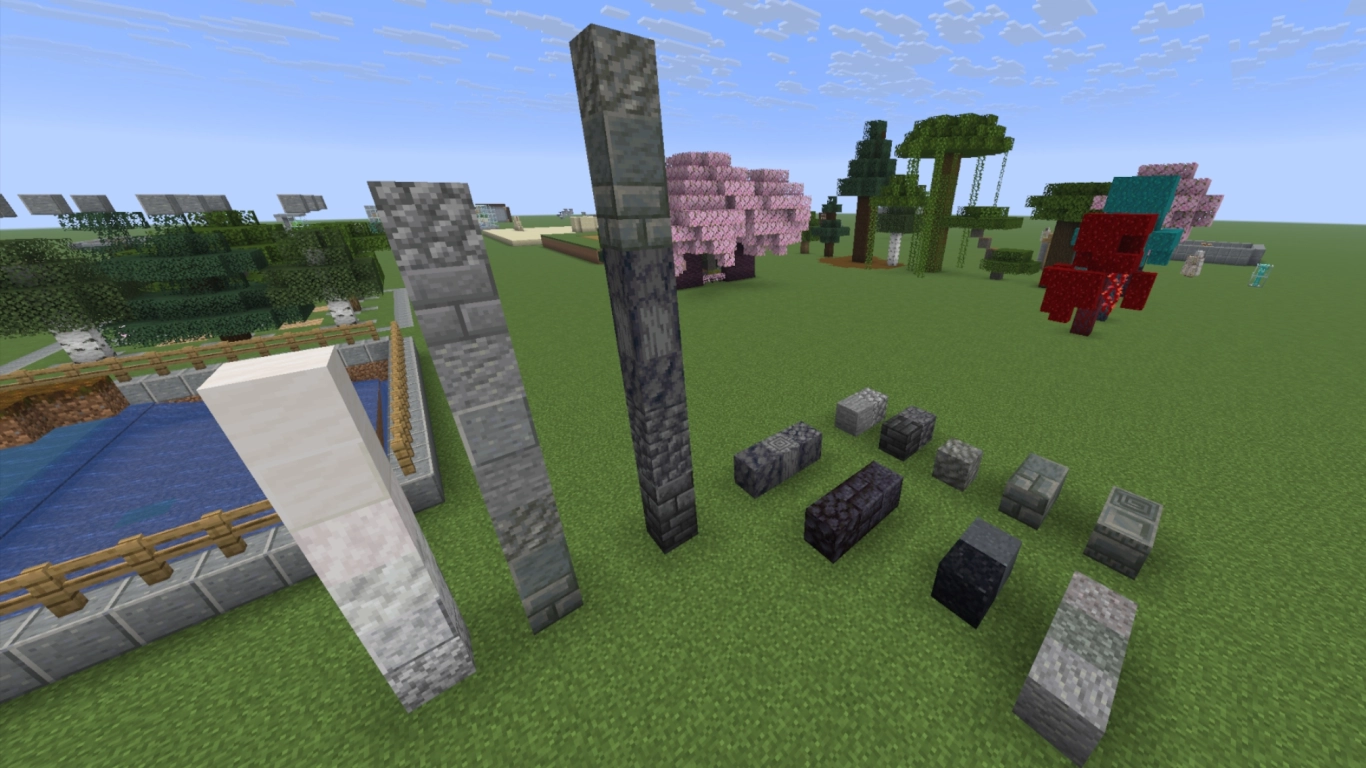
Before you jump into Survival, prototype ideas in Creative. It helps avoid frustration and tearing things down. You don’t have to plan every detail, but a clear block palette, design language, and rough layout are musts.
In Creative, plan and test:
- Block palette and materials (contrast, depth, light sources)
- Base size and proportions (scale, sightlines, pathing)
- Style and techniques (detail density, facades, roof shapes, lighting)
- Footprint and site plan (courtyards, modules, farm zones, portals)
- The best location in a copy of your world
- Optional tools: schematics and projections (e.g., Litematica), WorldEdit on test servers
Tip: Test early material-gathering routes and set up a beacon as soon as possible to speed up mining. Shulker boxes streamline logistics and switching worksites.
Aesthetics vs. function: Uniting layout, farms, and tech
As with many builds, order matters. With a mega base, the trick is to combine looks and function. Make a list for both, prioritize, and work step by step.
- Aesthetics: Repeating forms, supports, cornices, lighting, vegetation
- Function: Farms (iron, food, mobs, wood, villager trading), transport, safety
- Wayfinding: Short routes, clear signs, fast travel via Elytra or ice-boat highways
- Performance: Chunk-align farms, use efficient Redstone, avoid unnecessary entity stacks
- Safety: Plenty of light, spawn-proofing, secure Nether routes
Storage hall and item sorting: The heart of your mega base
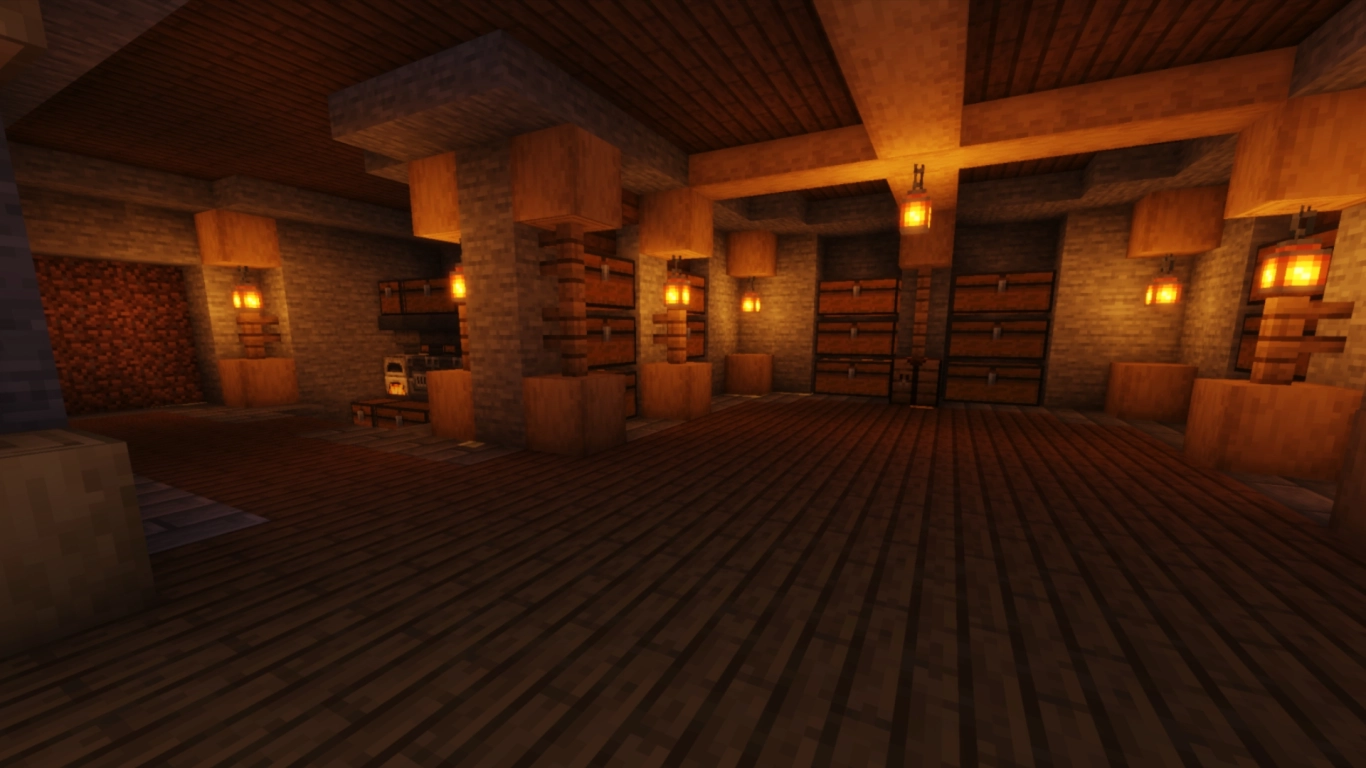
Start with a large storage hall — often the most important area of your mega base. Plan for more chests and modules than you need at first so the storage feels imposing and can grow with you. Consider:
- Automatic item sorters with hoppers, droppers, observers, and water streams
- Bulk input for mass items and a quick‑deposit line for loot runs
- Clear categories (blocks, decor, Redstone, food, mob drops, Nether/End, dyes, wood types)
- Expandability via additional wings or lower levels
- Central workshop: anvil, crafting tables, enchanting, brewing stand, Ender chest, bed, map room
Long-term motivation: Finishing big projects in Minecraft
Big projects take time — motivation is key. Many players build their mega base in modules and let it grow organically.
These ideas help you stay motivated:
- Break the project into small milestones (e.g., storage complete, north facade, villager hall)
- Work on multiple areas in parallel for variety
- Celebrate wins: screenshots, map updates, timelapses
- Use new updates as inspiration and integrate new features
- Stay flexible: Accept mistakes and rework parts that don’t fit
- Take breaks and return with fresh eyes
Conclusion: Build your Minecraft mega base successfully
Mega bases are striking builds that combine aesthetics and function. With solid planning, clean logistics, sensible farms, and a well-thought-out storage system, you can tackle even very large projects. Split the work into manageable steps and blend creativity with efficiency.
Our recommendation: rent a Minecraft server to build together. It’s more fun as a team, you can split tasks, and your different styles will spark new ideas.
More interesting articles
Minecraft Interior Design: 8 Pro Tips for Decor & Layout
How to build a modern house in Minecraft: Materials, tips, and ideas
Minecraft Megaprojects: 12 Build Ideas for Your World
Minecraft Shelves: Storage, Redstone Tricks, and Hotbar Swaps