If you think the worst is over because you survived Day 1, welcome to the reality of 7 Days to Die. The real challenge starts now. The game isn’t called that for nothing—on Day 7, the horde comes. And it will find you. No matter where you are. Whether you like it or not.
This article is about how to go from a clueless survivor to a somewhat prepared fortress builder—and why there’s still no guarantee you’ll make it through the night. But hey: we’ll get through it together.
7 Days to Die Blood Moon rhythm: time management up to Day 7
7 Days to Die has a simple but brilliant mechanic: every 7 days a massive horde attacks your base—at night, when it’s most dangerous. That means you have exactly one week to prepare. Sounds like a lot? It isn’t. Days are short, the to-do list is long, and zombies get a little more active every day.
The goal is simple: Survive the Blood Moon. But to get there you need to…
- Gather resources
- Loot everything you can
- Build a base
- Arm yourself
And ideally not starve or get torn apart by a wolf in the process.
Pro tips for time management:
- Place a Bedroll early to set your spawn point.
- Mark good loot spots on the map and plan routes for the next day.
- Collect wood, stone, iron on the side—every minute counts.
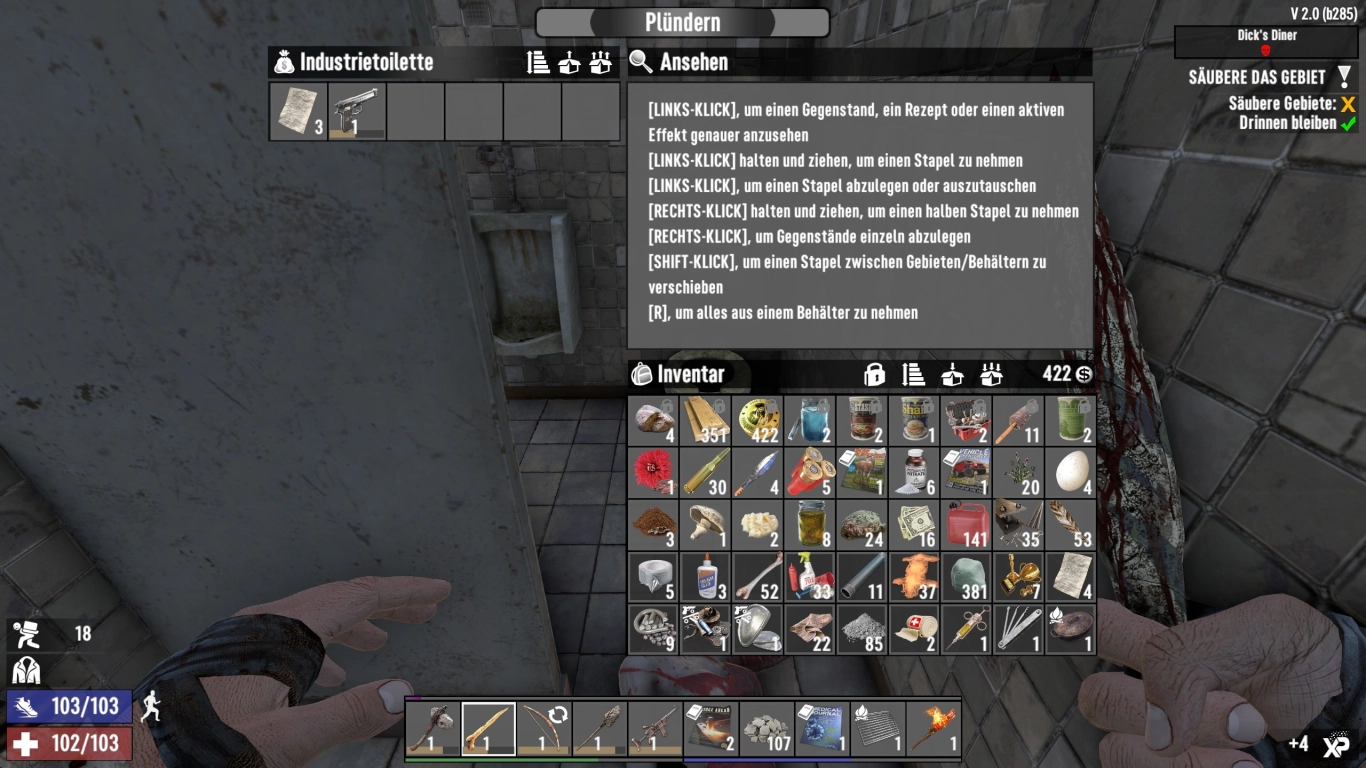
Looting in 7 Days to Die: efficient routes and best finds
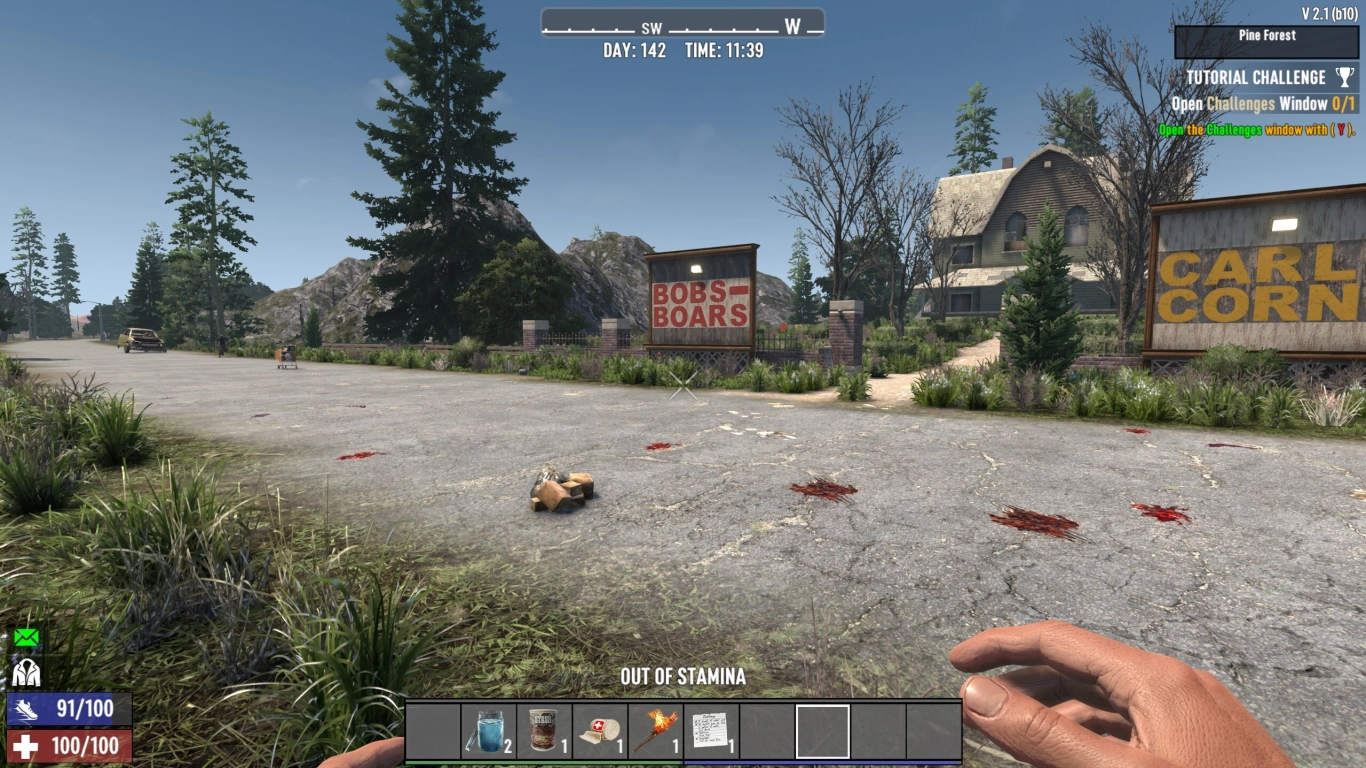
No matter how much you gather, it won’t feel like enough for Day 7. So use every chance to get loot—especially:
- Toolboxes, gun racks, medicine cabinets
- Safes (with patience or a sledgehammer)
- Cars: Dismantling often yields engines, batteries, gasoline
- Bird nests: Feathers and eggs (ammo + food)
- Refrigerators, ovens, and pantry cabinets—food
And most important: never leave a bookshelf unchecked! Schematics and skill books are your key to progress.
Pro tip: Always bring lockpicks or some candy (e.g., Jail Breakers) when you find them—they save time and resources when opening safes.
Best beginner loot locations in 7 Days to Die
Not all buildings are equal. Here are a few places that are especially worth it (and doable without getting eaten right away):
- Trailer parks: Lots of containers, weak zombies, quick to clear
- Gas stations: Workbenches, tools, often solid loot
- Shops (Shotgun Messiah, Working Stiff Tools): Jackpot! But usually well-guarded
- Houses with basements: Often hide stash rooms
- Barns or farms: Great source of food, animals, and building materials
Avoid skyscrapers, hospitals, or military camps in week 1—they’re a bit too much for now.
Pro tips:
- Break down cobblestone pallets and cement bags: free upgrade materials.
- Remember quest paths in POIs: Trader quests reset buildings—double loot!
The best perks in week 1: skill up for the Blood Moon
Every skill point is worth gold. You can rely on what you find—or become the maker yourself. That only works with the right skills.
In week 1, these perks are especially strong:
- ‘Sexual Tyrannosaurus’: Less stamina use for actions
- ‘Pummel Pete’: More blunt weapon damage—perfect for the club and baseball bat
- ‘Pack Mule’: More inventory slots = longer runs
- ‘Master Chef’: Cooked meals keep you going (e.g., bacon and eggs)
- ‘Grease Monkey’ (later): Enables vehicle crafting
Spread your points early—specialization comes later. For now it’s all about surviving and being an all-rounder.
Also useful:
- ‘Healing Factor’ or ‘Pain Tolerance’ for better survivability.
- ‘Daring Adventurer’ for better trader rewards.
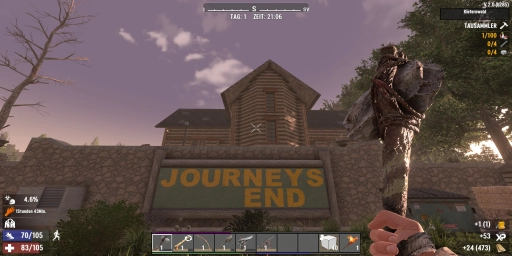
Building a Blood Moon base: must-haves for Day 7
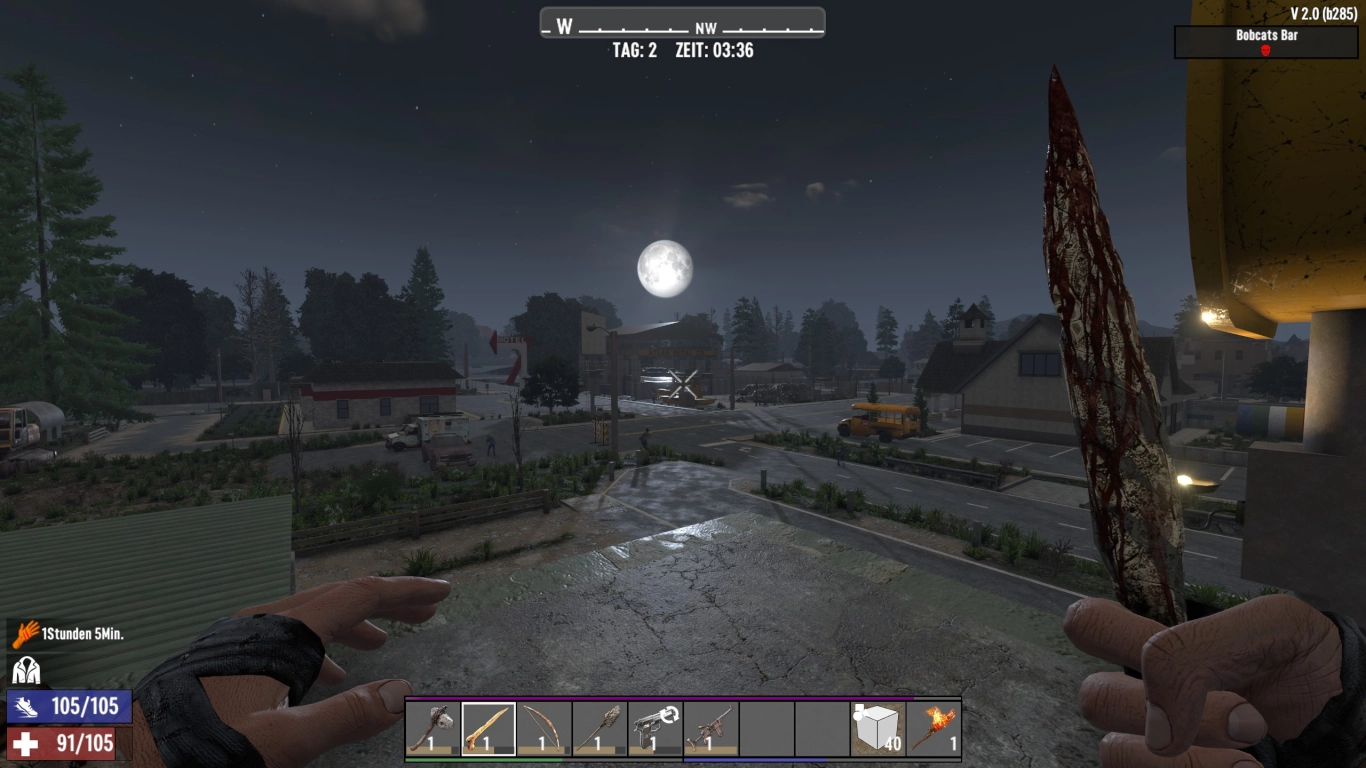
If you don’t have a functioning base by Day 7, you’re in for a very short game. Here are the basics, without complex trickery:
- Elevated platform or tower: Zombies can’t fly (yet). Height is your friend.
- Access via ladder or ramp: Remove it during the attack so zombies can’t climb up.
- Spikes: At least slow the hordes down.
- Solid doors and walls: No flimsy walls—use wood, cobblestone, or better.
- Light: It’s pitch-black at night. A flashlight helps—but power is better (e.g., generator + spotlights).
Tip: Don’t keep your base on the ground. Elevated builds or bridges help a lot. Zombies attack from below—so make sure you’re above them.
Quick build checklist:
- Carry plenty of Frame Shapes and build/modify on the fly.
- Upgrade wood → cobblestone; concrete comes later.
- Place a Land Claim Block (optional) and Bedroll.
Weapons by Day 7: realistic gear and ammo
Many newcomers hope for shotguns or pistols—but realistically your arsenal will look more like this:
- Club or baseball bat: Your best friend—repairable, quiet, strong
- Primitive bow or crossbow: Great for stealth—just slower
- Pipe pistol or pipe rifle: Clunky, but some firepower—if found
- Molotovs: Perfect for groups caught on your spikes
- Spear: Not for everyone, but handy for throwing
You’ll need ammo. A lot. Use the Blood Moon smartly—you don’t have to kill everything, only survive. Aim for headshots and save expensive ammo for emergencies.
Pro tips for gear:
- Always carry repair kits (duct tape + forged iron).
- Wear clothing with pocket mods for more inventory slots.
- Keep healing on hand: bandages, first aid kits, honey for infections.
Common beginner mistakes in 7 Days to Die
- Roaming around at night—unless you love thrills and respawns.
- Building your base too late—there’s no pause button!
- Ignoring the trader—their quests help you progress.
- Dumping all skill points into one thing—all-rounders survive.
- Thinking “it’ll be fine”—no, it won’t. Plan ahead.
7 Days to Die in multiplayer: benefits, roles, server tips
7 Days to Die is not only more fun in multiplayer, but also easier—if you do it right:
- Split roles: one builds, one loots, one cooks.
- Defend the base together.
- Make shared progress—e.g., with the trader.
- On your own server (e.g., with 4Netplayers) you can set how tough you want it to be.
And let’s be honest: when the sky turns red at 10:00 PM and the zombies start sprinting, it’s comforting to not be completely alone in a dark tower.
Conclusion: survive the Blood Moon with planning
The first week in 7 Days to Die is a crash course in survival. The game tests your nerves, your planning, and how you handle stress. And that’s exactly the appeal.
The horde on the seventh day will come—and it will demand everything from you. If you’re prepared, it’s a thrill with goosebumps guaranteed. If you mess it up, it’s a short, brutal restart. But that’s 7 Days to Die: ruthless, honest, yet fair. Rent your 7 Days to Die server and try to survive the first Blood Moon.
More interesting articles
7 Days to Die 2.0: Beginner’s guide to your first hours
7 Days to Die 2.0: Secure Base-Building Guide
7 Days to Die 2.0: Traders, Quests, Reputation & Strategies