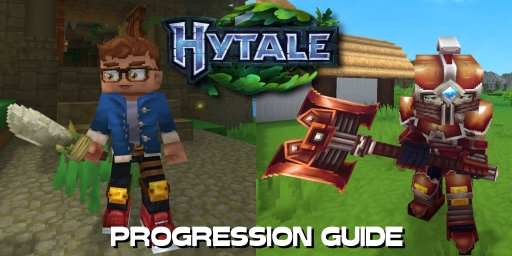
Even in the pre-release, there’s a lot to experience in Hytale! The game is extensive and lets you follow a clear progression to grow stronger. Many aspects are tied to your workbenches, as well as to resources you’ll discover over time. This gives you a constant roadmap toward your next goal. We’ll look at the order in which you should tackle tasks. This may change during Early Access, but the core progression should stay similar. By the way, there’s currently no ending!
Getting started in Hytale: Resources, shelter, and the Forgotten Temple
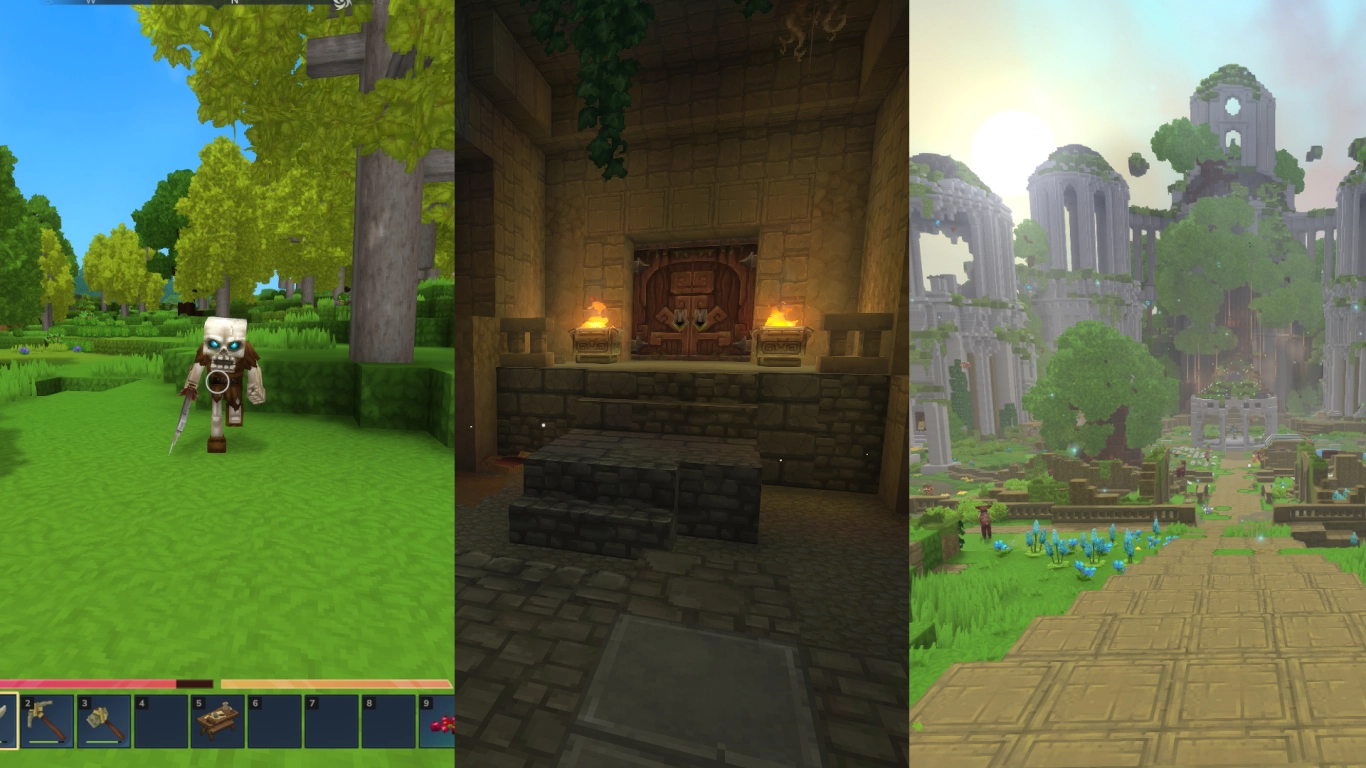
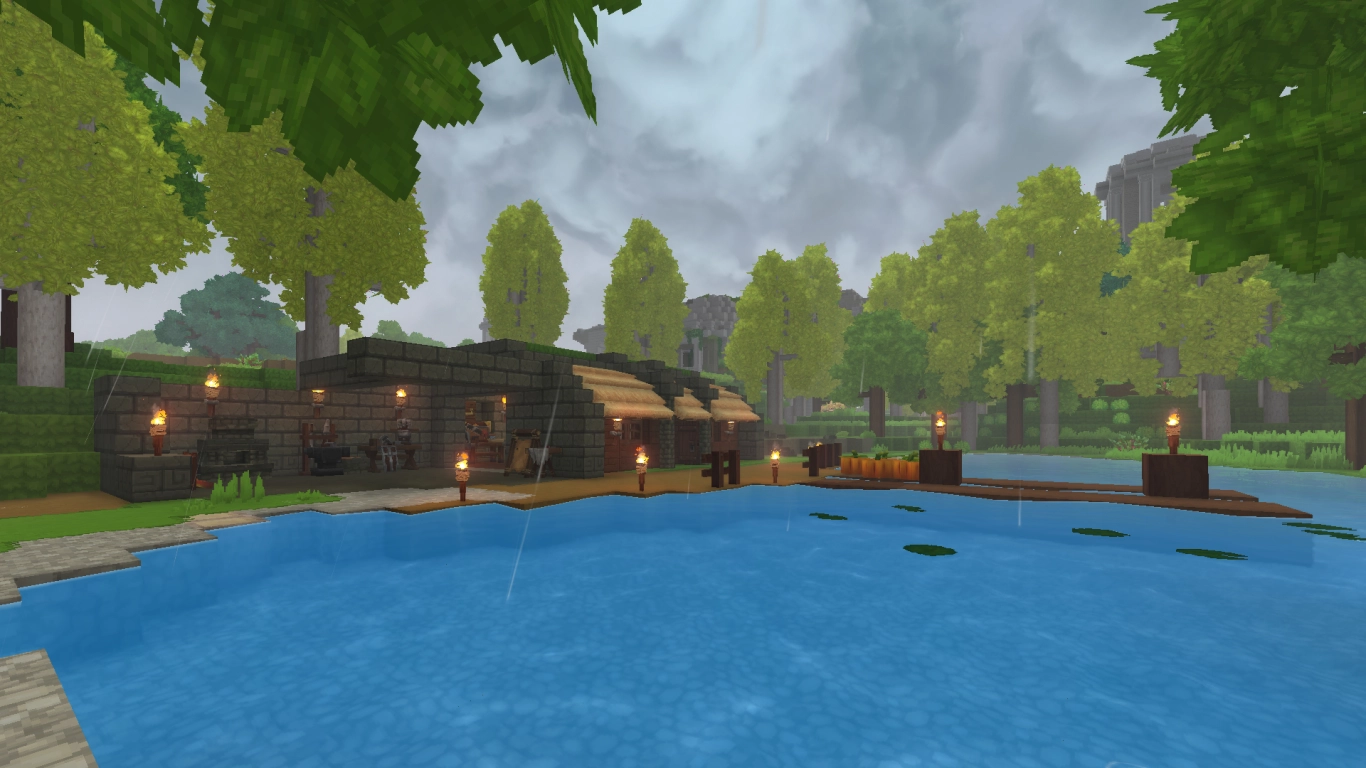
In Hytale, you awaken in a small temple that has seen better days. Step through the door into the wide world and start exploring right away!
First, gather key resources: sticks, fibers, and loose stones. In your inventory, craft your first tools (Crude Hatchet and Crude Pickaxe) and weapons (Crude Sword). Then chop some trees and mine a bit of stone to craft a Workbench.
Hytale has a day-night cycle, but monsters (e.g., skeletons) also appear during the day. At night, stronger monsters emerge, so find a safe shelter. Your spawn area works well, or build a small hut. With a Crude Bedroll, you can skip the night.
Next, head to the Forgotten Temple, marked on your map with a swirl. Defeat or ignore the golem in the basement and step through the portal. This unlocks Memories (Find Hytale Memories: Locations, Tips, and Rewards) .
Hytale caves guide: Finding copper and your first iron
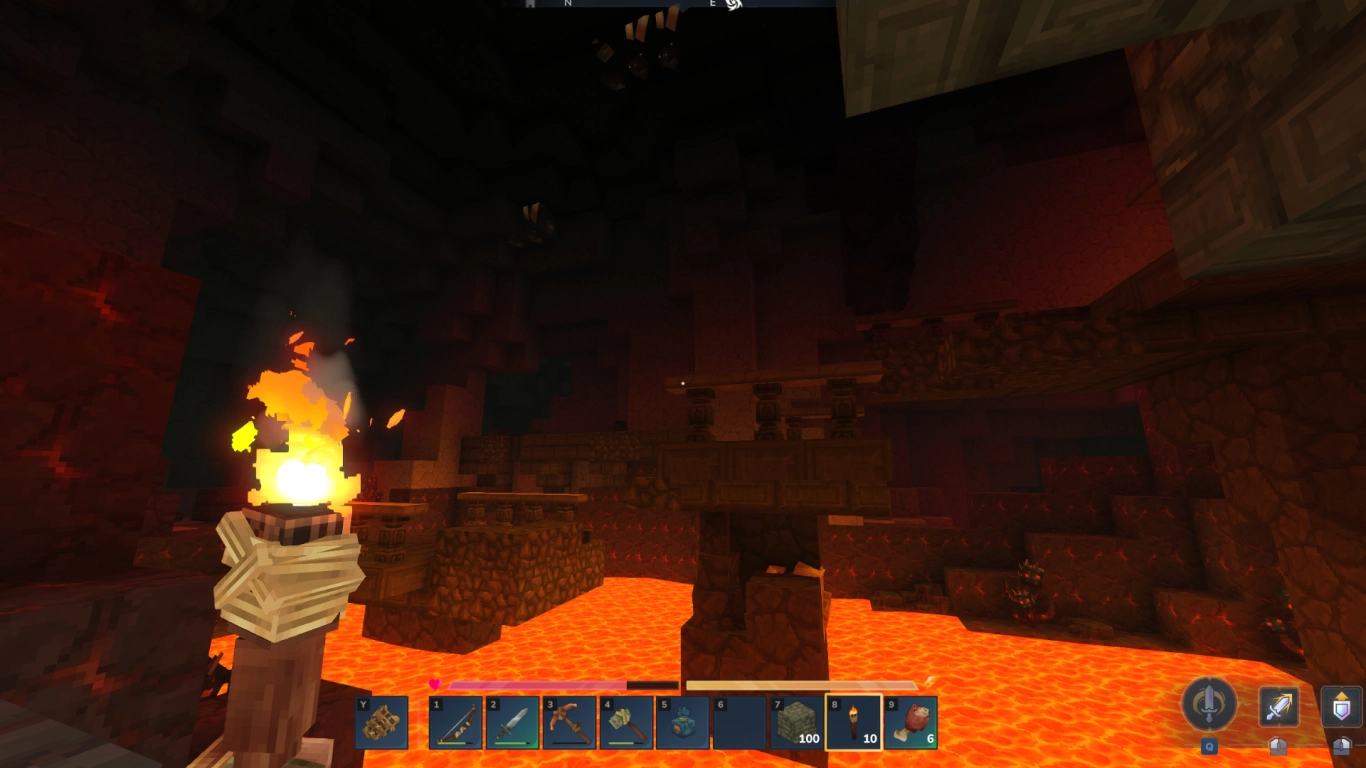
To progress, you’ll need some important metals. Start by finding copper in caves. Entrances are everywhere. Bring plenty of torches and food.
As long as you don’t go too deep into Zone 1 caves, you shouldn’t have major problems. Copper is everywhere, and you’ll sometimes even find iron! Monsters spawn infrequently and often behind you. These include rats and goblins. Deep underground it gets more dangerous!
Upgrade your gear: Workbenches, base, and farming in Hytale
Back on the surface, smelt your ores into bars in a furnace. Use them to craft the next tier of tools and weapons. You can now also craft most other workbenches for leather, armor, decorations, food, and farming.
At this point, many paths open up and there’s no need to rush:
- Set up fields and grow crops.
- Build your first base with a storage building.
- Cook tasty dishes.
- Try raising animals.
- Gather more copper and other resources.
- Explore Zone 1.
- Upgrade to iron if possible.
- Unlock the backpack.
Explore Zones 2 and 3: Cobalt, Thorium, Gold, and Silver
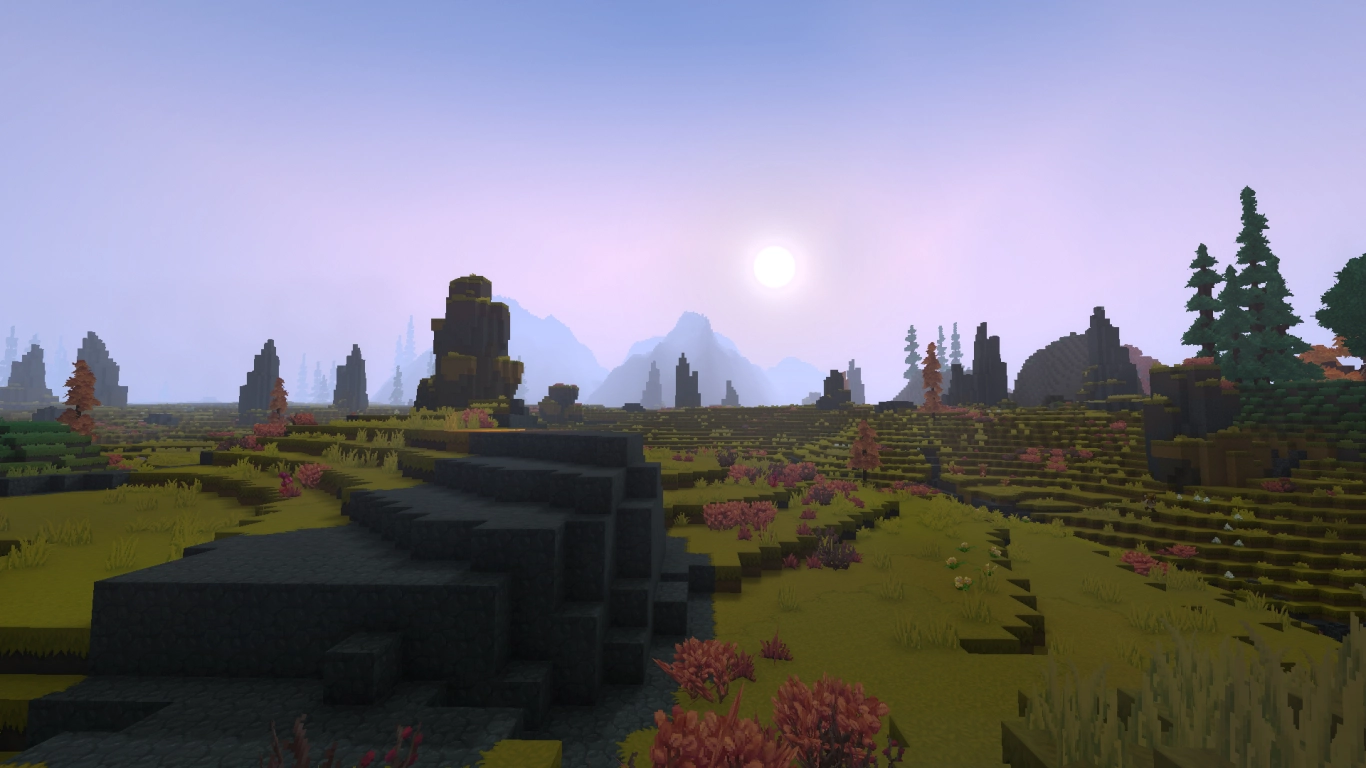
Once you have a full iron set, you can explore further regions. To the south lies the desert and Zone 2; to the north are cold mountains with Zone 3. Where you go first is up to you. There’s no direct scaling—both zones are equivalent. Plan for two or more expeditions, or your inventory will be too tight.
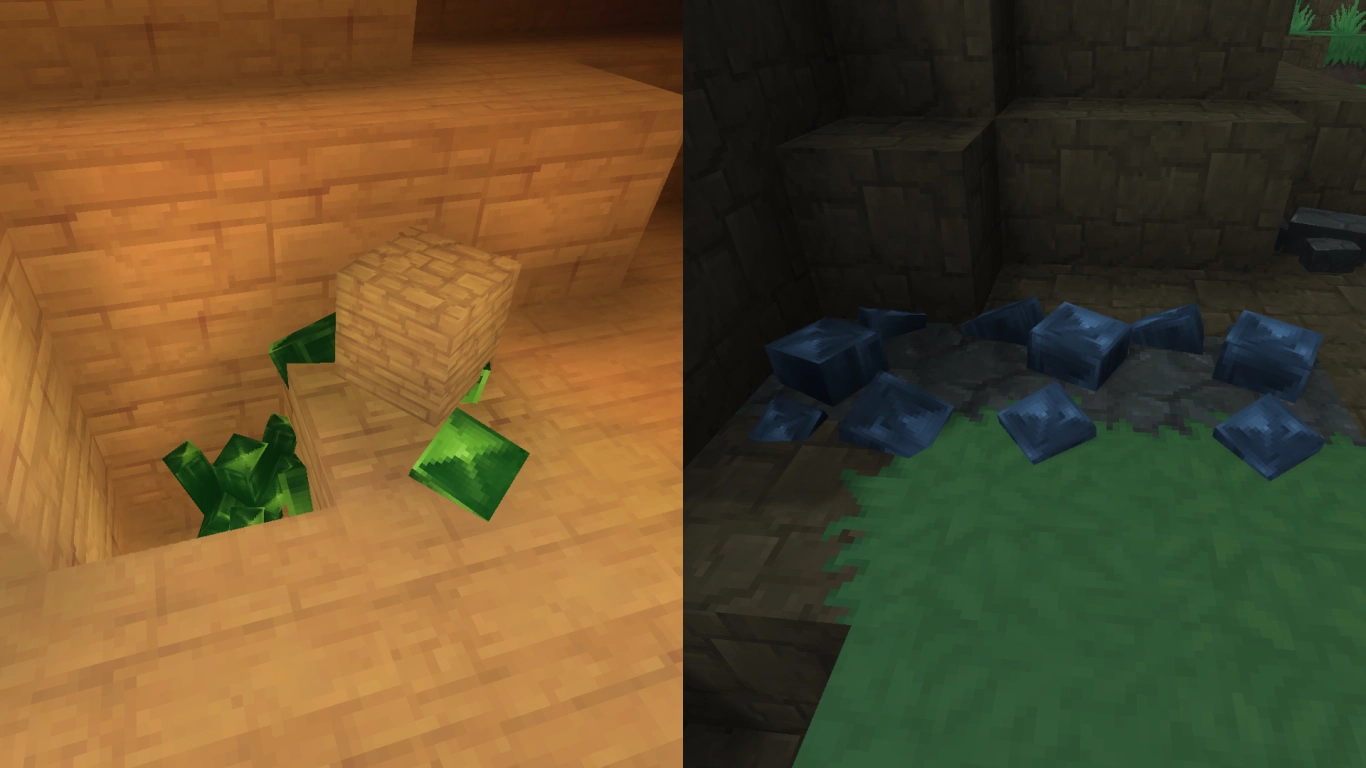
In Zone 2 you’ll find green Thorium, another ore. You’ll also find plenty of iron. Collect chitin and poison sacs from insects. In Zone 3 you’ll find blue Cobalt, as well as gold and silver. You should also defeat Outlanders and take their Shadoweave Scraps.
Upgrade tools and workbenches: Cobalt or Thorium gear

Bring all your new materials back to your base and smelt all the ores you found. Do this in stages to gather enough. You can now upgrade your gear to either Cobalt or Thorium—both have similar stats. Also check which of your workbenches you can upgrade to unlock new recipes.
You’ll likely now be able to build the Arcanist’s Workbench and the Alchemist’s Workbench. They unlock Hytale’s magical aspects (Hytale Alchemist's & Arcanist's Workbench Guide: Potions, Portals, Magic) . Most important are the teleporters, which require some resources from the Azure Forest (blue forests in Zone 1). Build a portal in both Zone 2 and Zone 3 for faster access.
Now is a great time to further expand your base and make your home cozy. You may need to gather more Cobalt, Thorium, or other resources—teleporters are very handy for that!
Zone 4 guide: Find Adamantite and defeat tough enemies
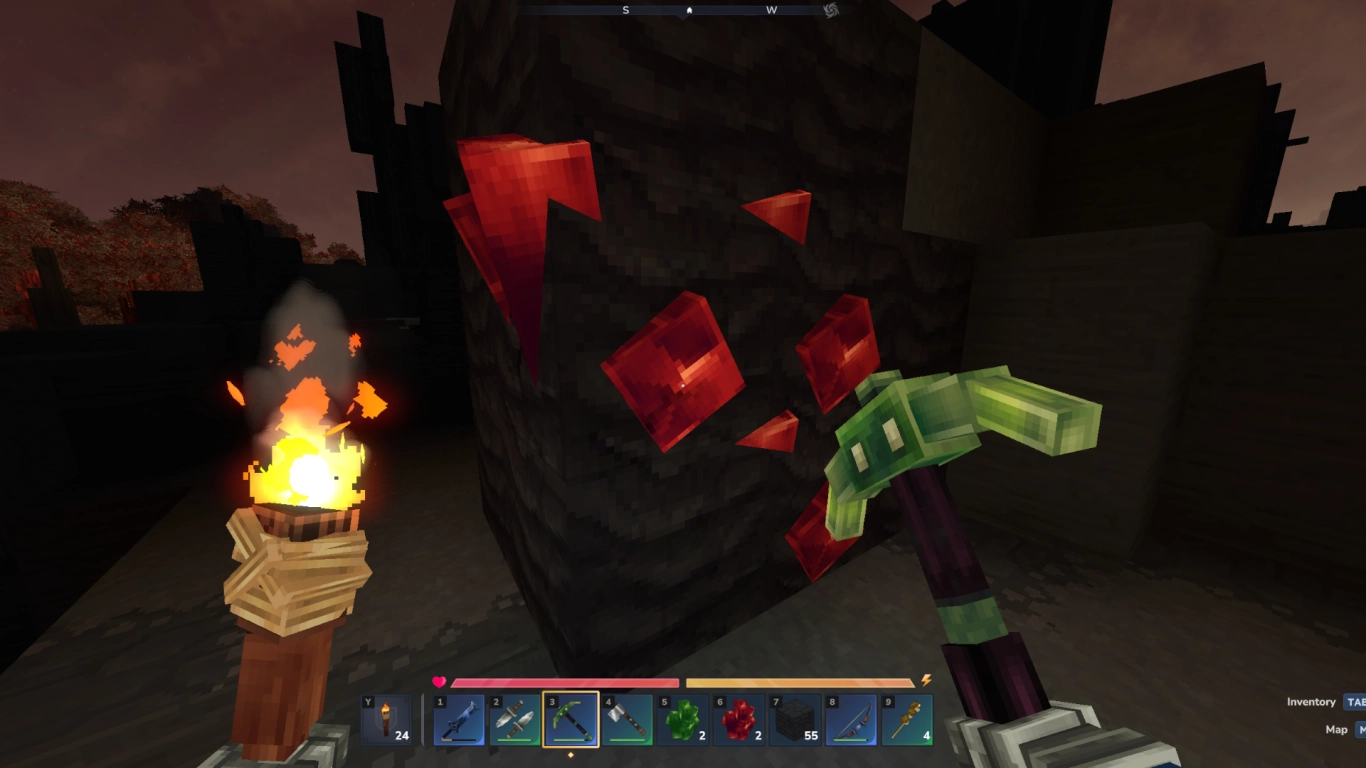
Your final major hurdle is finding Adamantite ore. To do this, head to Zone 4, to the large islands you may have already seen. You can either enter caves there or look for ore on the surface. Be well equipped. Strong, nasty enemies await you, but they also drop important resources, including Essence of Fire and Cindercloth Scraps. With the Adamantite you find, you can craft the current highest tier of tools, armor, and weapons.
Endgame in Hytale: Build, explore, and wait for updates
By now you’ve covered Hytale’s key aspects and can focus on what you enjoy. There’s no ending yet, and future updates will surely add many more features.
After you have Adamantite, you can:
- … explore zones, regions, and structures.
- … further expand your base.
- … try to upgrade all workbenches to the highest tier.
- … play together with friends.
- … try mods.
From here, it really depends on your own playstyle. As in Minecraft, set your own goals and build your own world. Or you can wait for new updates, which are basically released weekly in the pre-release.
Conclusion: Reach the current highest progression level in Hytale
Even now you can experience a lot in Hytale, explore breathtaking areas, and progress through the game. It will likely take many hours before you have the best armor in the form of Adamantite. Use the workbenches as your guide and keep moving forward. Don’t forget other aspects, such as building or farming. And with new updates, you can expect even more content.
It’s even more fun with friends, so you can rent your own Hytale server from us right away. Stay up to date and play together with others!